Are you tired of staring at your outdated kitchen cabinets, dreaming of a fresh, new look? Imagine transforming your kitchen into a space that reflects your style and meets your needs without breaking the bank.
Free kitchen cabinet plans are the secret you’ve been looking for. These plans are not just blueprints; they are the key to unlocking your creativity and putting you in control of your home’s design.
You don’t need to be a professional carpenter to build your dream cabinets; you just need the right guidance and a little bit of enthusiasm.
Dive into this article to discover how you can take the reins of your kitchen makeover and create stunning cabinets that make your space truly yours.
Key Takeaways
Choosing The Right Materials
Choosing the right materials for your kitchen cabinets is crucial. It determines the durability and look of your cabinets. With free kitchen cabinet plans, you can build stunning cabinets at a low cost.
But first, you need to pick the right materials. This guide will help you understand what options are available and which are best for your needs.
Solid Wood
Solid wood is a popular choice for kitchen cabinets. It offers a classic and timeless look. Woods like oak, maple, and cherry are common.
Each type has unique grains and colors. They are sturdy and can last for years. But they are usually more expensive than other materials.
Plywood
Plywood is a strong and versatile material. It is made from layers of wood veneer. This gives it strength and resistance to warping. Plywood is often used for cabinet boxes. It is more affordable than solid wood, yet durable.
Mdf (medium-density Fiberboard)
MDF is a budget-friendly option. It is made from wood fibers and resin. This material is smooth and easy to paint.
MDF works well for cabinet doors and panels. It is not as sturdy as plywood or solid wood. It may swell if exposed to water.
Laminate
Laminate is a cost-effective choice for a modern look. It is made by pressing thin layers of paper or fabric. These are bonded to particleboard or MDF. Laminate is easy to clean and comes in many colors. It is ideal for busy kitchens. But it can chip or peel over time.
Particleboard
Particleboard is the most affordable option. It is made from wood chips and resin. This material is lightweight and easy to work with.
It is often used for cabinet interiors. But it is less durable than plywood or MDF. It may sag under heavy weight.
Essential Tools And Equipment
Building your dream kitchen cabinets involves more than just wood and nails. It requires the right tools and equipment to ensure precision and quality.
Whether you’re a beginner or a seasoned DIY enthusiast, having the essential tools can make your cabinet-building project more efficient and enjoyable. Let’s explore the must-have tools and equipment for creating stunning kitchen cabinets.
1. Measuring And Marking Tools
Accurate measurements are crucial in cabinet making. A tape measure and a combination square are indispensable.
Use a carpenter’s pencil to mark cuts and alignments. This ensures each piece fits perfectly and looks professional.
2. Cutting Tools
A circular saw is ideal for making straight cuts. For more detailed work, a jigsaw is handy. A table saw can make long, accurate cuts on large boards. Always ensure blades are sharp for clean cuts.
3. Drilling Tools
A power drill is essential for creating holes and driving screws. A set of drill bits in various sizes will cover different tasks. Consider a cordless drill for convenience and flexibility.
4. Sanding Tools
Smooth surfaces are vital for a polished look. An orbital sander speeds up the sanding process. Keep sandpaper in different grits for initial and finishing touches.
5. Assembly Tools
Clamps hold pieces together while the glue sets. A hammer and a rubber mallet are useful for assembling and adjusting components. A screwdriver set ensures screws are secure.
6. Safety Gear
Safety should never be compromised. Wear safety glasses to protect your eyes from debris. Use ear protection when operating loud tools. Gloves can prevent cuts and splinters.
Having these tools and equipment at your disposal prepares you for a successful cabinet-building journey. Each tool plays a vital role in bringing your kitchen cabinet plans to life.
Step-by-step Construction Guide
Building your dream kitchen cabinets can be a rewarding project. With the right plans, anyone can create beautiful cabinets. This guide breaks down each step. Follow along to build your cabinets with ease.
Step 1: Gather Your Tools And Materials
First, collect all necessary tools and materials. You will need a saw, drill, and screwdriver. Also, gather wood, screws, and glue. Having everything on hand saves time and effort.
Step 2: Measure And Cut The Wood
Start by measuring your space accurately. Mark the wood according to your measurements. Use a saw to cut each piece. Ensure all pieces are the correct size for a perfect fit.
Step 3: Assemble The Cabinet Frame
Lay out the cut pieces on a flat surface. Begin assembling the frame using screws and glue. Ensure each joint is secure. This forms the foundation of your cabinet.
Step 4: Attach The Back Panel
Next, attach the back panel to the frame. This adds stability and strength. Use screws to secure it tightly. Ensure it aligns perfectly with the frame.
Step 5: Install Shelves And Dividers
Determine the placement of shelves and dividers. Secure them inside the cabinet using screws. This step adds functionality to your cabinet.
Step 6: Attach The Doors
Finally, attach the doors to the cabinet. Use hinges to ensure smooth opening and closing. Align each door carefully for a professional finish.
Step 7: Finish And Paint
Sand the cabinet for a smooth surface. Apply a coat of primer and paint. Choose colors that match your kitchen decor. This final step enhances the cabinet’s appearance.
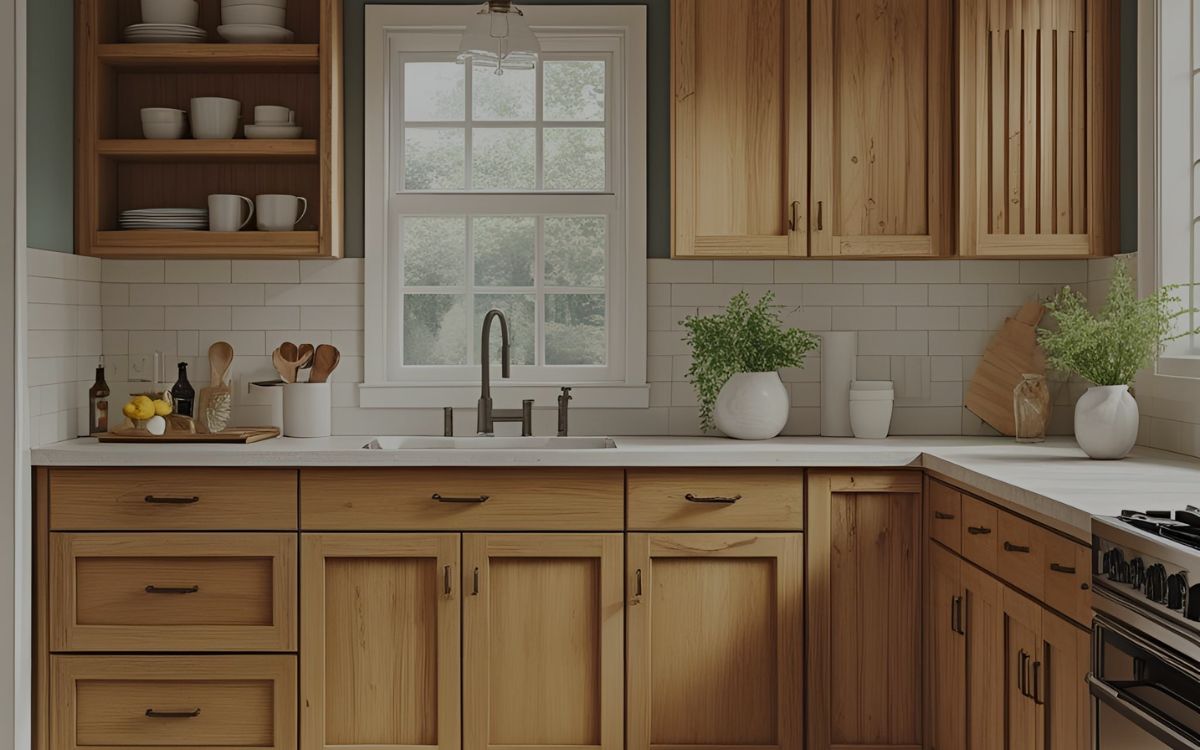
Customizing Cabinet Designs
Building kitchen cabinets yourself can be a thrilling adventure, especially when you get to customize the design. Imagine having cabinets that perfectly match your style and needs. Customizing your cabinets allows you to create a kitchen that truly feels like yours.
It’s an opportunity to blend functionality with aesthetics in a way that store-bought options can’t. Whether you’re looking for unique storage solutions or a specific color scheme, custom designs make it possible.
Choosing Materials
Picking the right materials is crucial. The choice affects durability and look. Solid wood is popular for its classic appeal and longevity. Plywood is a budget-friendly option that offers strength without breaking the bank.
Consider the environment too. Bamboo and reclaimed wood are great sustainable choices. They add character and contribute to eco-friendly living.
Designing Layout
Your kitchen’s layout is the foundation of your design. Think about how you use your space. Do you cook large meals often? You might need more countertop space.
Consider storage needs. Open shelves offer easy access, while closed cabinets keep clutter hidden. Balance is key to a functional layout.
Color And Finish
Color sets the mood of your kitchen. Choose colors that reflect your personality. Bright hues can energize, while soft tones create calmness.
Finishes add the final touch. Matte finishes offer a modern look, while glossy ones are more traditional. Pick a finish that complements your overall design.
Adding Personal Touches
Customizing isn’t just about colors and materials. It’s about making the space your own. Maybe you want a spice rack built into a cabinet door or a pull-out trash bin for convenience.
Think about your daily routine. What features would make your life easier? Personal touches transform a kitchen from ordinary to exceptional.
Budget Considerations
Custom designs can fit any budget. Start by prioritizing what’s most important. Maybe splurge on high-quality materials for the cabinets but save on simple hardware.
DIY options can save money. Online tutorials and guides provide step-by-step instructions. You can achieve a custom look without spending a fortune.
Customizing your kitchen cabinets is an exciting journey. It requires planning and creativity but rewards you with a space tailored to your needs. What unique features will you add to your dream kitchen?
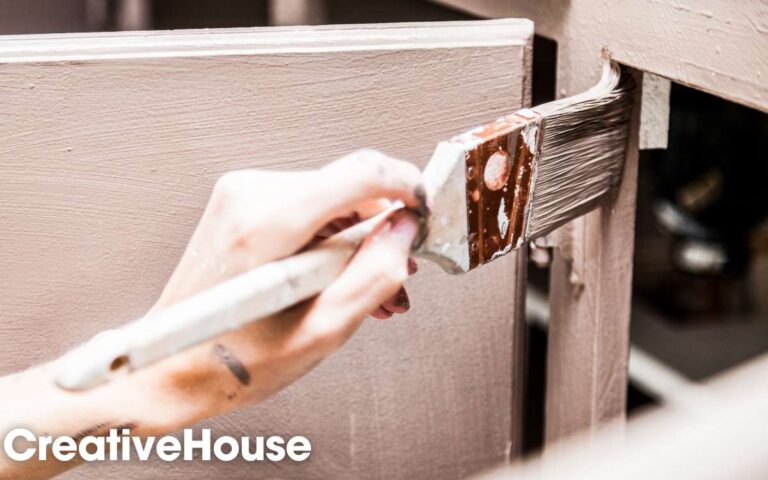
Finishing Techniques
Discover the art of finishing techniques with free kitchen cabinet plans. Achieve a professional look with simple steps. Create dream cabinets by applying paint, stain, or varnish for lasting beauty.
When it comes to building your dream kitchen cabinets, the finishing techniques can make all the difference. A well-chosen finish not only enhances the beauty of your cabinets but also protects them from daily wear and tear. It’s like adding the cherry on top of a sundae — it completes the look and adds that special touch.
But what does finishing your cabinets involve, and how can you ensure you’re doing it right? Let’s dive into some practical finishing techniques that can bring your cabinet project to life.
Choosing The Right Finish
Start by deciding whether you want a natural wood finish or a painted look. Each option has its own charm. A natural finish showcases the wood’s grain, adding a rustic, warm feel to your kitchen.
If you love the elegance of painted cabinets, consider colors that complement your kitchen’s overall theme. Remember, the right finish can transform your kitchen’s ambiance completely.
Preparing The Surface
Before applying any finish, ensure that your cabinet surfaces are smooth and clean. Sand any rough spots and fill in imperfections with wood filler.
This step is crucial for achieving a professional look. Imagine spending hours painting only to find bumps and grooves ruining the final appearance. A little prep work goes a long way in ensuring a flawless finish.
Applying The Finish
Use a quality brush or sprayer to apply your chosen finish. For paint, thin coats prevent drips and allow for even coverage. Stains require a gentle hand, wiping away excess with a cloth to avoid blotches.
Don’t rush this process; take your time to achieve even, consistent coverage. Have you ever rushed through a DIY project only to regret it later? Patience here will save you time and heartache.
Sealing And Protecting
Once your finish is dry, protect it with a clear sealant or topcoat. This step is especially important for painted cabinets.
A good sealant guards against scratches and stains, keeping your cabinets looking fresh. Imagine a bustling kitchen where spills and splatters are part of daily life. A protective sealant ensures your hard work stands the test of time.
Personal Story: Lessons Learned
A few years ago, I decided to refinish my kitchen cabinets. In my eagerness, I skipped the prep and went straight to painting. The result was a disaster, with paint peeling within weeks. It taught me the importance of patience and preparation.
Now, I always take the time to prepare surfaces properly, and my cabinets have never looked better. Have you made a similar mistake? It’s never too late to learn and improve your skills.
Finishing your kitchen cabinets is both an art and a science. By choosing the right techniques and paying attention to detail, you can create cabinets that not only look stunning but also stand up to daily use. What finishing techniques will you try on your next cabinet project?
Maintenance Tips For Longevity
Ensure your kitchen cabinets last by regularly checking hinges and cleaning surfaces. Use gentle cleaners to avoid damage. Keep them dry to prevent warping.
Maintaining your kitchen cabinets is crucial for ensuring they last for years to come. A well-maintained cabinet not only looks great but also functions smoothly, adding value to your kitchen experience.
Whether you’re building your cabinets from free plans or already have them installed, these maintenance tips will help keep them in top shape.
Regular Cleaning
Regular cleaning helps prevent dirt and grime buildup. Use a mild detergent and warm water to wipe down the surfaces. Avoid harsh chemicals that can damage the cabinet finish.
Inspect For Damage
Check your cabinets regularly for any signs of damage. Loose hinges or scratched surfaces can worsen over time. Early detection allows you to fix these issues before they become major problems.
Protect From Moisture
Moisture is a cabinet’s worst enemy. Ensure your cabinets are not exposed to water leaks or excessive humidity. Consider using dehumidifiers in your kitchen to maintain a balanced environment.
Use Cabinet Liners
Cabinet liners can protect the interior from spills and stains. They are easy to clean and replace. Choose a material that complements your cabinet design while offering practical protection.
Polish And Shine
Polishing your cabinets can enhance their appearance and protect the finish. Use a quality wood polish for wooden cabinets, applying it with a soft cloth. Make sure to follow the product instructions for the best results.
Keep Hardware Tight
Loose handles and hinges can make your cabinets look neglected. Regularly check and tighten any loose screws. This small step can greatly improve the functionality and appearance of your cabinets.
Avoid Overloading
Overloading cabinets can warp shelves and put strain on hinges. Be mindful of the weight and distribute items evenly.
Consider installing additional shelving if space is an issue. Keeping your kitchen cabinets in good condition doesn’t have to be a chore.
With a few simple steps, you can ensure their longevity and keep your kitchen looking its best. What maintenance steps will you start incorporating today?
FAQ Of Free Kitchen Cabinet Plans
What Is The Best Online Kitchen Planner For Free?
The best free online kitchen planner is IKEA Kitchen Planner. It offers user-friendly tools for designing kitchens.
Is It Cheaper To Build Your Own Kitchen Cabinets Or Buy Them?
Building your own kitchen cabinets is often cheaper. You save on labor costs and customize materials. Consider time and skill level, as DIY requires effort and tools. Pre-made cabinets offer convenience but can be more expensive. Weigh your budget and abilities before deciding.
What Is The 3×4 Kitchen Rule?
The 3×4 kitchen rule suggests designing kitchens with three main work areas: food prep, cooking, and cleanup. Each area should have four essential components: storage, counter space, appliances, and utilities. This layout maximizes efficiency and functionality, ensuring a practical and organized kitchen environment for everyday use.
Does Lowes Offer Free Kitchen Design?
Yes, Lowe’s provides free kitchen design services. Skilled designers create personalized layouts and offer expert advice. Schedule an in-store consultation or use their online tools to start your project. Save time and get the perfect kitchen design tailored to your needs at no extra cost.
Conclusion
Building your dream kitchen cabinets is now possible with free plans. These plans offer detailed guidance for every step.
You can choose designs that suit your style. Save money and enjoy crafting your own cabinets. Experience the satisfaction of DIY success in your kitchen.
Explore different materials and finishes for a personal touch. Now, you can have a kitchen that’s both functional and beautiful.
Start your cabinet project today and see the transformation. Share your creations with friends and family. Enjoy the process and the results.
Happy building!