Are you tired of staring at your outdated kitchen cabinets and dreaming of a fresh new look? Imagine transforming your kitchen into a space that reflects your style, all without breaking the bank.
With our DIY Kitchen Cabinets Guide, you can do just that. This guide is designed for you, the go-getter who loves taking things into your own hands and achieving stunning results.
Picture yourself confidently creating beautiful cabinets that breathe new life into your kitchen.
We’ll walk you through every step, making sure you feel empowered and excited about the process.
Ready to discover how simple and rewarding it can be to revamp your kitchen? Dive into this guide and unlock the secrets to a kitchen makeover that’s uniquely yours. Your dream kitchen is just a few DIY steps away!
Key Takeaways
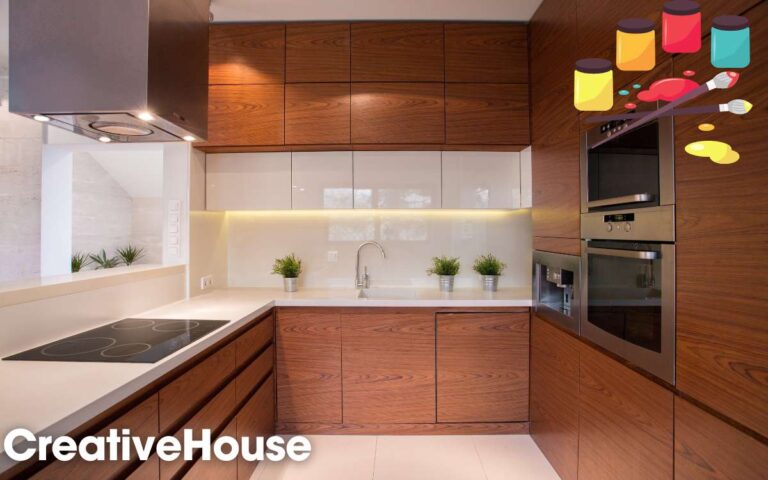
Planning Your Cabinet Design
Crafting your kitchen cabinets can be a rewarding DIY project. Plan your cabinet design with careful measurements and materials. Ensure functionality and style by choosing the right layout and finishes for your space.
Planning your kitchen cabinet design is the first and most crucial step in your DIY journey. This phase sets the foundation for the entire project, helping you visualize the end result and ensuring that every detail aligns with your needs and style.With careful planning, you can transform your kitchen into a functional and aesthetically pleasing space.
Understanding Your Needs
Before diving into designs, consider what you need from your cabinets. Do you require more storage for pots and pans, or do you need space for your collection of spices? Identifying your priorities ensures that your cabinets serve your lifestyle effectively.
Measuring Your Space
Grab a tape measure and note the dimensions of your kitchen. Measure the height, width, and depth where you plan to install the cabinets. Accurate measurements prevent costly mistakes and ensure a perfect fit.
Choosing A Cabinet Style
What style speaks to you—modern, rustic, or traditional? Your cabinet style should complement the overall design of your kitchen. Look at different styles online or in magazines to find what resonates with your taste.
Deciding On Materials
The choice of material affects the durability and look of your cabinets. Solid wood, plywood, and MDF are popular options, each with its pros and cons. Consider the balance between cost, appearance, and longevity when selecting materials.
Planning The Layout
Think about how you want your kitchen to function. Do you need cabinets that open up or slide?
Consider the workflow in your kitchen and how your cabinet layout can enhance it. A well-planned layout can save you time and effort in the long run.
Incorporating Storage Solutions
Shelves, drawers, and pull-out racks can make a big difference in cabinet functionality. Explore different storage solutions to make the most out of your cabinet space. Efficient storage can turn a cluttered kitchen into an organized haven.
Budgeting For Your Project
Set a realistic budget for your DIY cabinet project. Factor in costs for materials, tools, and any help you might need. A clear budget helps you avoid overspending and keeps the project on track.
Creating A Timeline
How much time can you dedicate to this project? Setting a timeline with milestones can keep you motivated and focused. A realistic timeline helps manage expectations and ensures steady progress.
Getting Inspired
Browse through websites, visit showrooms, or even ask friends for ideas. Inspiration can ignite creativity and help you refine your vision.
Keep an open mind and be willing to adapt your design as new ideas emerge. By planning your kitchen cabinet design thoughtfully, you lay the groundwork for a successful DIY project. What vision do you have for your kitchen transformation?
Choosing Materials And Tools
Embarking on a DIY kitchen cabinet project? Choosing the right materials and tools is crucial.
They determine the quality and longevity of your cabinets. Let’s explore the essentials to get you started.
Choosing The Right Wood
Wood is the heart of any cabinet project. Plywood offers durability and is budget-friendly. Solid wood is a classic choice, adding elegance. MDF is smooth and easy to paint, ideal for custom looks.
Understanding Hardware Needs
Cabinet hardware includes handles, hinges, and drawer slides. Choose durable materials like stainless steel or brass. Soft-close hinges prevent noise and wear, enhancing your cabinet’s lifespan.
Selecting Essential Tools
A quality saw is vital for precise cuts. Invest in a drill for easy assembly. Sandpaper ensures smooth finishes, making your cabinets look professional.
Safety Equipment
Always prioritize safety. Wear goggles to protect your eyes. Use gloves to handle tools safely. A dust mask is essential when sanding wood.
Finishing Supplies
Quality paint or stain enhances the cabinet’s look. Primer ensures even paint application. Sealant protects the wood, adding durability to your cabinets.
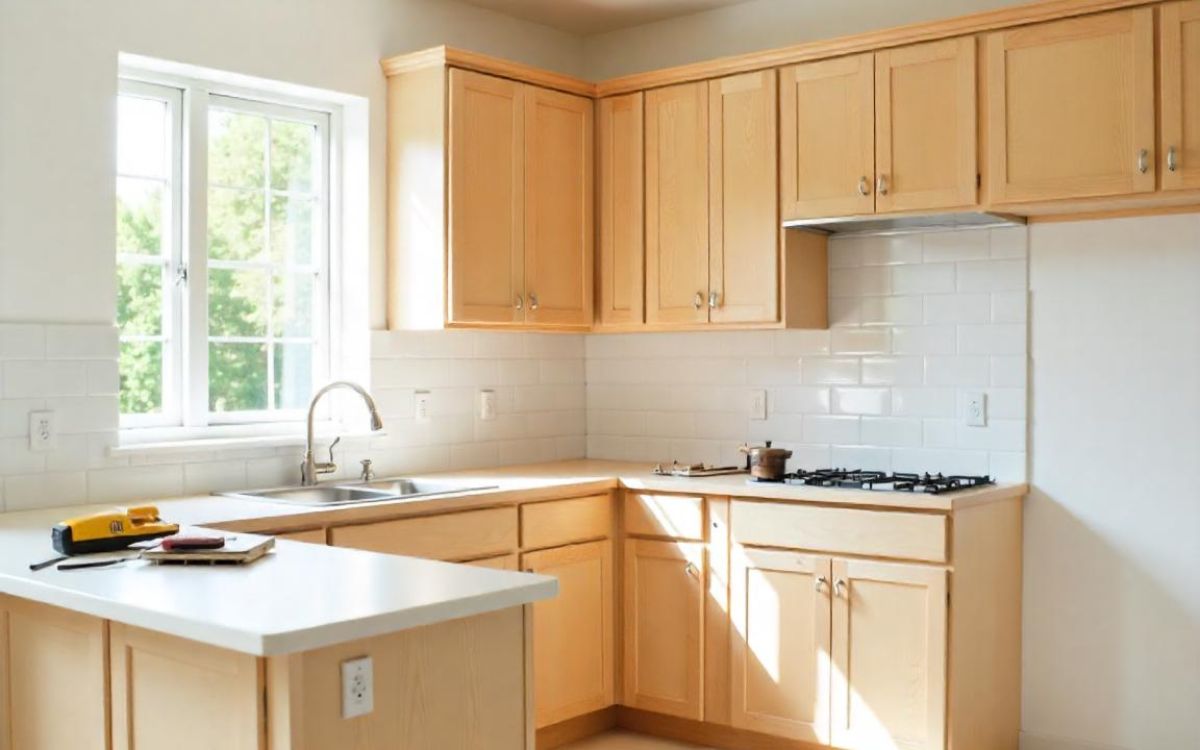
Building The Cabinet Framework
Crafting your own kitchen cabinets starts with building a solid cabinet framework. This DIY guide simplifies the process, providing clear steps and tips. Achieve a functional and attractive kitchen space with ease.
Building the framework of your kitchen cabinets is a rewarding step in your DIY journey. This phase sets the foundation, literally, for how your cabinets will function and appear.
Whether you’re a seasoned DIY enthusiast or just starting out, creating a sturdy cabinet framework is essential for the longevity and usability of your kitchen.
Understanding The Basics
To build a cabinet framework, you first need to understand the basic structure. Cabinets typically consist of a box, which forms the main body.
This box is made up of panels for the sides, top, bottom, and back. Consider the materials you’ll use.
Plywood is a popular choice due to its durability and ease of use. Avoid using particle board as it may not withstand heavy use over time.
Measuring And Cutting
Accurate measurements are crucial. Measure twice, cut once is a mantra you should live by. Take precise measurements of your kitchen space and the items you plan to store.
Use a circular saw or a table saw to cut the panels. Ensure your cuts are straight and clean. This will make assembly easier and ensure a polished final look.
Assembling The Panels
Start by assembling the panels into a box structure. Use wood glue and screws to hold the pieces together.
Clamps can help keep the panels in place while the glue dries. Check that the box is square by measuring diagonally across the corners.
Adjust as needed before the glue sets. A square cabinet will fit better and look more professional.
Reinforcing The Structure
To reinforce your cabinet framework, add corner braces. These provide additional support and prevent wobbling. Metal braces are strong, but wooden ones can blend in better with the cabinet.
Think about the future. Will you be storing heavy items? If so, consider adding extra support beams inside the cabinet.
Personal Touches
Add a personal touch to your framework. Think about how you can make your cabinet unique. Maybe a hidden compartment or a built-in spice rack?
Don’t hesitate to get creative. After all, this is your kitchen, and your cabinets should reflect your personal style.
Building the cabinet framework is both an art and a science. It requires precision and creativity. What challenges do you anticipate, and how can you turn them into opportunities for innovation?
Installing Doors And Hardware
Discover the essentials of installing doors and hardware in your kitchen cabinet project. This guide simplifies the steps for a seamless DIY experience. Enhance your kitchen’s functionality and style with easy-to-follow tips.
Installing doors and hardware on your DIY kitchen cabinets can be a rewarding experience that transforms your kitchen into a stylish and functional space.
With a bit of patience and attention to detail, you’ll see your cabinets come to life. Plus, this step can save you money compared to hiring a professional, and it’s easier than you might think!
Preparing Your Workspace
Before you start, ensure your workspace is clean and organized. Lay out all your tools and materials, such as screws, hinges, and a drill.
This helps you avoid frustration later on. Have you ever tried finding a lost screw in a messy room? It’s no fun!
Aligning The Doors
Proper alignment is crucial. Use a level to ensure your cabinet doors are straight. Mark the spots where you’ll attach hinges with a pencil.
This step can prevent crooked doors and future headaches. Have you ever seen a tilted cabinet door? It can be quite annoying!
Attaching The Hinges
Now, it’s time to attach the hinges. Drill holes where you’ve marked, and then screw in the hinges. Ensure they’re tight but not overly so.
You don’t want to strip the screws. Tight hinges keep your doors secure and prevent sagging over time.
Mounting The Doors
Hold the door in place and attach it to the cabinet frame using the hinges. This part may require an extra pair of hands for support.
A helper can make the process smoother and faster. Think about how satisfying it is when the door clicks into place perfectly.
Installing Knobs And Handles
Choose knobs or handles that match your kitchen’s style. Use a template for consistent placement. Measure twice, drill once.
A well-placed handle makes your kitchen feel cohesive and polished. Consider how the right hardware can complement your kitchen’s aesthetic.
Testing And Adjusting
Open and close the doors to test their movement. Adjust hinges if needed to ensure smooth operation. A well-installed door should swing open effortlessly.
If you’ve ever dealt with sticking cabinet doors, you’ll appreciate the effort here. By focusing on these steps, you can enhance both the look and functionality of your kitchen.
Installing doors and hardware yourself is not just about saving money; it’s about customizing your space exactly how you want it. So, are you ready to give your kitchen cabinets a personal touch?
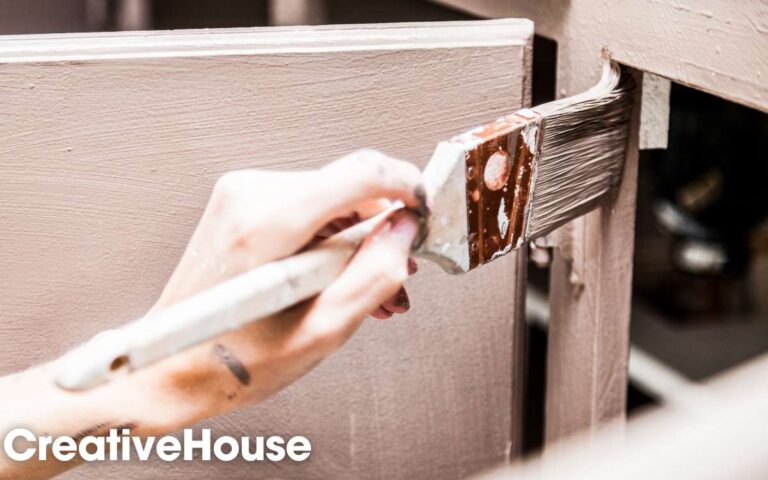
Finishing Touches And Painting
Adding the final touches brings your DIY kitchen cabinets to life. Paint enhances the cabinets, making them stylish and fresh. Choose colors wisely to complement your kitchen’s overall design.
Transforming your kitchen with DIY cabinets is an exciting project, and the finishing touches can truly bring your vision to life.
This phase is where your creativity shines, adding personality and polish to your hard work. With the right approach, you’ll not only enhance the beauty of your cabinets but also ensure they stand the test of time.
Preparing Your Cabinets For Painting
Before you dive into painting, ensure your cabinets are clean and smooth. Sanding is crucial to remove any rough spots or old finish.
Use a fine-grit sandpaper for a polished surface. After sanding, wipe down the cabinets with a damp cloth to remove any dust.
This step is essential for the paint to adhere properly. Consider using a primer, especially if you’re covering a dark stain or want a vibrant color.
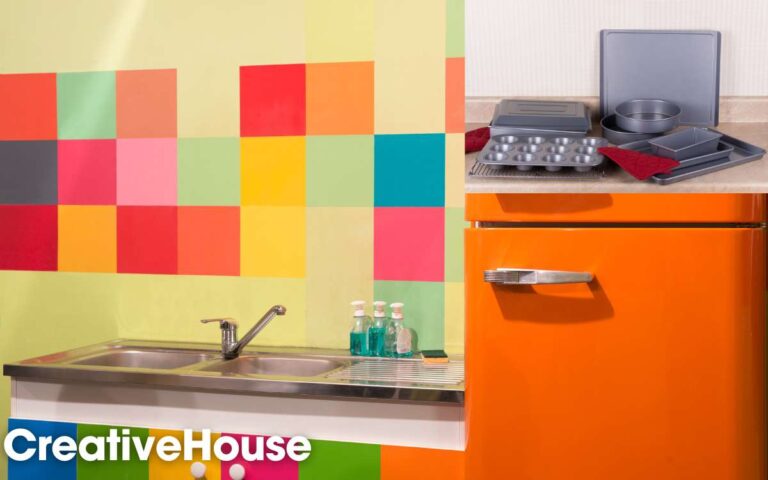
Choosing The Right Paint
Selecting the right paint can make a world of difference. Opt for a high-quality paint that suits kitchen environments, such as a semi-gloss or satin finish.
These types are durable and easy to clean. Color choice is equally important. Neutral tones offer a timeless look, while bold colors can make your kitchen pop. Think about how the color complements your overall kitchen design.
Painting Techniques For A Professional Finish
Applying paint correctly ensures a smooth and even coat. Use a high-quality brush or roller designed for the type of paint you’ve chosen.
Apply thin, even coats and allow each layer to dry fully before adding the next. Consider using a small brush for edges and corners to avoid drips.
Lightly sanding between coats can also help achieve a flawless finish. Have you ever noticed how a subtle texture can add depth to a paint job?
Adding Hardware And Accessories
Once the paint is dry, it’s time to add hardware. Choose handles and knobs that complement your cabinet style.
Mixing metals or styles can add an unexpected yet cohesive look. Think about functionality.
Are pull handles easier for you to use than knobs? Adding soft-close hinges can also elevate the user experience.
Final Touches For A Polished Look
Inspect your work closely. Touch up any small imperfections with a fine brush. Consider adding a protective topcoat to extend the life of your paint.
Step back and enjoy the transformation. Your kitchen cabinets now reflect your personal style and effort. How does it feel to create something uniquely yours?
Tips For Maintenance And Care
Maintaining your DIY kitchen cabinets is crucial for keeping them looking fresh. Proper care extends their lifespan and enhances their appearance. Simple habits make a big difference, ensuring your kitchen remains a welcoming space.
Regular Cleaning
Dust your cabinets weekly to prevent build-up. Use a soft cloth and mild cleaner. Avoid abrasive materials that can scratch surfaces.
Protect Against Moisture
Moisture can damage wood cabinets. Dry spills immediately. Install exhaust fans to reduce humidity.
Check Hinges And Handles
Inspect hinges and handles monthly for wear. Tighten loose screws. Replace damaged parts to maintain functionality.
Use Gentle Products
Avoid harsh chemicals on cabinet surfaces. Choose gentle cleaners. Test new products on a small area first.
Refinish When Needed
Refinishing helps restore cabinets. Use high-quality paint or varnish. Follow instructions for best results.
Keep Away From Direct Heat
Heat can warp cabinets. Avoid placing appliances directly under cabinets. Use heat-resistant mats if necessary.
FAQ Of Diy Kitchen Cabinets Guide
Is It Cheaper To Build Your Own Kitchen Cabinets Or Buy Them?
Building your own kitchen cabinets is often cheaper than buying them. Customization allows for cost-effective material choices. DIY projects may require more time and effort. Buying cabinets may involve higher expenses for labor and premium materials. Evaluate your skills and budget to decide the best option.
Can A Beginner Build Kitchen Cabinets?
Yes, a beginner can build kitchen cabinets. Start with simple designs and use basic tools. Follow online tutorials for guidance. Practice patience and safety while working. Consider seeking help if needed. Building skills improve with experience.
How Do You Decide Where To Put Things In Kitchen Cabinets?
Organize kitchen cabinets by frequency of use. Place daily items within easy reach. Store heavy items lower and lighter ones higher. Group similar items together for convenience. Use labels for clarity and accessibility.
Is It Cheaper To Install Kitchen Cabinets Yourself?
Installing kitchen cabinets yourself can be cheaper. You save on labor costs by doing it yourself. Ensure you have the necessary tools and skills. Mistakes may lead to additional expenses. Consider your comfort level with DIY projects before starting. Proper planning and research can minimize risks and maximize savings.
Conclusion
Creating your own kitchen cabinets can be rewarding. It saves money and adds a personal touch. Follow this guide to make the process smooth.
Use the right tools and materials. Measure accurately and plan carefully. Make sure to sand and paint for a polished look.
Enjoy the satisfaction of your handiwork. Your kitchen will reflect your style and effort. Friends and family will admire your skills.
Start your DIY journey today. Transform your kitchen with creativity and effort. Happy building!