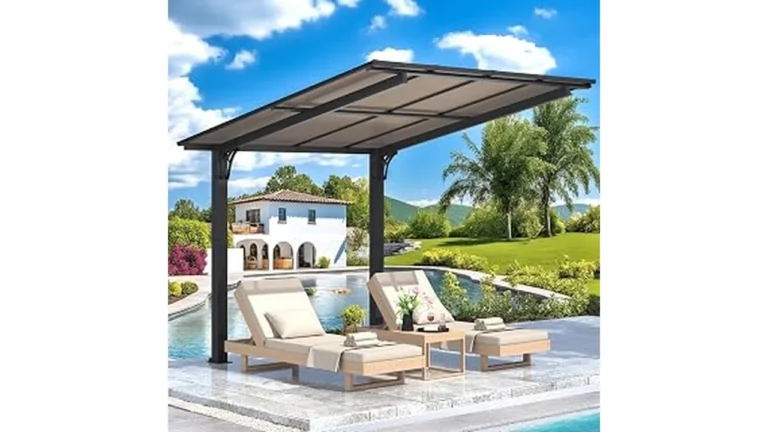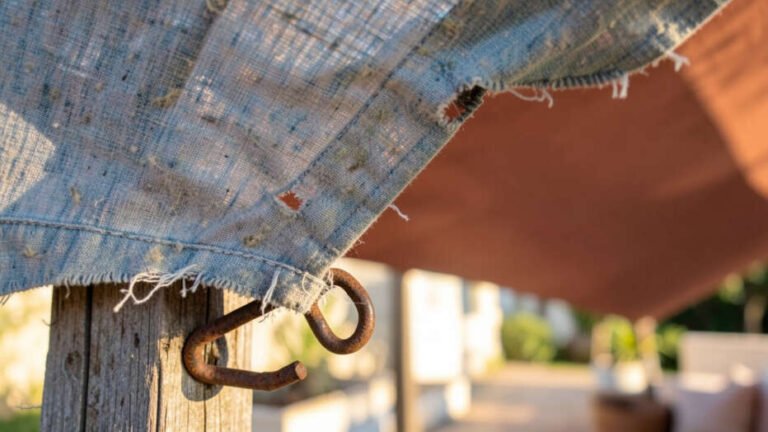
To maximize its lifespan, avoid installing a sun shade sail near trees, over metal or reflective roofs, in wind tunnels, on weak mounting surfaces, or at a flat angle. These locations can reduce durability by more than half due to sap accumulation, heat-induced UV degradation, excessive lift forces, or water pooling. For prolonged use, select open areas with robust mounting points and a pitch of at least 18 degrees.
Buying a sun shade sail is only half the battle. Where you install it determines how long it actually lasts.
Quick Verdict: Never install a sun shade sail near trees, directly over metal or reflective roofs, in wind tunnels between buildings, on weak or rotting mounting surfaces, or at a flat angle that allows water to pool. Any of these locations can cut your shade sail’s lifespan by more than half. Choose open areas with strong mounting points and a minimum 18-degree pitch.
- Shade sails installed near trees can lose up to 50% of their lifespan due to sap, falling branches, and constant shade that prevents fabric drying.
- Metal and reflective roofs underneath a shade sail can create heat traps that accelerate UV fabric degradation by up to 40%.
- Wind-tunnel zones between buildings can create lift forces that exceed the sail’s tension limits, causing hardware failure or fabric tearing.
- Mounting on rotted wood, thin metal, or brick without proper anchors creates a safety hazard and shortens sail life by months.
- A flat or near-flat installation angle causes water pooling that stretches the fabric and promotes mold growth within weeks.
What Is a Sun Shade Sail Exactly
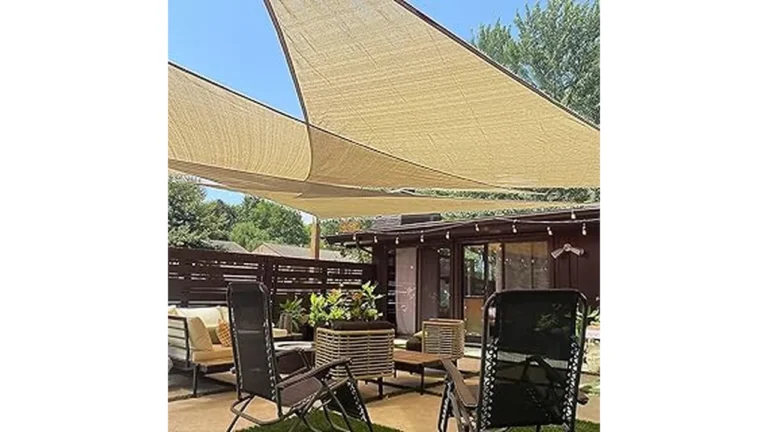
A sun shade sail is a piece of fabric stretched between multiple anchor points to block UV rays and create a shaded outdoor area. Most modern shade sails use HDPE fabric (high-density polyethylene), which blocks up to 95% of harmful UV radiation.
The fabric is tensioned using turnbuckles, D-shackles, and stainless steel hardware. The entire structure relies on three things: strong mounting points, correct tension, and proper drainage. According to, one of the largest shade sail manufacturers, improper tensioning alone reduces fabric life by up to 50%.
A shade sail is not a permanent structure. With ideal placement and maintenance, it can last 5 to 10 years. With poor placement, you may need a replacement within 1 to 2 seasons.
How Does a Shade Sail Actually Work
Shade sails work through tension. The fabric is pulled tight between anchor points to create a smooth, drum-like surface. This tension serves several purposes.
- UV protection: The tight weave of HDPE fabric blocks most UV rays while still allowing airflow underneath.
- Water management: The tension must redirect rainwater to the edges. Without proper tension and angle, water pools in the middle.
- Wind resistance: A properly tensioned sail moves less in the wind. Loose fabric flaps, stretches, and eventually tears at the seams.
- Structural stability: Tension transfers the load to the mounting points. Weak mounts can fail under load.
The American Society of Landscape Architects notes that proper installation angle and tension are the two most critical factors in shade sail longevity.
Important: A shade sail with less than 18 degrees of pitch will not shed water effectively. Always aim for an angle between 18 and 25 degrees for both water runoff and wind deflection.
The 5 Places You Should Never Install a Sun Shade Sail
This section covers the five locations that destroy shade sails the fastest. Avoid every single one if you want your investment to last.
1. Under or Near Trees
Trees are the number one enemy of shade sails. Installing a sail under or near trees creates multiple problems that shorten its life quickly.
Tree branches fall, especially during storms or high winds. A single branch can tear the fabric or bend the mounting hardware. Even without direct impact, trees release sap and pollen that stick to the fabric. Sap traps dirt and promotes mold growth.
Leaves also create shade. A shade sail in constant shade stays damp longer. Damp fabric grows mold and mildew. According to industry estimates, shade sails installed under trees last 2 to 3 years less than sails in open areas.
- Sap stains are nearly impossible to remove from HDPE fabric without damaging the fabric itself.
- Falling branches can puncture the fabric or bend the mounting hardware.
- Constant shade prevents the fabric from drying after rain, which promotes mold growth.
- Tree roots can shift the ground, which changes the tension on your mounting posts over time.
Warning: Do not assume a tree will provide natural wind protection. Trees actually create turbulence as wind passes through the branches. This uneven wind load can stress your shade sail more than an open area would.
2. Directly Over Metal or Reflective Roofs
Metal roofs and reflective surfaces create heat traps. When you install a shade sail directly above a metal roof, the heat from the roof rises and hits the underside of the fabric.
The fabric absorbs this extra heat. UV degradation speeds up when the fabric stays hot for extended periods. Most heat damage occurs on the underside of the sail, which you rarely see until the fabric starts to crack.
According to, reflective surfaces can increase the temperature underneath a shade sail by 15 to 20 degrees Fahrenheit. This extra heat accelerates fabric breakdown by approximately 30%.
- Metal roofs reflect heat upward, which bakes the underside of the shade sail fabric.
- Pool covers and greenhouses nearby can also reflect heat and light toward the sail.
- White or light-colored walls can reflect UV rays onto the sail’s underside.
If you must install near a roof, leave at least 3 to 4 feet of air gap between the roof surface and the lowest point of the shade sail.
3. In Wind Tunnels Between Buildings
Wind tunnels form when two buildings create a narrow passage. Air speeds up as it passes through the gap. A shade sail installed in this location experiences much higher wind loads than the surrounding area.
Shade sails are designed to handle wind by flexing slightly under load. But in a wind tunnel, the wind speed can be 2 to 3 times higher than the surrounding area. This exceeds the sail’s safe operating range.
Important: Building codes in many areas require shade sails to be designed for specific wind loads. Installing in a wind tunnel without accounting for higher wind speeds can violate local codes and void your insurance in case of damage.
The warning signs of wind damage include stretched fabric, bent turnbuckles, and cracks around mounting points. If you notice any of these, your location is likely in a wind tunnel.
- Between two tall buildings with less than 30 feet of gap.
- Open-sided structures like pavilions that funnel wind toward the sail.
- Coastal areas without natural windbreaks like fences or hedges.
4. On Weak or Rotting Mounting Surfaces
Your shade sail is only as strong as its mounting points. A sail under tension exerts significant force on each anchor. If the mounting surface is weak, the hardware will pull out over time.
Wood posts that are rotting at the base cannot hold tension. Thin metal poles bend under load. Brick and concrete without proper expansion anchors crack over time.
According to, mounting failure accounts for roughly 35% of premature shade sail replacements.
Warning: Never mount a shade sail to a fence post that is less than 4×4 inches thick. Fence posts are not designed to handle the lateral tension load that a shade sail creates. The fence can collapse.
- Old wooden fence posts that wobble or show rot at the base.
- Metal poles that are not rated for lateral load (most flagpoles and light poles).
- Brick or stone columns without proper concrete footings and expansion anchors.
- Aluminum or vinyl siding panels without a backing plate inside the wall.
5. At a Flat or Near-Flat Angle
A shade sail that is installed flat or nearly flat will not shed water. Rainwater collects in the center of the fabric. The weight of the water stretches the fabric and strains the seams.
Water pooling causes permanent damage in two ways. First, the stretched fabric loses its shape and cannot regain proper tension. Second, standing water promotes mold, mildew, and algae growth that stains the fabric permanently.
The minimum recommended angle for any shade sail is 18 degrees. Most manufacturers recommend 18 to 25 degrees for optimal water shedding and wind deflection.
| Location to Avoid | Why It Harms the Sail | Risk Level | Recommended Alternative |
|---|---|---|---|
| Under or near trees | Sap, branches, shade, and moisture | High | Open yard with at least 10 feet clearance |
| Over metal or reflective roofs | Heat buildup accelerates UV damage | High | Install with 3-4 ft air gap above roof |
| Wind tunnels between buildings | Wind speeds 2-3x higher than surrounding area | High | Open area with natural windbreaks |
| Weak or rotting mounting surfaces | Hardware pulls out, sail collapses | Critical | Steel posts with concrete footings |
| Flat or near-flat angle | Water pools, fabric stretches, mold grows | High | Minimum 18-degree pitch on all sides |
Signs Your Shade Sail Is Failing Due to Poor Placement
Even if you chose a decent location, poor placement issues can develop over time. Watch for these warning signs.
- Water pooling: If you see standing water on the fabric after rain, your angle is too flat. Fix it immediately before the fabric stretches permanently.
- Fabric sagging between storms: If the sail stays loose even after tensioning, the fabric has stretched beyond recovery. This often happens from repeated water pooling.
- Mold or mildew spots: Dark patches on the fabric indicate it stays damp for too long. This is common near trees or in shaded corners.
- Cracks around mounting holes: The hardware is pulling against the mounting surface. This indicates either weak mounting points or excessive wind load.
- Bent hardware: Turnbuckles, D-shackles, or carabiners that are bent or warped indicate wind loads that exceed the system’s capacity.
Warning: If you see cracks forming around the mounting holes in brick, concrete, or wood, remove the sail immediately. The mounting point is failing, and the sail could collapse without notice.
How to Choose a Good Location Instead
Picking the right spot is straightforward once you know what to avoid. Follow these guidelines.
- Choose open space: Pick an area with at least 10 feet of clearance from trees, buildings, and other structures on all sides.
- Check the sun path: The sail should block direct sun during the hours you use the space. Use a sun calculator app to verify the angle.
- Test the mounting points: Every anchor point must be solid. Use 4×4 or 6×6 pressure-treated wood posts set in concrete, or steel posts rated for lateral load.
- Aim for 18 to 25 degrees: Attach the high side to the building or a tall post. Attach the low side to a lower post or the ground. This creates the correct pitch.
- Account for prevailing wind: Orient the sail so wind can pass over it rather than lift it. Position the low side toward the prevailing wind direction.
Tip: Use a string line and a level to check your pitch before you install the final hardware. Run a string from your highest anchor point to your lowest one. Measure the angle with a digital level or protractor app on your phone.
Common Myths vs Facts
Myth 1: A darker color will make the shade sail last longer.
Darker fabrics actually absorb more heat. This accelerates UV degradation compared to lighter colors. Lighter fabrics reflect more sunlight and stay cooler, which extends their lifespan. Stick with light gray, sand, or cream colors for maximum longevity.
Myth 2: Tighter is always better for wind protection.
Over-tensioning a shade sail puts excessive stress on the fabric and hardware. The fabric needs a small amount of flex to absorb wind loads without tearing. Follow the manufacturer’s tensioning guidelines rather than cranking it as tight as possible.
Myth 3: You can mount a shade sail to any sturdy-looking structure.
Many sturdy-looking structures are not designed for lateral tension loads. Brick columns without steel reinforcement, hollow concrete blocks, and thin metal poles can fail even though they look strong. Always check the mounting surface for its load rating before installing.
Frequently Asked Questions
Can I install a shade sail over my wooden deck?
Yes, but mount the sail to the house or to dedicated posts, not to the deck railing. Deck railings are not designed for lateral load. Attach to the house framing with lag bolts and use 4×4 posts set in concrete on the other side.
What is the best height for a shade sail?
Install the lowest point at least 7 to 8 feet above the ground so people can walk underneath. Install the highest point at 10 to 12 feet. This creates enough pitch for water drainage while maintaining clearance.
How do I know if my mounting points are strong enough?
Use a pull test. Attach a rope to the mounting point and pull with a spring scale. The point should hold at least 200 pounds of lateral force without moving. For commercial or large sails, consult a structural engineer.
Can I leave my shade sail up all year?
You can, but removing it during winter extends its life. Snow load can stretch the fabric, and ice can damage the weave. If you leave it up, increase the pitch to at least 25 degrees and inspect it after every storm.
Does the shape of the sail affect where I can install it?
Yes. Triangular sails are easier to tension correctly because three corners create a flat plane. Square and rectangular sails require very precise tensioning to avoid sagging in the middle. Triangular sails are better for most homeowners.
Final Thoughts
Where you install your sun shade sail matters more than the quality of the sail itself. Avoid trees, reflective roofs, wind tunnels, weak mounts, and flat angles. Pick an open location with a minimum 18-degree pitch and solid mounting points. Your shade sail will last 5 to 10 years with the right placement and basic maintenance.