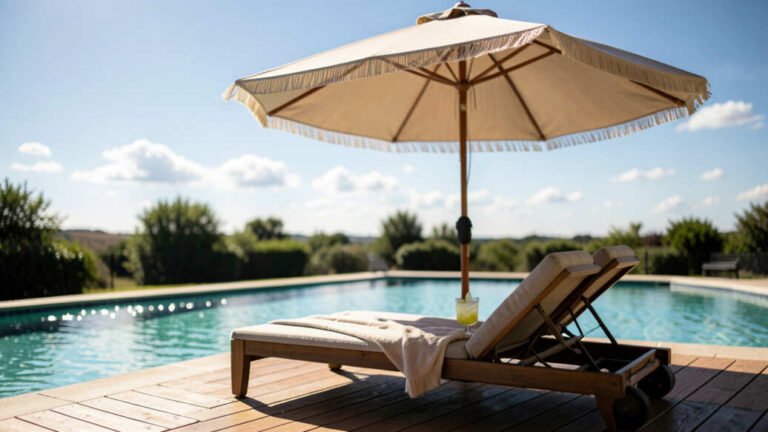
To stop a sun shade sail from failing in wind, install it with a 10 to 15 degree angle so wind lifts off rather than catching the fabric, and use only 316 stainless steel hardware with turnbuckles for proper tensioning. The most common cause of failure is a flat, slack installation that creates parachute-like uplift forces, which can pull out anchors or snap cheap components. Ensuring high-quality materials and seasonal tension adjustments provides long-term durability by managing airflow instead of resisting brute force.
A flapping shade sail puts extreme stress on every anchor point. Something will snap given enough time. This guide explains how to stop a shade sail from failing in the wind permanently.
Quick Verdict: Simply put, stopping a shade sail from failing in the wind requires three things: high-quality 316 stainless steel hardware, proper tensioning using turnbuckles, and a correct install angle (10-15 degrees) that allows wind to lift off instead of catching the fabric. Airflow management, not brute strength, is the key to durability.
Shade sails fail for a few specific reasons. The most common cause is a flat installation with slack fabric. Wind hits the loose material and pushes it up like a parachute. This creates massive uplift force that pulls anchors out of the ground or snaps cheap hardware.
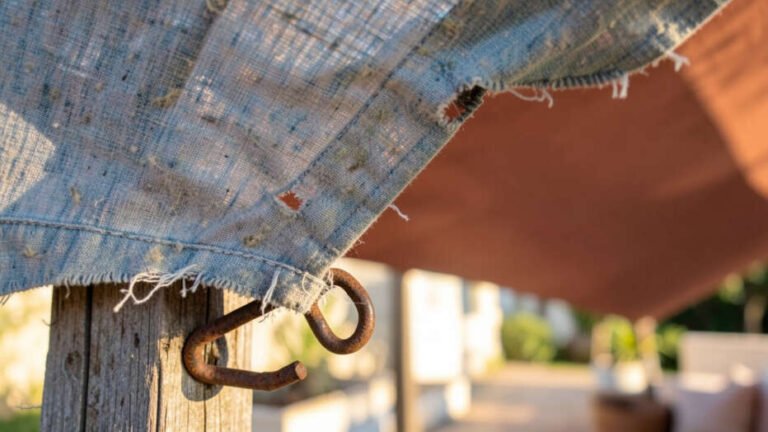
A second major cause is poor material selection. Zinc-plated bolts and softwood posts cannot handle the constant stress. Over time, corrosion weakens the metal, and rot destroys the wood. The sail then fails during a moderate wind gust.
According to the, basic wind speeds in most US regions exceed 100 miles per hour during storms. A sail that blocks 80-90% of light still catches a tremendous amount of wind force. Ignoring wind load calculations leads directly to failure.
Key Takeaways for a Wind-Resistant Shade Sail Installation
These five points summarize everything you need to know about stopping shade sail failure in the wind. Each statement is a proven rule from industry standards and professional installers.
- Using HDPE fabric with a 90% shade rate allows enough wind to pass through to reduce uplift force on the structure.
- 316 stainless steel turnbuckles and D-shackles resist corrosion and provide the high-tensile strength needed for permanent outdoor tension.
- A shade sail installed with a 10 to 15 degree downward slope channels wind over the top rather than catching it underneath like a parachute.
- Concrete footings or steel posts offer significantly more stability than wooden posts, which tend to rot weaken and fail over several seasons.
- Regular inspection and minor re-tensioning every season prevents small issues from becoming catastrophic failures during high-wind weather events.
What You Need Before You Start
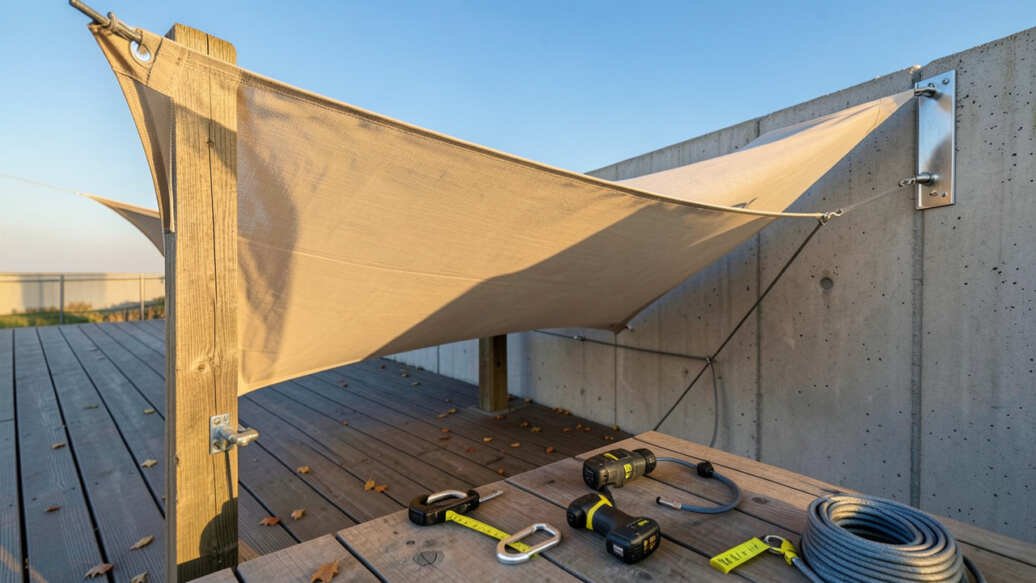
You cannot stop shade sail failure with fabric alone. The hardware system is the backbone of the entire structure. Using cheap parts guarantees failure. Invest in marine-grade materials from the start.
Industry reports from the show that over 70% of shade sail failures relate to inadequate tensioning and substandard hardware components. Do not become part of that statistic.
Tip: Buy all hardware from a marine supply store rather than a general home improvement store. Marine-grade stainless steel has a much higher nickel content which provides superior resistance to rust and corrosion.
Hardware Component Checklist
Gather these items before you begin your installation. Every component plays a specific role in distributing wind loads safely.
| Component | Grade / Material | Purpose |
|---|---|---|
| Turnbuckles | 316 Stainless Steel | Provides precise tension adjustment over time |
| D-Shackles | 316 Stainless Steel | Connects hardware to anchor points securely |
| Snap Hooks | 316 Stainless Steel | Allows quick attachment to posts or brackets |
| Anchors / Bolts | 316 Stainless Steel or Galvanized | Secures the entire system to the ground or wall |
| Fabric | HDPE (High-Density Polyethylene) | Allows wind to pass through while blocking UV rays |
Anchor Point Options
Your anchor points must withstand the cumulative tension of the entire sail. A sail pulling at 200 pounds per corner requires anchors that can handle much more than that over decades of use.
- Concrete footings – The most reliable option. Dig a hole at least 12 inches wide and 24 inches deep. Pour concrete and set a steel post bracket.
- Steel posts – Use schedule 40 galvanized steel pipe set in concrete. Wood posts rot and break over time.
- House walls – Bolt directly into structural beams using heavy-duty expansion anchors. Never attach to siding alone.
- Existing structures – Pergolas and gazebos work only if they are built from metal or thick treated lumber designed for wind loads.
How to Install a Shade Sail for Maximum Wind Resistance
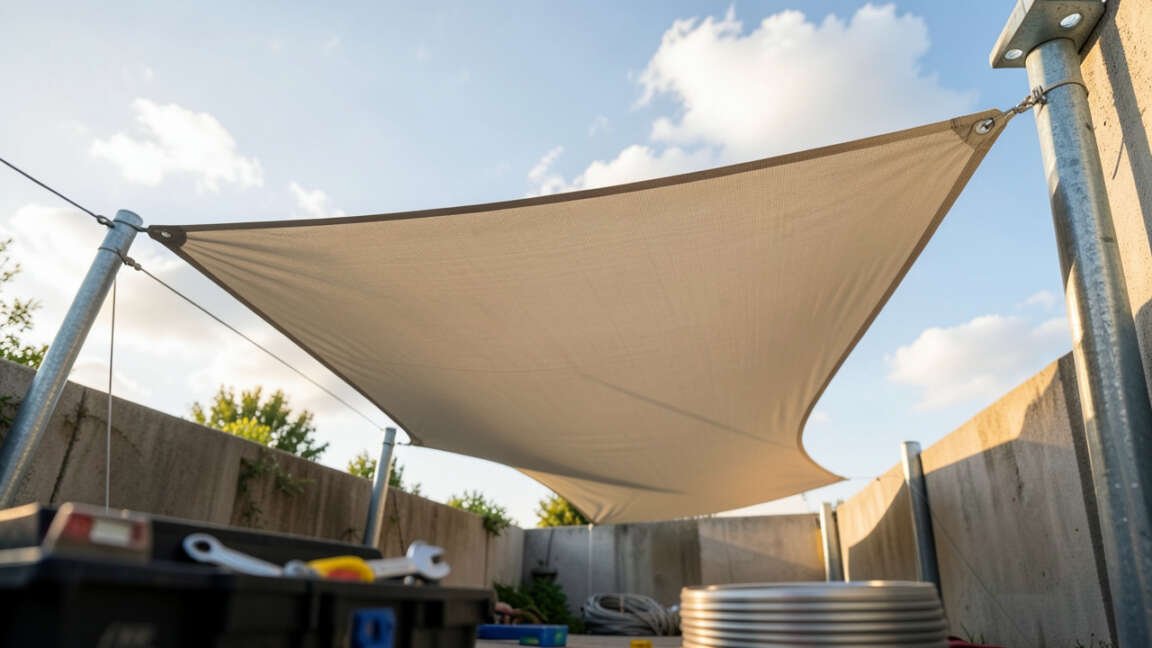
Following a precise installation sequence separates a permanent solution from a temporary fix. Each step builds on the previous one to create a unified tension system.
Warning: Never stretch a wet or cold shade sail tight for the first time. Fabric contracts in cold weather and expands when wet. Tensioning under the wrong conditions can tear the material or overload the hardware.
Step 1: Set the Fabric Height and Angle
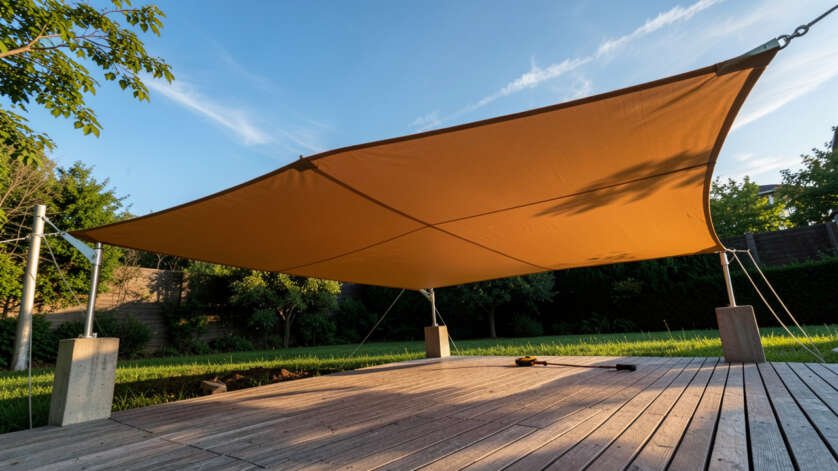
The angle of the sail determines how wind interacts with it. A flat sail acts like a wall. A sloped sail acts like an airplane wing.
- Attach one corner of the sail to its highest anchor point first. This is usually the corner closest to your house wall.
- Move to the opposite corner. Pull the fabric so it slopes downward at a 10 to 15 degree angle.
- Secure the remaining corners at the lowest points. The low side should be the direction from which prevailing winds come.
- Check that every corner is at a different height. A sail with two corners at the same height cannot shed wind effectively.
Step 2: Install the Tensioning Hardware
Turnbuckles are the most important part of a wind-ready shade sail system. They let you adjust tension monthly or seasonally as the fabric stretches and relaxes.
- Thread a D-shackle through the D-ring or loop on the sail corner.
- Connect a turnbuckle between the D-shackle and your anchor point hardware.
- Hand-tighten the turnbuckle until the fabric is drum-tight. A tight sail should not deflect more than one inch when you push on its center.
- Use lock washers on every bolted connection to prevent vibration from loosening the fasteners over time.
Step 3: Tension the System Seasonally
Fabric stretches during the first few months. Temperature changes cause the material to expand and contract. Adjusting the turnbuckles keeps the sail tight throughout the year.
- Check tension every 30 days for the first three months after installation.
- Move to a quarterly schedule once the fabric has stabilized.
- Tighten turnbuckles in the morning on a cool day for best results.
- Never overtighten. A sail that sounds like a drum when tapped is tight enough. A sail that strains the stitching is too tight.
What Are the Best Materials for a Wind-Resistant Shade Sail
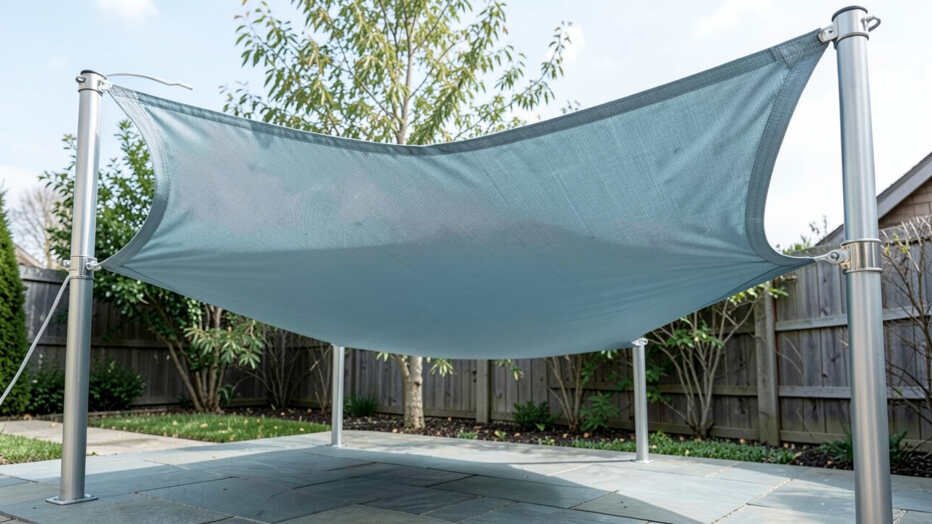
Fabric choice directly affects wind performance. The best material for wind resistance is not the same as the best material for rain protection. You must prioritize airflow over waterproofing in windy areas.
HDPE fabric is the industry standard for wind-prone locations. The knitted structure creates thousands of tiny air gaps. These gaps allow wind to pass through the fabric itself, which dramatically reduces uplift force. According to fabric manufacturers, HDPE material typically has a tensile strength exceeding 600 pounds per square inch.
Important: A shade sail that blocks 95% or more of light is too dense for windy areas. Look for fabric in the 80% to 90% shade rating range. The extra light penetration gives wind a path through the material rather than around it.
Fabric Comparison Table
| Feature | HDPE (Knitted) | Polyester (Canvas) | PVC Coated Polyester |
|---|---|---|---|
| Wind Resistance | Excellent (air passes through) | Poor (catches wind like a sail) | Poor (completely airtight) |
| UV Protection | High (blocks 80-95% UV) | High (blocks 90-99% UV) | Very High (blocks 99% UV) |
| Water Resistance | Low (water passes through) | High (water beads off) | Very High (waterproof) |
| Breathability | Excellent | Low | None |
| Best Use Case | Windy, dry climates | Calm, shaded patios | Rain shelters, full cover |
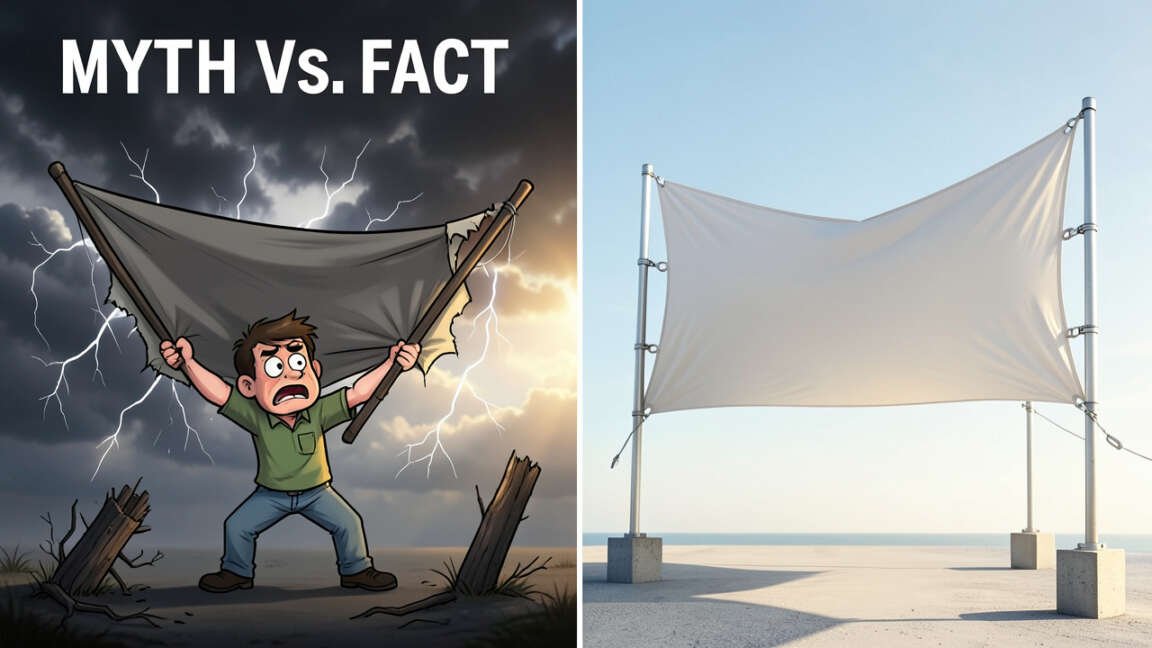
Common Myths vs Facts About Shade Sails and Wind
Many homeowners believe outdated or incorrect information about shade sail installation. These myths lead directly to wind damage and early failure.
Myth 1: Tighter is Always Better
Fact: Over-tensioning a shade sail puts excessive stress on grommets, stitching, and anchor points. A sail should be tight enough to avoid flapping but flexible enough to allow some movement. If the fabric sounds like a drum and the posts creak, you have exceeded safe tension levels. Shade sails perform best when they have slight give under heavy pressure.
Myth 2: Any Stainless Steel Works Outdoors
Fact: Standard 304 stainless steel rusts when exposed to salt air or constant moisture. Marine-grade 316 stainless steel contains molybdenum, which adds a layer of protection against chlorides and corrosion. Using 304 hardware on a coastal property leads to rust stains and structural weakness within two years.
Myth 3: A Flat Sail Looks Better and Works Fine
Fact: A completely flat sail provides no path for wind to escape. The wind builds pressure underneath and lifts the entire structure. A 10 to 15 degree pitch allows wind to roll over the surface. This reduces uplift force by a significant margin compared to a flat orientation.
Pro Tips for Long-Term Shade Sail Performance
These actionable tips come from professional installers who work with shade sails daily. Applying them will extend the life of your installation well beyond the average.
- Use lock washers on all bolts. Wind causes constant vibration that slowly unscrews standard fasteners over weeks and months.
- Remove the shade sail during the off-season if you live in a heavy snow area. Snow load combined with wind load creates forces that even the best hardware cannot handle.
- Lubricate turnbuckles with a silicone spray once per year. This prevents rust from seizing the threads and keeps future adjustments simple.
- Install a quick-release system on one corner of the sail. This lets you drop the sail quickly before a major storm without tools.
- Trim any tree branches that hang near the sail. Falling branches can puncture the fabric or bend the hardware during a wind event.
- Replace galvanized hardware every 5 years. Galvanization wears off over time and exposes the underlying steel to moisture and rust.
Tip: Take photos of your installed hardware setup before you make any adjustments. This creates a reference point for re-tensioning after winter removal or seasonal changes.
Frequently Asked Questions
Can I leave my shade sail up all year long?
Yes, but only if you use HDPE fabric and marine-grade 316 stainless steel hardware. Remove the sail if you live in an area with heavy snow or hurricane-force winds. Seasonal removal dramatically extends the life of the fabric and hardware.
How do I know if my shade sail is tight enough?
Press your palm firmly against the center of the sail. The fabric should deflect no more than one inch. A properly tensioned sail should not visibly flap or ripple in a light breeze. If the sail moves more than an inch, tighten the turnbuckles evenly across all corners.
What type of fabric handles wind best?
Knitted HDPE fabric handles wind better than any other option. The open weave structure allows air to pass through the material itself. This reduces wind load on the entire system. Avoid solid polyester or PVC fabrics in windy locations.
Do I need a professional to install a wind-resistant shade sail?
A competent DIY homeowner can install a shade sail successfully. The critical details are proper angle, high-quality hardware, and correct tension. If you cannot set concrete footings or drill into structural beams safely, hire a professional installer for those specific parts of the job.
What wind speed can a properly installed shade sail withstand?
A system built with 316 stainless steel hardware, HDPE fabric, and concrete footings typically withstands sustained winds up to 60-70 miles per hour. This covers most common wind events. In hurricane-force winds above 80 mph, you should remove the sail to prevent structural damage to anchor points.
Final Thoughts
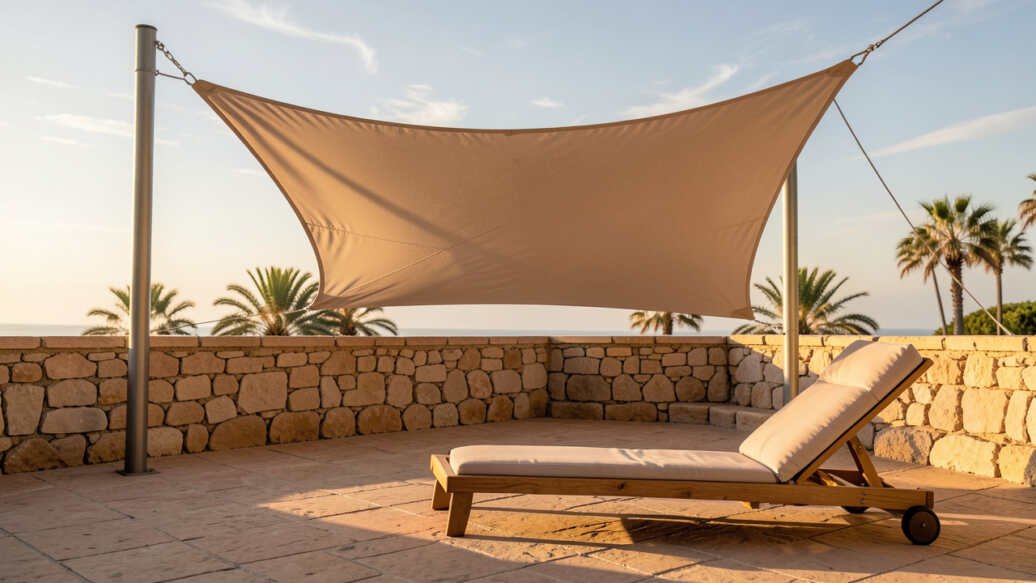
Stopping a shade sail from failing in the wind comes down to proper slope, marine-grade hardware, and HDPE fabric that allows wind to pass through. Tension management is an ongoing process that requires seasonal adjustments. Invest the time in a correct installation now and your shade sail will stay secure for years without incident.