If your Whirlpool electric stove stops working, there are a couple of explanations for it. You will usually see problems like the burner, oven, or the preheating not working, the stove having no power and the display being blank.
Your Whirlpool electric stove not working can be a nightmare when you are in the middle of cooking. Do not panic yet. Read this article on how to get it running again.
Key Takeaway
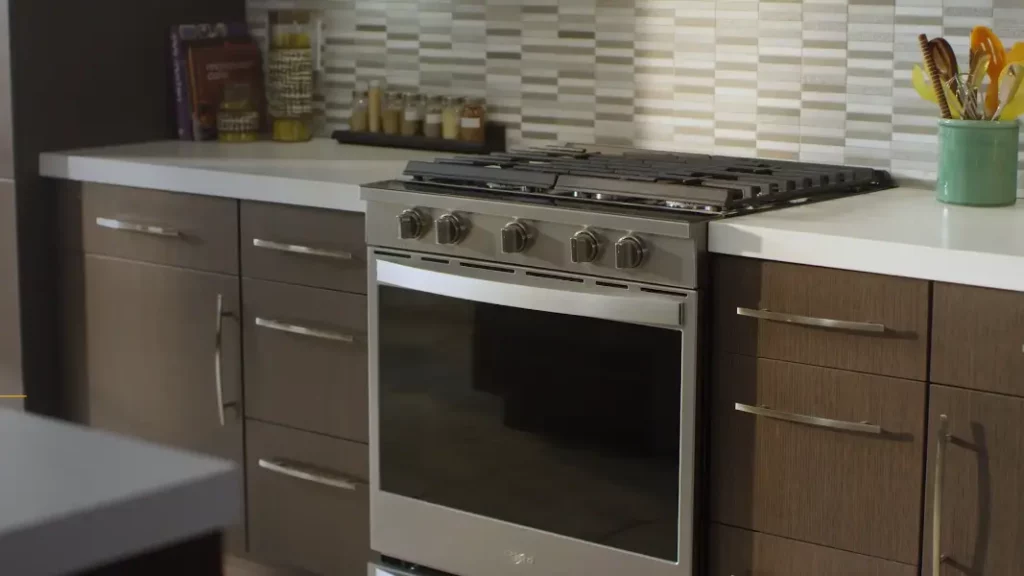
Whirlpool Electric Stove Not Working – How to Get It Running Again?
If you have ever had your Whirlpool electric stove suddenly go on strike, you know the frustration it can bring to your cooking plans.
Let’s see where the problems lie and how to get you back to cooking:
Burner Not Working
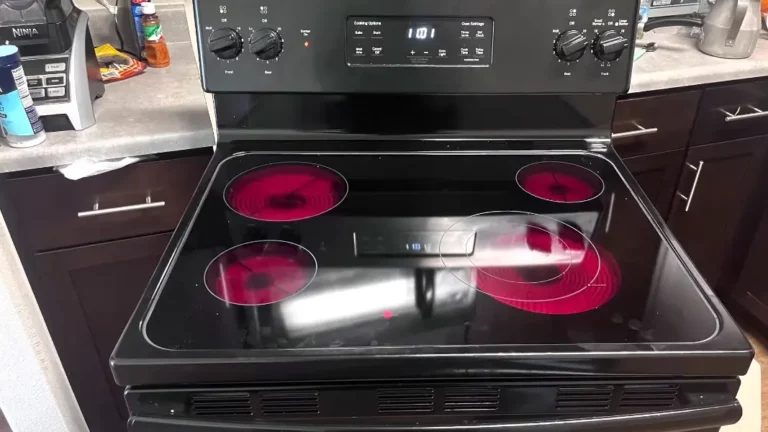
What happens most of the time is the burners stop working. These burners rely on heating elements that eventually burn up. So, it’s not uncommon for your stove to act the same.
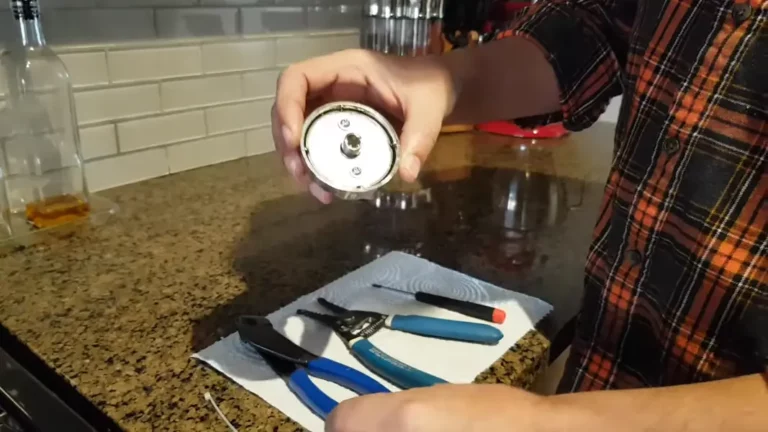
Possible reasons behind it include a damaged element, faulty connection, or defective control switch. Sometimes even the control knobs break apart inside leaving you not being able to turn the power up.
Solution:
The first thing to do is figure out which part is the culprit. You can open up the range from the front and the back and take a peek to see if anything is burnt to a crisp.
Follow these steps:
- Before doing anything else, do a power cycle by turning it off for a minute and then retrying to cook.
- If that doesn’t work move on to inspect the elements. Try another burner and see if that works. Replace any damaged elements. (Buy here)
- Check the connecting wires as those are usually cheap and easily burn up.
- If the elements and the connections are okay, move on to the control switch. Use a multimeter and check the switch’s continuity.
You can call a technician to check and replace the faulty parts for you which is easier and more reliable than DIY.
Oven Not Working
If the burner is working fine but the oven does not heat at all, it might be time to get it repaired. The main reason behind this is the lack of power to the oven.
The top burners run on 120V but the oven needs a constant 240V supply to run smoothly. If your outlet is not capable enough, you will be stuck with a dead oven until you change it.
Other causes include a faulty thermistor and a bad control board. These two communicate to determine how much heat the oven has to produce.
Solution:
First and foremost, check the power supply circuit. Make sure the rating is higher than the required rating which is 240V.
See if there is a burn smell coming from the power cord or outlet. Open up the bottom cover inside the oven and check the elements for damage.
If both the power and heating elements are fine, the oven control relay on the control board may be faulty. Replace the relay and you will be back to baking in no time.
Shutdowns, Blank Display and Clock (Code: PF)
The whole range has power issues with no display or clock and the display shows a “PF” code (Power Failure) and shuts down the range. The worst-case scenario is that the whole control board is bad.
Apart from that, this can happen because of the board heating up and the thermal fuse turning off the power before it reaches the 900°C temperature mark.
Solution:
A control board will set you back around $250 with shipping if you go the OEM route. So before doing any replacement, try removing and reconnecting the ribbon cable.
Clean the connectors with isopropyl cleaners and properly solder them into place. Check whether the stove still randomly shuts down.
If the shutdown issue is still there and you see no display, you will have to replace the electronic clock control board. The part number is “W10244191”. Get a professional to change it for you.
Oven Door Does Not Lock (Code: F5E1)
If the self-cleaning feature is activated but the door does not lock the display shows the “F5E1” error code. The self-cleaning light turns on and shows ETA to finish cleaning and the code appears.
The code refers to Lock/Latch issues, usually a problem with the locking mechanism
Solution:
If you can not get the door to lock itself, get it replaced or replace it yourself. The part costs around $160 and you can buy it from here.
Here are the steps to replace the door lock motor and switch assembly:
- Remove the back panel cover(s) and remove the mounting screws on the motor.
- Detach the old latch motor from the connecting rod.
- Install the new door lock motor by placing it onto the rod and securing it with the mounting screws.
- Remove the connecting wires from the old motor and attach them to the new one.
- Close up the back panels and plug it back in to make sure the door locks itself.
If you want visual guidance you can check out this video.
Related Post: Common Frigidaire Electric Stove Problems (Solutions Added!)
Whirlpool Electric Stove Not Working – Error Codes and Meaning
If your Whirlpool electric stove is throwing fault codes, it becomes easier to diagnose the problems.
Fortunately, Whirlpool electric stove error codes are very simple. The primary denominator is “F” with some of them having a secondary denominator “E”.
Whirlpool Electric Stove Error Codes and Meaning
| Code | Issue/Fix |
| F1-(E0-E9) | Power Cycle Requirement |
| F2-(E0-E6) | Keypad or Keypad Cable issue |
| F3-E | Oven Thermistor Fault |
| F5-E | Oven Door, Door Switch, Door Latch Motor Fault |
| F0, F1, F8 | Control Board Failed |
| F2 | Oven Temp. Too high |
| F7 | Function Key Stuck |
| F9 | Door Lock Failed |
(Source: Whirlpool)
Diagnostic Mode and Reset – Whirlpool Electric Stove/Range
The Diagnostic Mode is an amazing feature in Whirlpool. You can easily troubleshoot and resolve many common issues with this.
Here is how to access the diagnostic mode:
- Press “Cancel” twice and then “Start” once within 5 seconds. The display will show “tst” stating that you are in the test mode.
- If your stove does not come with a numpad, press the up arrow 5 times and it will show the error code.
- If it does have a numpad, keep pressing the number 3 button until you see “Auto Test”.
- Press start on auto test and it will determine the error code and show it on the display.
- Press “Cancel” twice again to exit the diagnostic mode.
- To reset the stove, press the number 3 button six times and the display will show “Control Reset”. Press the “Start” button twice and it will reset the stove.
Related Post: Why Is My Gas Stove Knob Stuck On?
Frequently Asked Questions (FAQs)
Do electric stoves use fuses?
Yes, electric stoves use a thermal fuse that cuts off power if the range overheats. The upper-temperature limit is usually around 900°C.
What is the weakest component of an electric stove?
The glass surface. These are not as strong as the rounds of a propane stove. They get easily strained and the element starts to heat up slowly.
How long does an electric stove last?
An electric stove can last up to 15 years on average if you take good care of it. The controls are the first components to show fault but you can easily replace them.

