Making really good, creamy foam for your coffee at home can seem tricky at first. You might wonder if you’ll ever get that smooth, silky texture you see in cafes. Don’t worry!
This guide makes it super simple. We’ll walk you through easy steps to get fantastic foam every time. Get ready to learn how to make your coffee drinks even better.
Key Takeaways
- You’ll learn the best milk to use for creamy foam.
- Discover how to steam milk correctly for the right temperature and texture.
- Understand how to create microfoam, the small bubbles that make foam smooth.
- Get tips on cleaning your equipment to keep it working well.
- Find out how to practice and improve your foam-making skills.

Getting Started with Creamy Foam
Making nice foam for your coffee at home is easier than you might think. Many people find it a bit confusing when they first try. But with the right steps, you can get that perfect creamy texture.
This guide will show you exactly how. We are going to look at 10 Tips for Perfect Creamy Foam at Home.
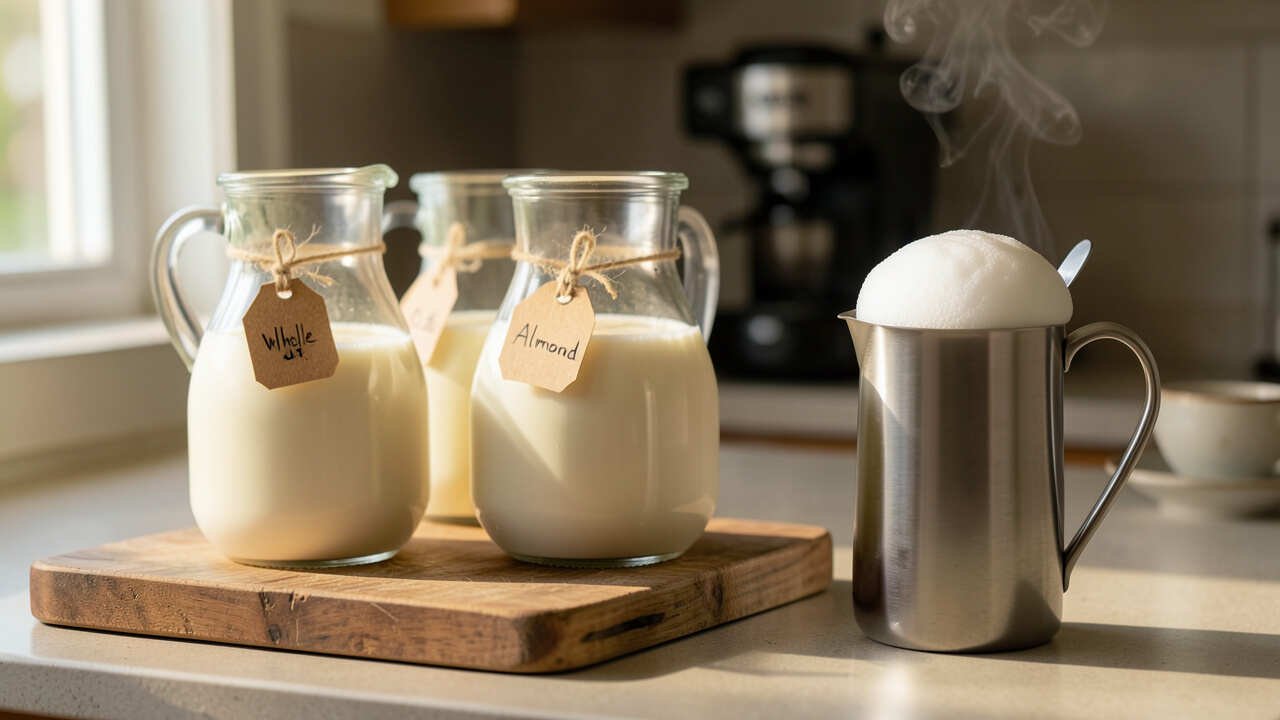
Choosing the Right Milk
The type of milk you use really matters for foam. Not all milks foam up the same way. Some work much better than others.
You want a milk that has a good amount of protein and fat.
Full-Fat Dairy Milk
This is often considered the best choice for creamy foam. The fat content helps create a smooth, rich texture. The proteins in the milk trap air and form bubbles that don’t pop too easily.
Low-Fat Dairy Milk
You can still get good foam with low-fat milk, but it might be a little less creamy. It can sometimes make foam that is a bit airy or breaks down faster. You might need to practice a bit more to get it just right.
Skim Milk
Skim milk is the hardest to make good foam with. It has very little fat. This means the bubbles can be large and unstable.
You might get foam, but it likely won’t be smooth or creamy.
Non-Dairy Milks
Many non-dairy milks can work, but they vary a lot. Some brands are made with ingredients that help them foam well. Look for ones that are unsweetened and have a creamy texture.
Oat milk is a popular choice for good foam. Soy milk can also work well. Almond milk is often more difficult to get creamy foam from.
The Importance of Milk Temperature
Getting the milk to the right temperature is a key part of making great foam. If it’s too cold, it won’t foam well. If it’s too hot, it can taste burnt and the foam won’t be stable.
Ideal Steaming Temperature
The sweet spot for milk temperature is between 140-155 degrees Fahrenheit (60-68 degrees Celsius). This is warm enough to steam but not so hot that it cooks the milk.
Using a Thermometer
A milk thermometer is a very useful tool. You can clip it to the side of your pitcher. This helps you keep track of the temperature as you steam.
If you don’t have a thermometer, you can learn to feel the pitcher. When the pitcher starts to feel too hot to comfortably hold for more than a few seconds, your milk is likely ready.
Steaming Techniques
How you steam the milk makes a big difference. There are two main parts to steaming: adding air and heating the milk.
Adding Air (Stretching)
This is when you create the foam. You want to introduce small bubbles into the milk. This is often called “stretching” the milk.
Start with the tip of the steam wand just below the surface of the milk. You should hear a gentle hissing sound. This means you are adding air.
Don’t let the tip go too deep, or you won’t add enough air. Don’t let it sit too high, or you’ll create big, bubbly foam.
Heating and Mixing (Texturing)
Once you’ve added enough air, you need to heat the milk. Submerge the steam wand deeper into the milk. This will create a whirlpool effect.
This whirlpool mixes the air into the milk and creates the creamy texture. It also heats the milk evenly.
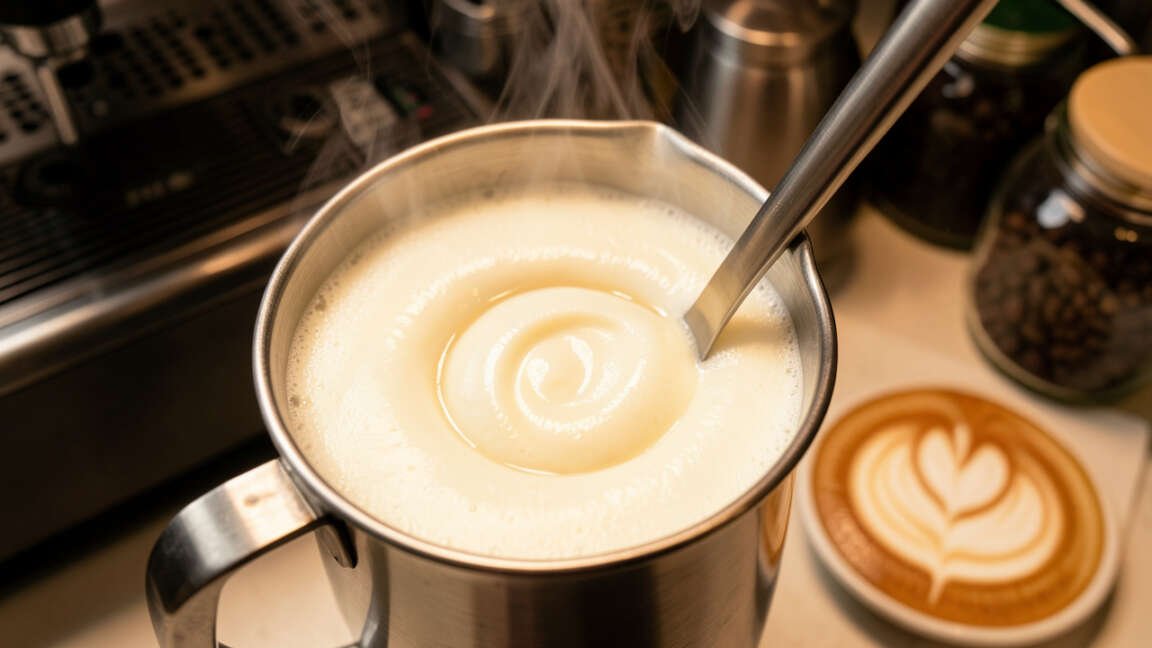
Creating Microfoam
Microfoam is the ideal texture for latte art and a smooth mouthfeel. It means the bubbles are very small and are evenly mixed into the milk. They are so small you can barely see them.
This gives the foam a glossy, wet-paint-like appearance.
The Goal of Steaming
Your goal during steaming is to create as much microfoam as possible. The stretching phase is short. The texturing phase is longer.
You are aiming for a smooth, velvety texture, not big, stiff bubbles.
Practice Makes Perfect
Getting good at microfoam takes practice. Don’t get discouraged if your first few tries aren’t perfect. Keep trying, and you’ll start to feel and see the difference.
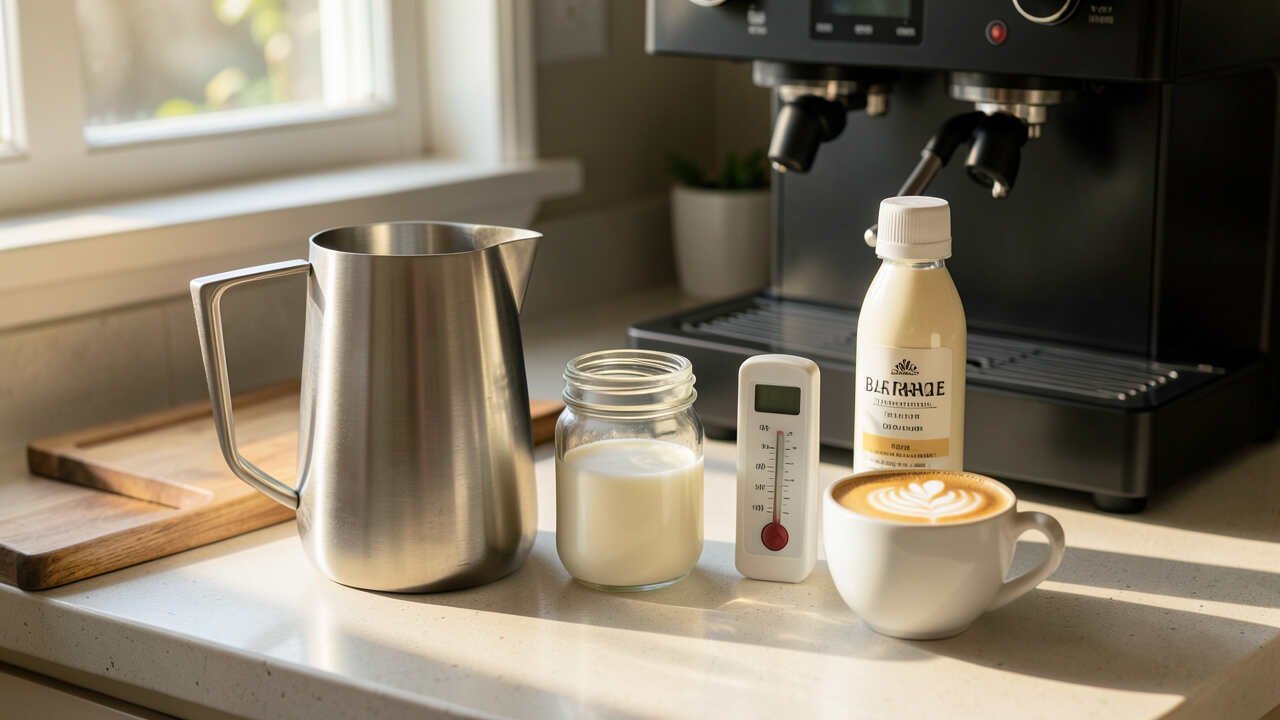
Using the Right Equipment
Having the right tools can make a big difference in your foam-making success. You don’t need super fancy machines to start.
Espresso Machine with Steam Wand
The most common way to get good foam at home is with an espresso machine that has a steam wand. These wands push hot steam into the milk. They allow you to control the air and heat.
Milk Pitcher
A metal milk pitcher is best. It conducts heat well, so you can feel when the milk is getting hot. It also has a shape that helps create the whirlpool effect for better texturing.
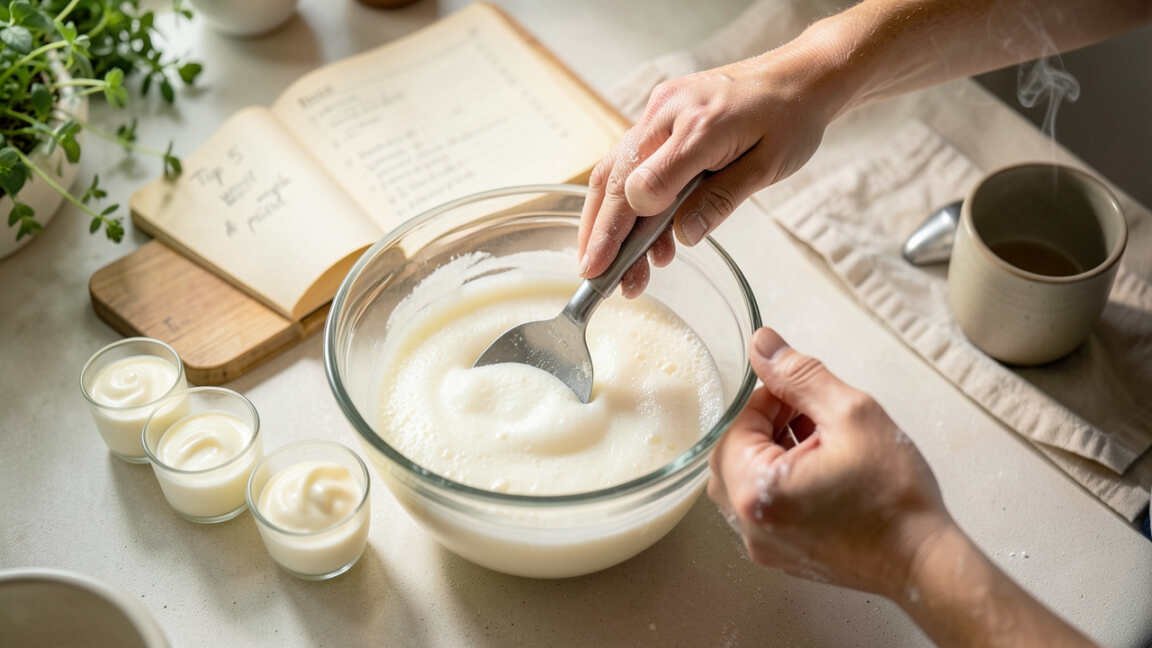
Alternative Frothing Methods
If you don’t have an espresso machine, there are other options:
- French Press: Heat milk separately, then pump the plunger up and down rapidly.
- Handheld Frother: These battery-operated whisks can create foam quickly.
- Electric Frothers: Some machines heat and froth milk automatically.
While these can create foam, they might not achieve the same microfoam quality as a steam wand.
Pouring Techniques
How you pour the frothed milk is just as important as how you froth it. This is where you get that beautiful latte art, if you wish.
Swirl the Milk
After steaming, gently swirl the milk in the pitcher. This keeps the foam integrated with the milk and prevents it from separating. Tap the pitcher on the counter a couple of times to break any larger bubbles.
The Pour
Start pouring from a slight height to let the milk flow under the crema of your espresso. As you get closer to filling the cup, lower the pitcher. This allows the foam to sit on top.
Experiment with different angles and speeds to see what looks best.

Cleaning Your Equipment
Cleanliness is super important for both taste and performance. Milk residue can build up and affect the flavor of your drinks and the quality of your foam.
Clean the Steam Wand Immediately
After each use, wipe the steam wand with a damp cloth. Then, run the steam wand for a second or two to clear out any milk inside. This prevents milk from drying and clogging the wand.
Wash Your Pitcher
Wash your milk pitcher with soap and water right after you use it. Milk proteins can stick to the metal if left for too long.
Common Mistakes and How to Fix Them
Everyone makes mistakes when learning. Knowing what to look out for can help you fix problems quickly.
Too Many Big Bubbles
If your foam is too bubbly, you likely introduced too much air at the beginning. Try submerging the steam wand a bit deeper or shortening the stretching phase.
Milk Too Hot or Not Hot Enough
If your milk tastes scalded, you overheated it. Use a thermometer or pay closer attention to the pitcher’s heat. If the foam is thin, the milk might not have been hot enough to fully integrate the air.
Foam Separates Too Quickly
This often means the milk wasn’t textured enough to create stable microfoam. Make sure you are submerging the wand to create that whirlpool effect.
Practice Makes Perfect
Like any skill, making perfect foam takes time and practice. Don’t get discouraged if you don’t nail it right away. Each time you make a coffee, you have an opportunity to try again.
Be Patient
Enjoy the process of learning. Try different types of milk. Experiment with how long you stretch and texture.
You’ll start to recognize what good foam feels and looks like.
Watch and Learn
Watching videos of baristas steaming milk can be very helpful. You can see the techniques in action. Pay attention to the sounds and the way they move the pitcher and wand.
Frequently Asked Questions
Question: What is the best type of milk for beginners to use for creamy foam?
Answer: For beginners, whole dairy milk is usually the easiest to work with. It has the right balance of fat and protein to create smooth, creamy foam.
Question: How do I know when my milk is hot enough but not too hot?
Answer: You can use a milk thermometer, aiming for 140-155 degrees Fahrenheit (60-68 degrees Celsius). Without one, when the pitcher feels too hot to hold comfortably for more than a few seconds, it’s usually ready.
Question: What if my foam has large, soapy bubbles?
Answer: This means you likely introduced too much air too quickly. Try keeping the steam wand tip just under the surface to create a gentle hiss, not a loud sputtering sound, and for a shorter time.
Question: Can I make good foam without an espresso machine?
Answer: Yes, you can. You can use a French press, a handheld frother, or an electric frother. However, achieving the same silky microfoam quality as with a steam wand can be more challenging.
Question: How often should I clean my milk pitcher?
Answer: You should clean your milk pitcher with soap and water right after each use. This prevents milk residue from sticking and affecting the taste and foam quality.
Final Thoughts
Making delicious, creamy foam at home is totally achievable. We covered choosing the best milk, getting the temperature right, and using simple steaming techniques. You learned how to make that silky microfoam and why cleaning your tools is a must.
Remember to practice, be patient, and enjoy the process of making your coffee drinks even better.
![What Can You Make With A Stand Mixer[1]](https://creativehouseblog.com/wp-content/uploads/2026/03/What_Can_You_Make_With_A_Stand_Mixer1-768x448.jpg)
![10 Tips To Get Perfect Crispy Pizza At Home[1]](https://creativehouseblog.com/wp-content/uploads/2026/04/10_Tips_To_Get_Perfect_Crispy_Pizza_At_Home1-768x448.jpg)
![10 Foods You Can Dehydrate At Home[1]](https://creativehouseblog.com/wp-content/uploads/2026/04/10_Foods_You_Can_Dehydrate_At_Home1-768x448.jpg)
![Stop Air Fryer Fails Common Mistakes[1]](https://creativehouseblog.com/wp-content/uploads/2026/03/Stop_Air_Fryer_Fails_Common_Mistakes1-768x448.jpg)
![Simple Ways to Boost Heating Efficiency Now[1]](https://creativehouseblog.com/wp-content/uploads/2026/05/Simple_Ways_to_Boost_Heating_Efficiency_Now1-768x403.jpg)
![Choosing The Right Rice Cooker Size[1]](https://creativehouseblog.com/wp-content/uploads/2026/03/Choosing_The_Right_Rice_Cooker_Size1-768x448.jpg)