Sous vide cooking sounds easy, right? Just put food in a bag, set a temp, and wait. But sometimes, it doesn’t turn out quite as you hoped.
You might wonder, 6 Reasons Your Sous Vide Results Are Not Perfect. Don’t worry! It’s common to hit a few snags when you’re new to it.
We’ll walk through the simple fixes to get you cooking amazing meals. Get ready to learn what you can do differently next time.
Key Takeaways
- You will learn the most common mistakes people make with sous vide.
- We will show you how to fix problems with temperature and timing.
- You’ll discover why sealing your food properly matters.
- We will explain how to get that perfect sear after sous vide.
- You will find out how to choose the right equipment for better results.
Why Your Sous Vide Isn’t Quite Right
Sous vide cooking uses water to cook food at a very steady temperature. This helps food cook evenly and stay juicy. It’s great for steaks, chicken, fish, and even vegetables.
But if your food comes out too tough, too mushy, or not quite cooked through, there are a few usual suspects. Let’s look at what might be going wrong so you can fix it.
Reason 1: Wrong Temperature
The Importance of Precise Heat
The biggest reason your sous vide might not be perfect is using the wrong temperature. Every type of food needs a specific temperature to cook just right. If your steak is too cool, it will be rare.
If it’s too hot, it might get tough and dry.
Matching Temp to Food
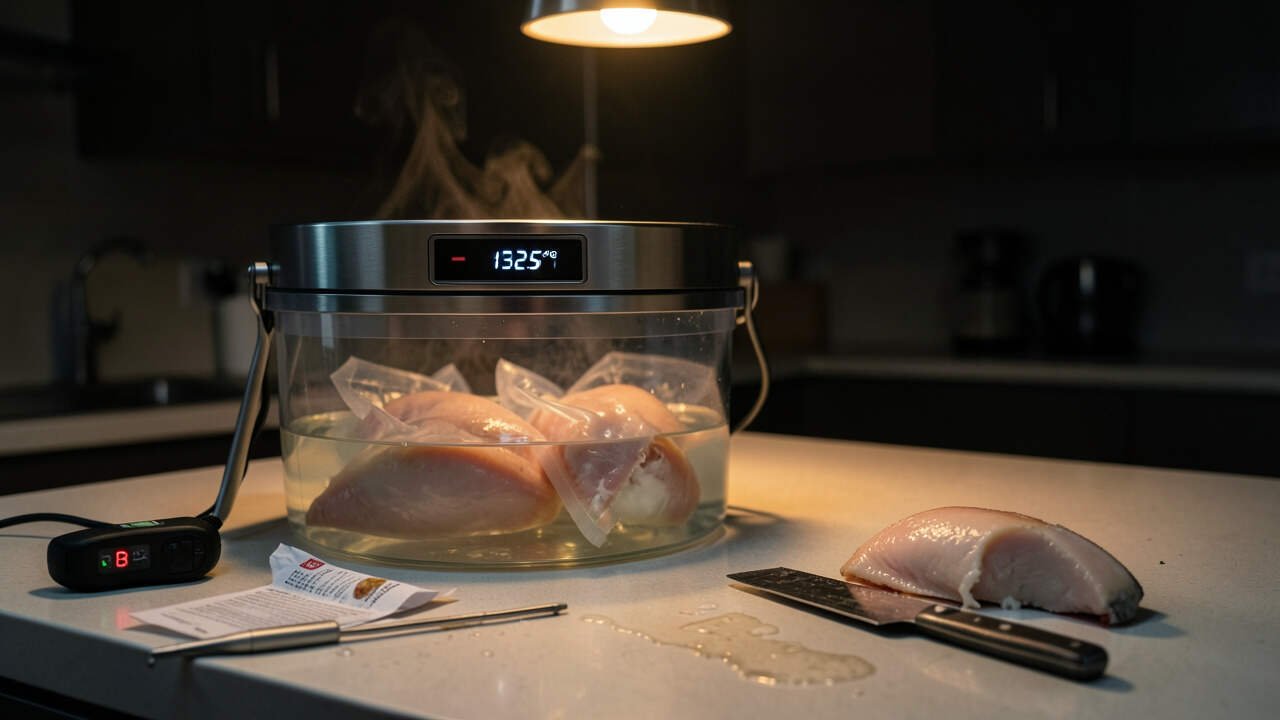
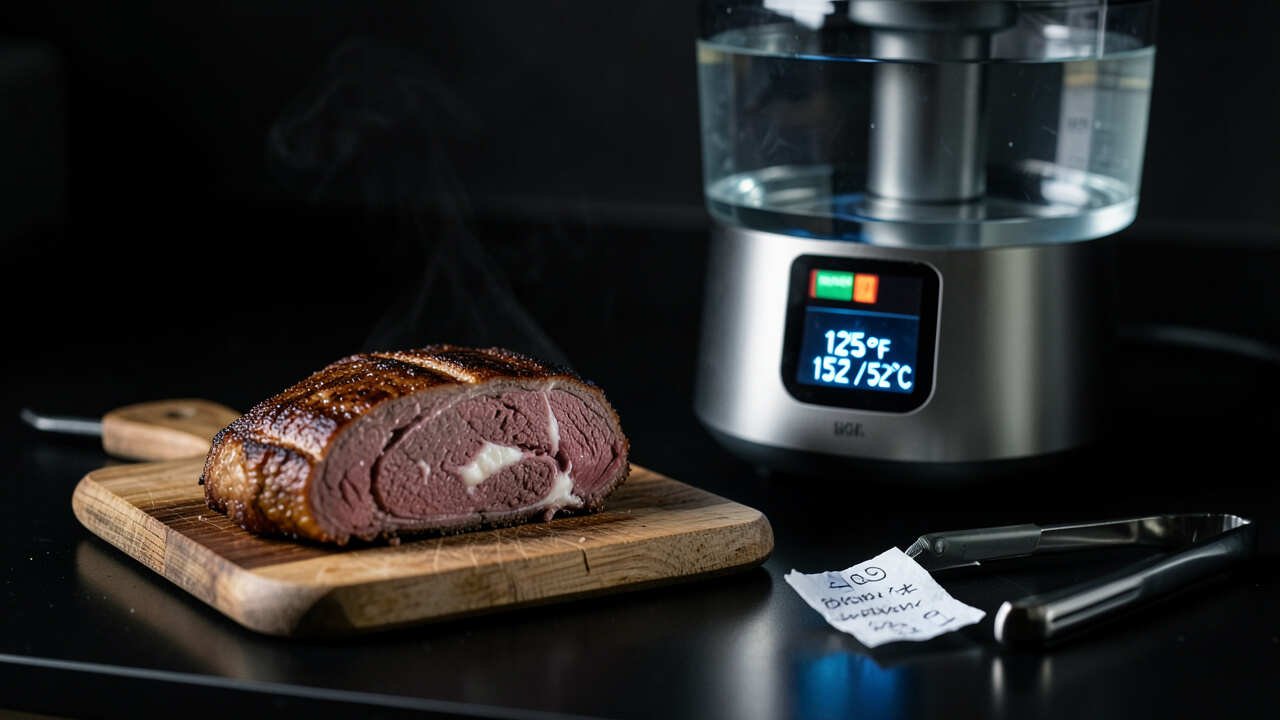
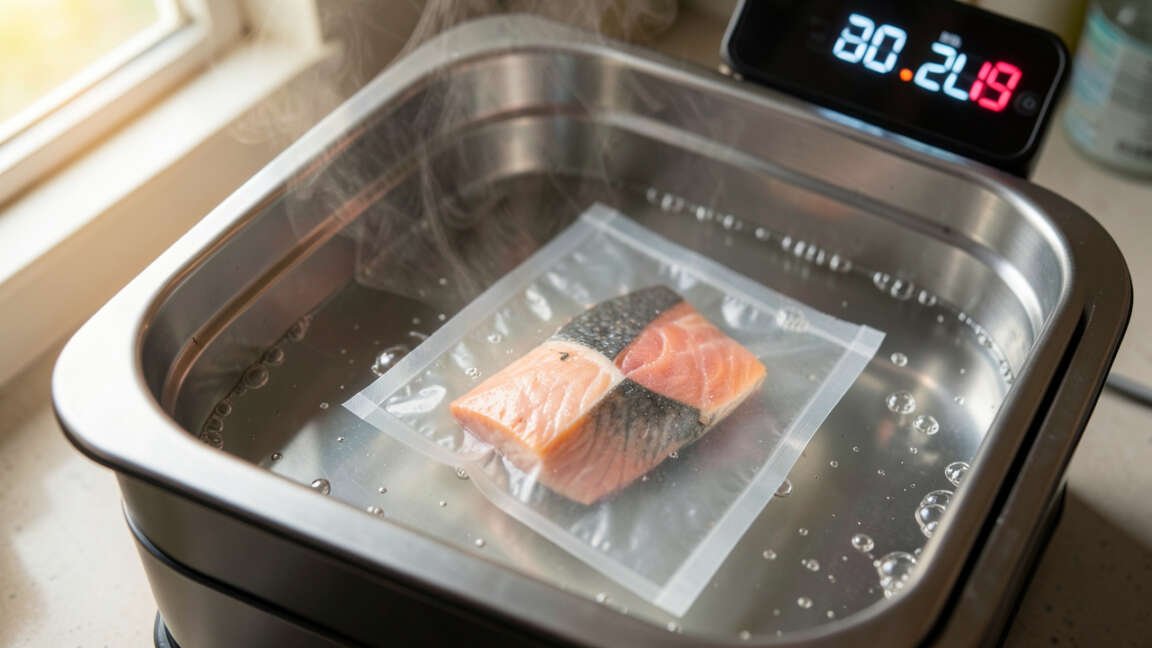
For example, a medium-rare steak is usually cooked between 130°F and 135°F (54°C to 57°C). Chicken breast needs to be at least 140°F (60°C) to be safe and tender. Fish is often best at a slightly lower temperature, around 120°F to 130°F (49°C to 54°C).
Checking Your Thermometer
Make sure your sous vide machine or water bath is set to the correct temperature. Sometimes, the thermostat can be a little off. You can test it with a reliable food thermometer.
If your machine reads 130°F but your thermometer says 125°F, you know to adjust your machine’s setting.
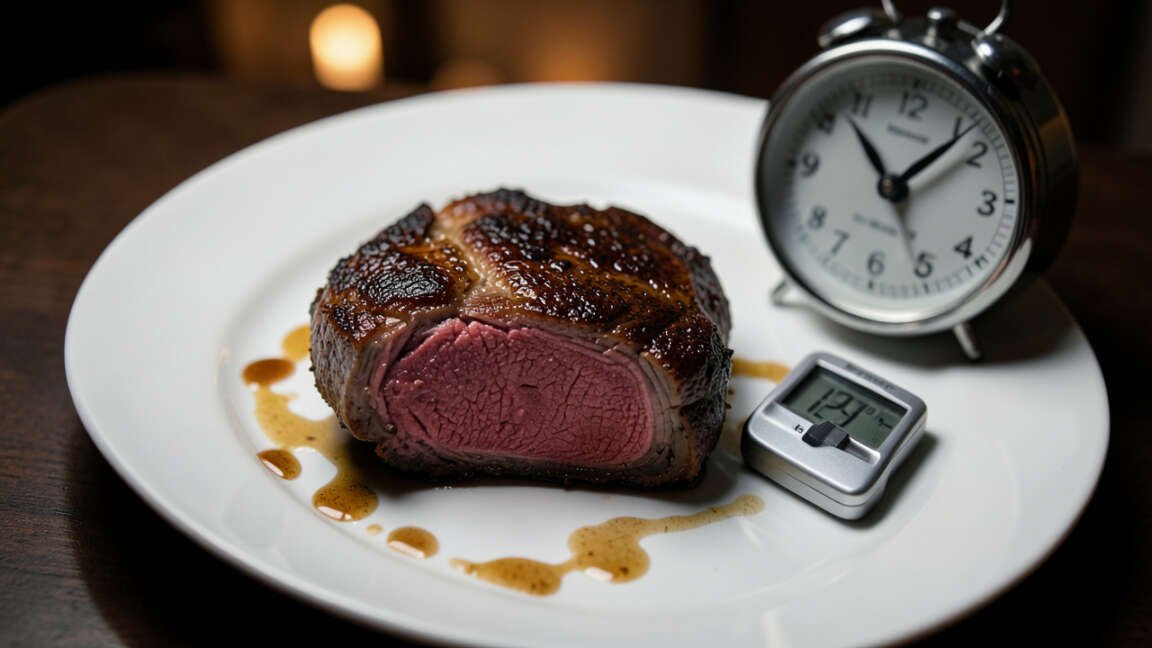
Reason 2: Incorrect Cooking Time
Time is Key, Too
Just like temperature, the amount of time food spends in the water bath is super important. If you don’t cook it long enough, it won’t be cooked through. If you cook it for too long, especially certain types of food, it can become mushy or have a weird texture.
Different Foods, Different Times
Thicker cuts of meat, like a roast, need more time than a thin fish fillet. For instance, a thick steak might need 1 to 3 hours. A salmon fillet could be done in 30 to 45 minutes.
Tougher cuts of meat, like pork shoulder, benefit from much longer cooking times, often 24 to 48 hours, to become tender.
Finding the Sweet Spot
It’s good to follow recommended times for different foods and thicknesses. You can find many charts and guides online that suggest times for various ingredients. It’s better to cook a bit longer than too short, especially for safety with meats, but avoid excessive overcooking.
Reason 3: Poor Sealing of Food
Why a Good Seal Matters
How you seal your food in the bag is another critical step. If the bag isn’t sealed properly, water can get in, or juices can escape. This can lead to uneven cooking and a watery mess.
You want to keep all the flavor and moisture inside the bag.
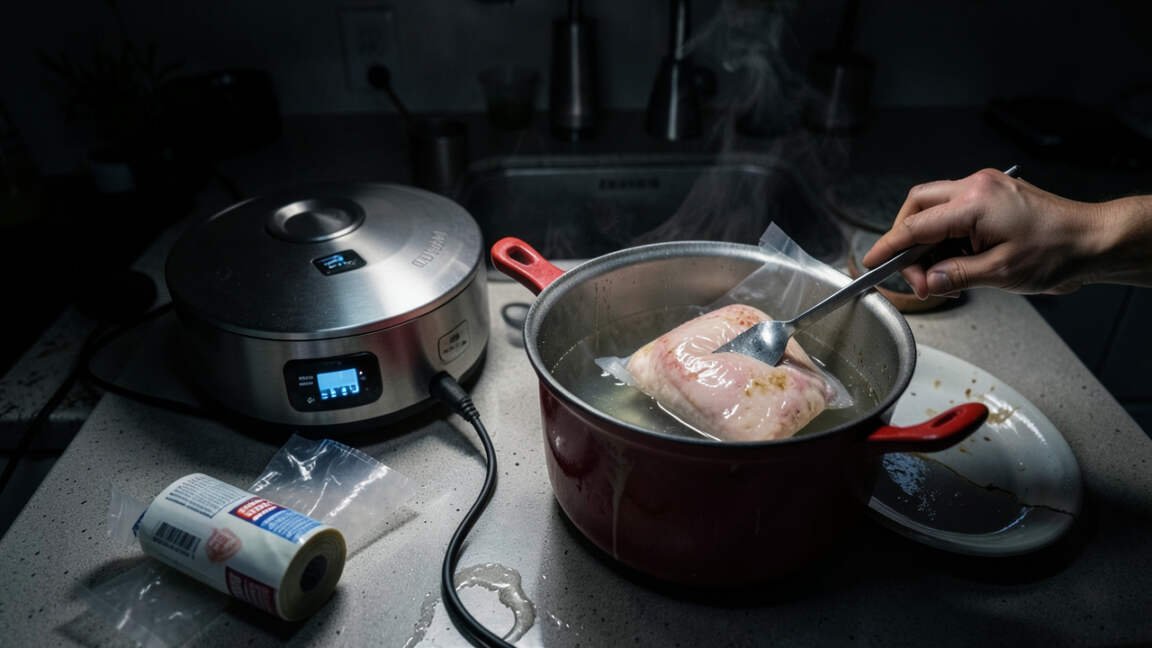
Vacuum Sealing vs. Water Displacement
A vacuum sealer is the best way to get a tight seal. It removes all the air, making sure the bag stays submerged. If you don’t have a vacuum sealer, the water displacement method works well.
Put your food in a sturdy zip-top bag, slowly lower it into the water, letting the water pressure push the air out as you seal the bag.
Checking for Leaks
Before you put the bag in the water bath, give it a quick check. Make sure there are no small holes or openings. If you see any, try to re-seal it.
A good seal means better cooking and tastier results.
Reason 4: Not Finishing with a Sear
The Missing Step
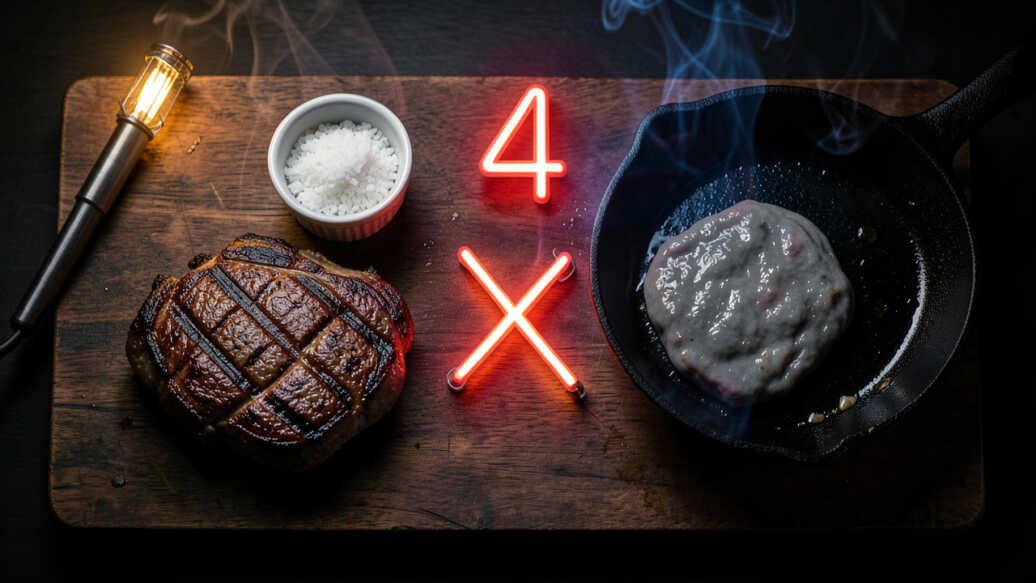
Many people forget that sous vide cooking is often just the first step. While it cooks food perfectly from edge to edge, it doesn’t create that nice brown crust that adds so much flavor. This crust is called the Maillard reaction, and it’s what makes grilled or pan-seared food so delicious.
How to Get That Perfect Sear
After your food has finished its time in the water bath, take it out and pat it completely dry with paper towels. Then, you can sear it quickly in a hot pan with a little oil or butter, or finish it on a hot grill. You only need about 60-90 seconds per side to get a beautiful, flavorful crust.
Don’t overcook it during this searing step, as the inside is already perfectly cooked.
Cast Iron is Your Friend
A cast-iron skillet gets very hot and is excellent for searing. Make sure your pan is smoking hot before you add the food.
Reason 5: Using the Wrong Equipment
Quality Matters
While you can start with basic equipment, using the right tools makes a big difference. A cheap or faulty sous vide circulator might not keep the water temperature steady, leading to uneven cooking. A flimsy bag can leak.
Essential Tools
A reliable immersion circulator is key. Look for one that has good reviews and holds the temperature accurately. Sturdy, food-safe plastic bags or a vacuum sealer are also important.
A container that can hold enough water for your food is also helpful, as it helps maintain temperature stability.
Container Choices
You can use a large pot, but a dedicated sous vide container with a lid is even better. A lid helps prevent water from evaporating, which keeps the temperature consistent and saves energy. Some containers have a rack to keep your food bags from touching each other.
Reason 6: Not Letting Food Rest (Sometimes)
The Case for Resting
While sous vide cooking doesn’t always require a long rest like traditional methods, it can sometimes be beneficial. After taking food out of the water bath and before searing, a very short rest can help. It allows the juices to redistribute slightly.
When Resting is Helpful
For very thick cuts of meat, a brief rest of 5-10 minutes after the water bath and before searing can help. It’s especially useful if the food is very hot coming out. However, for thinner items or fish, this step might not be necessary or could even lead to overcooking if you’re not careful during searing.
Balance is Key
The goal is to have perfectly cooked food. For most sous vide applications, the focus is on getting the temperature and timing right and then searing quickly. Don’t overthink the resting part unless you notice a specific issue with your results.
Frequently Asked Questions
Question: Can I cook frozen food sous vide?
Answer: Yes, you can cook frozen food sous vide. You will just need to add extra time to the cooking process, usually about 50% more time, to allow the food to thaw and then cook through.
Question: What kind of bags should I use for sous vide?
Answer: You should use bags that are food-safe and can withstand the cooking temperatures. Sturdy zip-top bags work well for the water displacement method. A vacuum sealer with compatible bags is the best option for a secure seal.
Question: How do I know if my sous vide machine is accurate?
Answer: You can test your machine’s accuracy by placing a reliable food thermometer in the water bath. Compare the thermometer reading to the temperature displayed on your sous vide circulator after the water has reached the set temperature.
Question: Can sous vide make tough cuts of meat tender?
Answer: Yes, sous vide is excellent for tenderizing tough cuts of meat. The long, low-temperature cooking breaks down connective tissues, making the meat incredibly tender and moist. This often requires cooking times of 24 hours or more.
Question: What is the best way to chill food after sous vide?
Answer: For safe storage, it’s best to chill food rapidly after cooking. An ice bath is a good method. Once cooled, transfer the sealed bag to the refrigerator.
Final Thoughts
Getting perfect sous vide results is all about paying attention to a few key details. We’ve covered the most common issues, from temperature and timing to sealing and searing. By following these simple steps and understanding why each one matters, you can easily improve your cooking.
Don’t get discouraged by a few imperfect meals. Just keep practicing these tips, and you’ll be making restaurant-quality food at home in no time. Enjoy your next delicious sous vide creation!
![6 Reasons Smart Kitchen Devices Save Time[1]](https://creativehouseblog.com/wp-content/uploads/2026/04/6_Reasons_Smart_Kitchen_Devices_Save_Time1-768x448.jpg)
![Bread Maker Settings Explained Simply (2)[1]](https://creativehouseblog.com/wp-content/uploads/2026/03/Bread_Maker_Settings_Explained_Simply_21-768x448.jpg)
![How Air Fryer Temperature Control Works Explained[1]](https://creativehouseblog.com/wp-content/uploads/2026/03/How_Air_Fryer_Temperature_Control_Works_Explained1-768x448.jpg)
![What Is an Espresso Machine Explained Simply[1]](https://creativehouseblog.com/wp-content/uploads/2026/03/What_Is_an_Espresso_Machine_Explained_Simply1-768x448.jpg)
![10 Healthy Juice Recipes You Can Make At Home[1]](https://creativehouseblog.com/wp-content/uploads/2026/04/10_Healthy_Juice_Recipes_You_Can_Make_At_Home1-768x448.jpg)
![8 Benefits Of Food Dehydration For Storage[1]](https://creativehouseblog.com/wp-content/uploads/2026/04/8_Benefits_Of_Food_Dehydration_For_Storage1-768x448.jpg)