Making bread at home can seem a bit tricky at first, especially if you’re new to it. People often search for 8 Tips for Perfect Homemade Bread Every Time because they want that soft, delicious loaf without all the fuss. It’s true that a few simple steps can make a big difference.
We’ll show you easy ways to get great bread every single time. Get ready to bake amazing bread with our clear, step-by-step guide that makes it simple for anyone.
Key Takeaways
- Using the right flour makes a big difference in your bread.
- Accurate measuring helps your dough behave as it should.
- Warm temperatures are key for your dough to rise well.
- Kneading properly develops the gluten for a good texture.
- Letting dough rise enough is important for airy bread.
- Baking at the correct temperature ensures a golden crust and cooked inside.
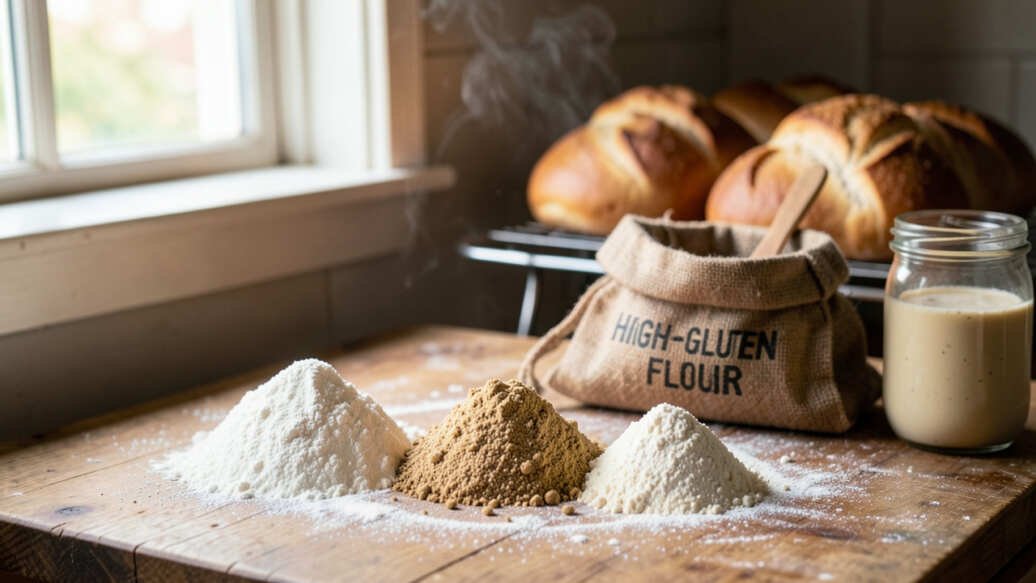
Choosing the Right Flour
The kind of flour you use is super important for good bread. For most homemade bread, all-purpose flour works well. It has a good balance of protein, which helps create gluten.
Gluten is what makes bread chewy and holds its shape. If you want a heartier bread, try using some whole wheat flour. Just mix it with all-purpose flour so the dough isn’t too dense.
All-Purpose Flour
This is your go-to for most bread recipes. It’s easy to find and works for many types of loaves, from soft sandwich bread to crusty rolls. It gives you a good crumb and texture.
Bread Flour
Bread flour has more protein than all-purpose flour. This extra protein means more gluten can form. This is great if you want a chewier bread with a more open crumb, like a baguette.
It makes the dough stronger.
Whole Wheat Flour
Whole wheat flour includes the bran and germ of the wheat kernel. This adds more flavor and nutrients. However, it can make bread denser.
It’s a good idea to mix it with all-purpose or bread flour when you’re starting out. This keeps the bread from becoming too heavy.
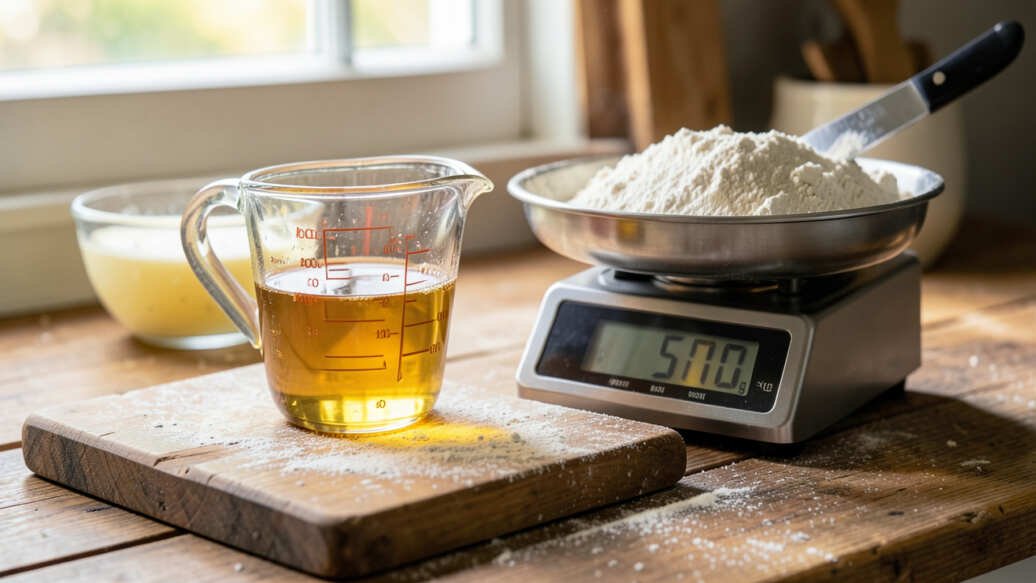
Accurate Measuring Matters
Baking is like a science, and measuring ingredients correctly is key. Too much or too little of something can change how your bread turns out. For flour, it’s best to spoon it into your measuring cup and then level it off with a straight edge.
Don’t scoop directly from the bag, as this can pack too much flour in.
Weighing Ingredients
The most accurate way to measure is by weight. A kitchen scale helps a lot. It makes sure you have the exact amount of flour and other dry ingredients.
This consistency leads to better results every time you bake.
Liquid Ingredients
For liquids like water or milk, use a liquid measuring cup. Place it on a flat surface and bend down so your eyes are level with the measurement line. Pour until you reach the line.
The Importance of Water Temperature
The temperature of your water or liquid is crucial for activating the yeast. Yeast likes warmth, but not too much. If the water is too hot, it can kill the yeast.
If it’s too cold, the yeast won’t wake up and do its job.
Ideal Water Temperature
Most recipes call for warm water, usually between 105°F and 115°F (40°C to 46°C). This range is perfect for waking up active dry yeast or instant yeast. It helps the dough rise properly.
Checking the Temperature
You can use a kitchen thermometer to be sure. If you don’t have one, a good test is to touch the water. It should feel warm, like a comfortable bath, but not hot.
You should be able to keep your finger in it for a few seconds.
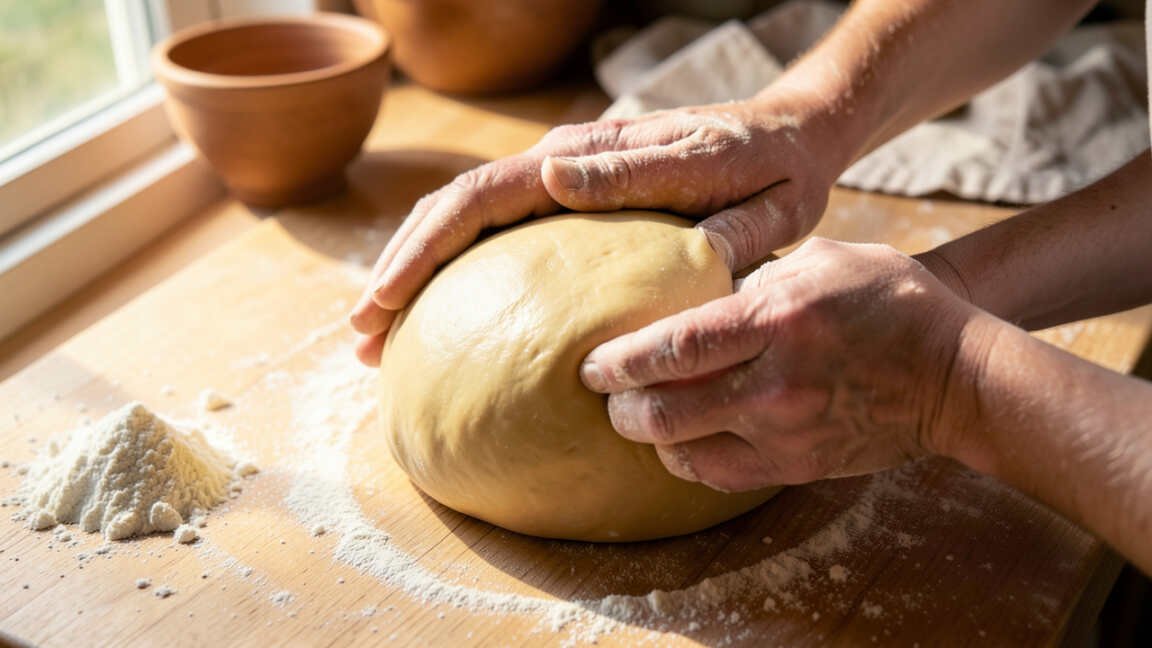
Kneading Your Dough
Kneading is how you develop gluten in the dough. Gluten is a network of proteins that gives bread its structure and chewiness. When you knead, you’re stretching and folding the dough.
This makes it smooth and elastic.
By Hand
To knead by hand, start with the dough on a lightly floured surface. Push the dough away from you with the heels of your hands. Fold it in half towards you.
Give it a quarter turn and repeat. Do this for about 8-10 minutes until the dough is smooth and springs back when you poke it.
Using a Mixer
If you have a stand mixer with a dough hook, it can do the hard work for you. Mix on a low speed for about 6-8 minutes. The dough should pull away from the sides of the bowl and become smooth and elastic.
Letting Dough Rise Properly
Once you’ve kneaded the dough, it needs time to rise. This process is called fermentation. During fermentation, yeast eats sugars and produces carbon dioxide gas.
This gas gets trapped in the gluten network, making the dough rise and become airy.
First Rise (Bulk Fermentation)
Place the kneaded dough in a lightly oiled bowl. Cover it with plastic wrap or a damp cloth. Let it sit in a warm place until it has doubled in size.
This usually takes 1 to 2 hours, depending on the room temperature and recipe.
Second Rise (Proofing)
After shaping the dough into a loaf or rolls, it needs another rise. This is called proofing. Cover the shaped dough and let it rise again until it looks puffy and has almost doubled.
This step is important for a light texture.
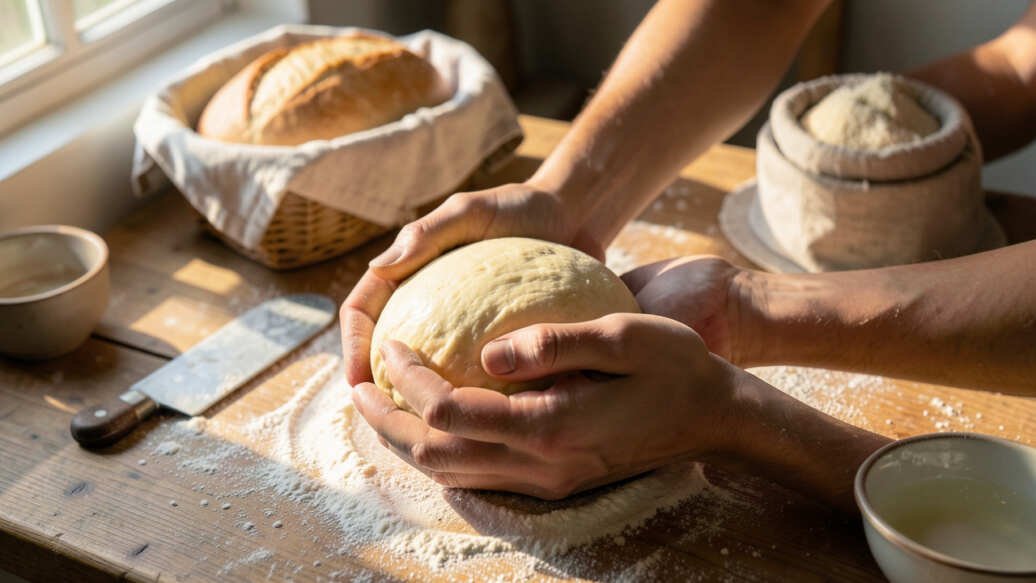
Shaping Your Loaf
How you shape your dough affects the final look and crust of your bread. You want to create tension on the surface of the dough. This helps it hold its shape as it bakes.
Creating Surface Tension
For a round loaf, gently pull the edges of the dough towards the center on the underside. Then, flip it over and cup your hands around it. Rotate the dough to create a smooth, taut ball.
For a loaf pan, gently shape the dough into a rectangle, then roll it up tightly. Pinch the seam closed.
Avoiding Overhandling
Be gentle when shaping. You don’t want to push out all the air bubbles that the yeast created. A light touch ensures a good rise and a nice crumb.
The Importance of Baking Temperature and Time
Getting the oven temperature right is vital for a well-baked loaf. Too low, and the bread might be gummy inside. Too high, and the crust can burn before the inside is cooked.
Preheating Your Oven
Always preheat your oven fully before putting the bread in. Most bread recipes bake at temperatures between 375°F and 450°F (190°C and 230°C). The exact temperature depends on the type of bread.
Testing for Doneness
You can tell if bread is done by its color and by tapping the bottom. The crust should be golden brown. When you tap the bottom of the loaf, it should sound hollow.
An instant-read thermometer inserted into the center should read around 190°F to 210°F (88°C to 99°C).
Cooling Your Bread
This is a step many people skip, but it’s very important! As the bread cools, the steam inside finishes cooking the crumb. If you cut into hot bread, it can be gummy and heavy.
On a Wire Rack
Once the bread is out of the oven, remove it from the pan immediately. Place it on a wire cooling rack. This allows air to circulate all around the loaf, preventing the bottom crust from becoming soggy.
Patience is Key
Let the bread cool for at least 30 minutes to an hour before slicing. This waiting period ensures the inside is perfectly cooked and the texture is just right.
Troubleshooting Common Issues
Even with the best tips, sometimes things don’t go as planned. Knowing common problems and their fixes can save your loaf.
Dense Bread
This often happens if the dough didn’t rise enough, the yeast was old, or you didn’t knead enough. Make sure your yeast is fresh and let the dough rise until it’s doubled. Knead until it’s smooth and elastic.
Dry Crust
A dry crust can be from baking too long or at too low a temperature. It can also happen if the bread cooled uncovered for too long. Try baking at the correct temperature for the right amount of time and cool it properly.
Frequently Asked Questions
Question: How do I know if my yeast is still good?
Answer: Test your yeast by dissolving it in warm water (about 105°F-115°F) with a pinch of sugar. If it gets foamy after 5-10 minutes, it’s active and good to use.
Question: Can I use all-purpose flour instead of bread flour?
Answer: Yes, you can often substitute all-purpose flour for bread flour. Your bread might be a little less chewy, but it will still turn out well. For best results with bread flour recipes, try to use bread flour.
Question: Why is my bread not rising?
Answer: This could be due to dead yeast, water that was too hot or too cold, or a cool environment. Ensure your yeast is active, the water is the right temperature, and the dough is in a warm spot to rise.
Question: How long does homemade bread last?
Answer: Homemade bread is best eaten within 2-3 days. You can store it in a bread box or a loosely sealed plastic bag at room temperature. For longer storage, slice it and freeze it.
Question: My bread is burnt on the outside but raw inside. What did I do wrong?
Answer: This usually means your oven temperature was too high. Try lowering it a bit or cover the top of the loaf with foil during the last part of baking if it’s browning too quickly.
Final Thoughts
Making delicious bread at home is totally achievable. By following these simple tips, you’ll be baking loaves that look and taste fantastic. Remember to measure accurately, use warm water for your yeast, knead your dough until it’s smooth, and let it rise properly.
Don’t forget to bake at the right temperature and cool your bread on a wire rack. You’ve got this! Enjoy the amazing smell and taste of your own perfect homemade bread every single time.
![What Can You Make With A Stand Mixer[1]](https://creativehouseblog.com/wp-content/uploads/2026/03/What_Can_You_Make_With_A_Stand_Mixer1-768x448.jpg)
![How to Maintain Double Glazing So It Stays Efficient[1]](https://creativehouseblog.com/wp-content/uploads/2026/05/How_to_Maintain_Double_Glazing_So_It_Stays_Efficient1-768x403.jpg)
![Slow Cooker vs Crockpot What's The Difference[1]](https://creativehouseblog.com/wp-content/uploads/2026/03/Slow_Cooker_vs_Crockpot_Whats_The_Difference1-768x448.jpg)
![How to Clean Air Filters So Your HVAC Runs Properly[1]](https://creativehouseblog.com/wp-content/uploads/2026/05/How_to_Clean_Air_Filters_So_Your_HVAC_Runs_Properly1-768x403.jpg)
![Espresso Versus Regular Coffee What Is The Difference[1]](https://creativehouseblog.com/wp-content/uploads/2026/03/Espresso_Versus_Regular_Coffee_What_Is_The_Difference1-768x448.jpg)
![How Induction Cooktops Work Explained Simply[1]](https://creativehouseblog.com/wp-content/uploads/2026/03/How_Induction_Cooktops_Work_Explained_Simply1-768x448.jpg)