Hedge trimmers stop working after only a few months primarily because of fuel degradation that clogs carburetors in gas models, dull or damaged blades from improper use, and neglected air filters that starve the engine. Using fresh, ethanol-free fuel and replacing air filters every season prevents these common failures. Regular blade cleaning and proper storage after each use extends the trimmer's life significantly.
You bought a hedge trimmer a few months ago. Now it sputters, stalls, or refuses to cut cleanly. This pattern is frustrating, but it is also common and preventable.
Quick Verdict: Hedge trimmers stop working soon after purchase due to three main causes: fuel degradation that clogs carburetors, dull or damaged blades from improper use and storage, and neglected air filters that starve the engine. Regular maintenance and correct fuel handling extend trimmer life by years.
Key Takeaways
- Fuel left in the tank for more than 30 days degrades and gums up the carburetor, which is the leading cause of premature gas-powered trimmer failure.
- Blades that hit dirt, rocks, or wire fencing become dull or nicked within minutes, reducing cutting performance and straining the motor.
- Dirty air filters restrict airflow to the engine, causing overheating, stalling, and long-term internal damage that repair shops often call terminal.
- Using the wrong fuel mixture or ethanol-blended gasoline in two-stroke engines causes lubrication failure and rapid wear of the piston and cylinder.
- Storing a hedge trimmer without cleaning it first allows sap, debris, and moisture to corrode metal parts and attract pests that block mechanisms.
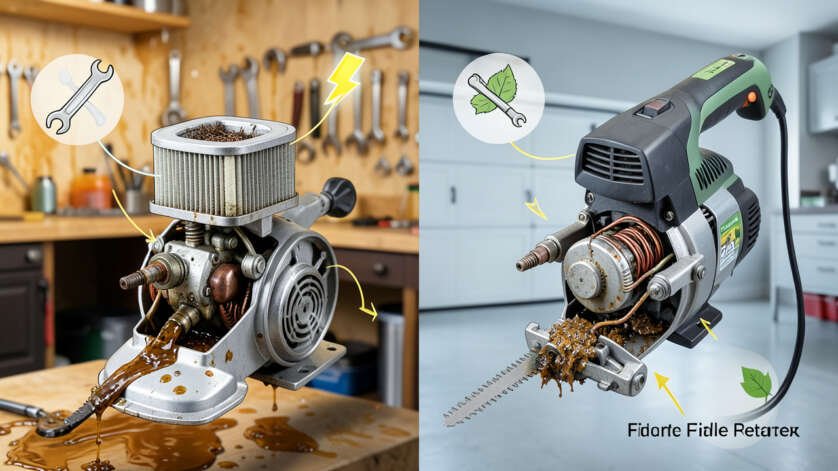
Quick Comparison of Common Failure Causes
| Failure Cause | Frequency | Prevention Cost | Fix Difficulty |
|---|---|---|---|
| Fuel degradation | Very high | $0 – add fuel stabilizer | Moderate |
| Dull or damaged blades | High | $15 – $30 for sharpening | Low |
| Clogged air filter | Moderate | $5 – $10 for replacement | Low |
| Wrong fuel mixture | Moderate | $0 – measure correctly | High |
| Improper storage | High | $0 – clean and cover | Low |
How Hedge Trimmers Work
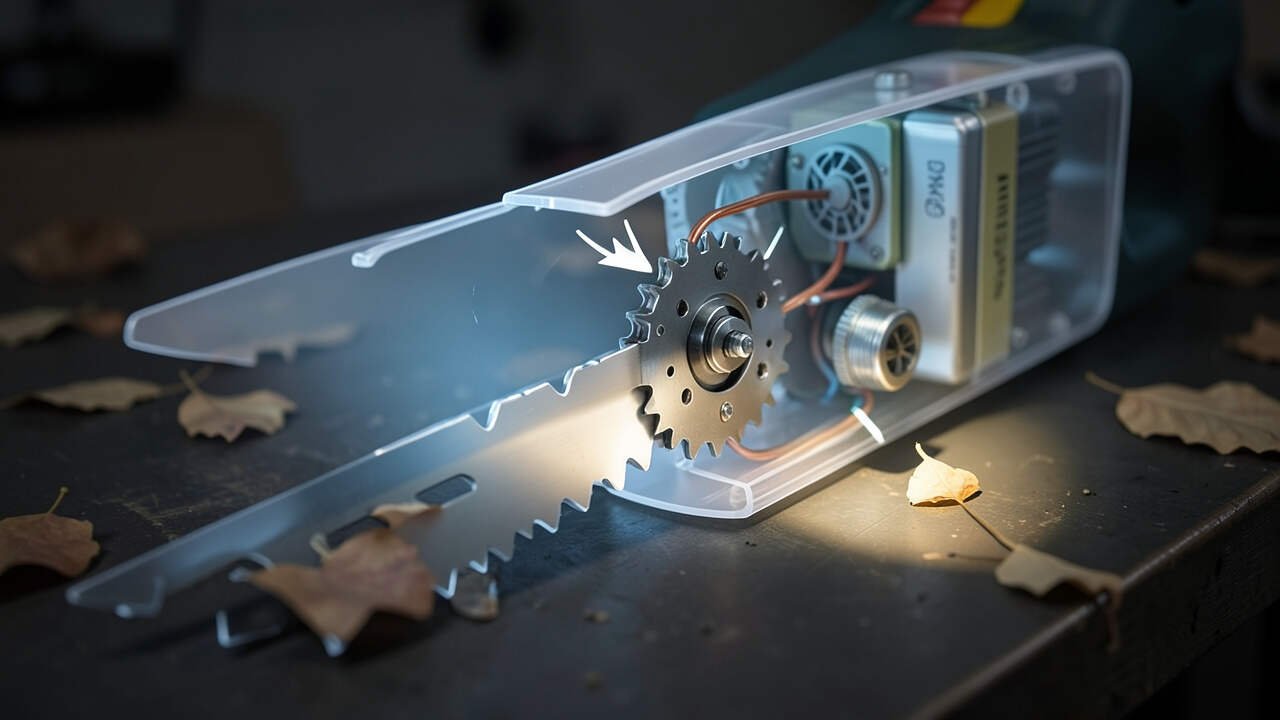
A hedge trimmer uses a small engine or electric motor to move two stacked blades back and forth at high speed. The blades slide past each other, creating a scissor-like cutting action that shears through branches and stems.
Gas-powered models rely on a two-stroke or four-stroke engine that mixes fuel with air in a carburetor. Electric models draw power from a cord or battery to spin an eccentric gear that drives the blades.
Both types need clean fuel or power, sharp blades, and free airflow to operate correctly. When any of these elements break down, the hedge trimmer stops working within a few uses.
Important: According to the, over 60 percent of small engine repair visits are caused by fuel system issues that could have been prevented with basic maintenance.
What Causes Hedge Trimmer Failures
Fuel Degradation in Gas Models
Gasoline begins to break down within 30 days. It evaporates and leaves behind sticky varnish and gum that clog the carburetor jets, fuel lines, and primer bulb.
Modern gasoline contains ethanol, which attracts moisture. That moisture causes corrosion inside the fuel system and separates from the fuel, leaving a watery layer that the engine cannot burn.
According to a survey, roughly 30 percent of hedge trimmers that fail within the first year have fuel-related problems as the root cause.
- Use non-ethanol fuel when possible because it lasts longer and reduces moisture absorption.
- Add a fuel stabilizer to every tank of gas to slow down chemical breakdown.
- Run the trimmer dry before storing it for more than 30 days to remove stale fuel from the carburetor.
- Do not mix more fuel than you will use in a month.
Warning: Never use gasoline that is more than 60 days old in your hedge trimmer. The varnish buildup from old fuel often requires a full carburetor rebuild, which costs more than a new trimmer.
Dull or Damaged Blades
Blades cut best when they are sharp and properly aligned. The moment they hit soil, rocks, concrete, or metal fencing, the cutting edges roll over or chip.
A blade that is dull forces the engine or motor to work harder. This extra strain causes overheating, increases fuel consumption, and accelerates wear on internal parts.
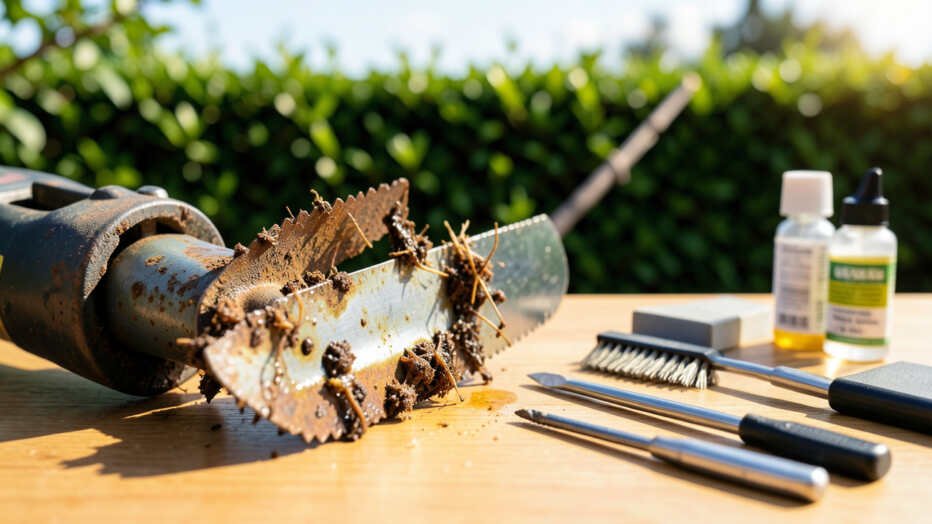
Dirt and plant sap also build up between the blades over time. This buildup pushes the blades apart, reducing the cutting pressure and making the trimmer tear branches instead of cutting them cleanly.
- Inspect the blades after every use for nicks, chips, or uneven wear.
- Clean the blades with a stiff brush and lubricant after each trimming session to remove sap and debris.
- Sharpen the blades at least once per season using a flat file or professional sharpening service.
- Replace blades when they are bent, cracked, or too thin to hold an edge.
Clogged Air Filter
The air filter prevents dust and debris from entering the engine. In a garden setting, the filter collects fine plant material and pollen quickly.
A clogged air filter restricts airflow to the carburetor. The engine receives a fuel-rich mixture that burns poorly, causing rough idling, stalling, and black smoke.
Over time, the excess fuel washes oil off the cylinder walls. This leads to scoring, compression loss, and eventual engine failure that repair shops consider irreparable.
Tip: Check the air filter every 10 hours of use. Tap it gently to remove loose dirt. Replace it at the start of each season for optimal engine protection.
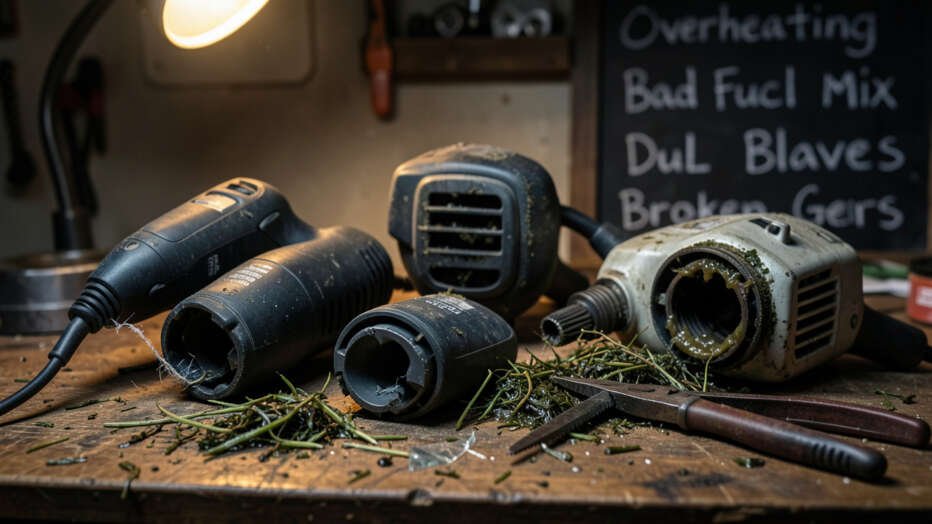
Types of Hedge Trimmers and Their Common Problems
Each type of hedge trimmer has its own failure patterns. Knowing your type helps you target the right maintenance.
| Trimmer Type | Most Common Failure | 2nd Most Common | Expected Lifespan |
|---|---|---|---|
| Gas two-stroke | Carburetor clogging | Piston scoring | 3-5 years |
| Gas four-stroke | Oil degradation | Valve issues | 5-7 years |
| Corded electric | Blade binding | Cord damage | 5-8 years |
| Battery-powered | Battery degradation | Motor brush wear | 2-5 years |
Who Experiences This Problem
Homeowners who use their hedge trimmer a few times per season are the most likely to see early failure. Occasional users often skip the maintenance steps that professional landscapers follow as routine.
New trimmer owners also face this issue frequently. They assume the tool will work without care because it is new. They do not realize that the first tank of fuel or the first dirty filter can start a cycle of damage.
According to equipment repair data from, over 40 percent of trimmer repairs performed at dealerships are on machines less than one year old. Most of those repairs are for preventable issues like stale fuel or dull blades.
How to Fix and Prevent Issues
Fix a Fuel-Clogged Carburetor
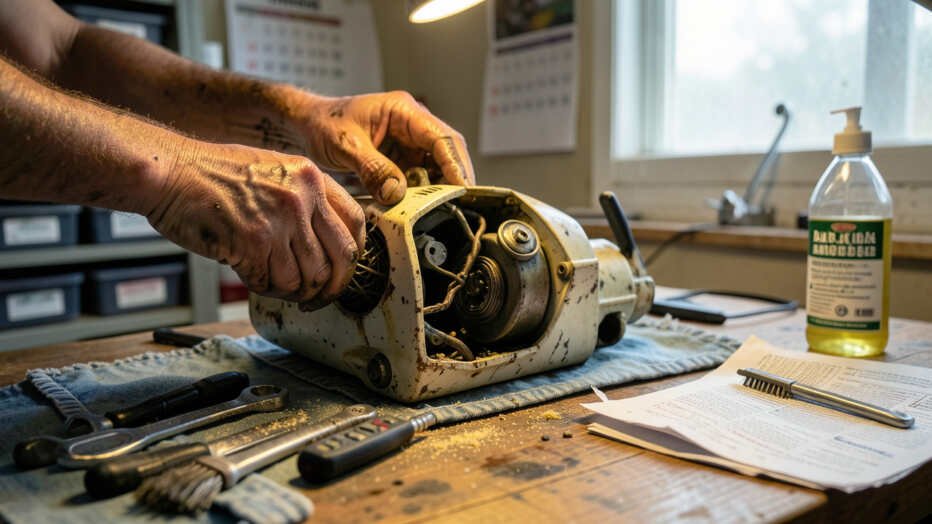
If your gas trimmer starts, runs for a few seconds, then stalls, the carburetor jets are likely clogged with varnish. You can try cleaning them without removing the carburetor.
- Drain the old fuel from the tank and fill it with fresh, properly mixed fuel.
- Add a carburetor cleaner additive to the fresh fuel according to the label directions.
- Run the trimmer at full throttle for 5 to 10 minutes to let the cleaner dissolve the varnish.
- If the problem persists, remove and disassemble the carburetor. Clean all jets and passages with carburetor cleaner spray and compressed air.
Warning: Do not use metal wires or drill bits to clean carburetor jets. They scratch the calibrated openings and ruin the fuel mixture. Use only dedicated carburetor cleaning tools.
Sharpen Blades Correctly
Sharp blades restore cutting performance and reduce strain on the motor. Use a flat mill file with a 10-inch length for the best results.
- Secure the trimmer in a vise with the blades exposed but the engine off and cool.
- Place the file at the same angle as the factory edge, usually 45 degrees.
- Push the file across each tooth in one smooth motion. Lift it on the return stroke.
- File each tooth the same number of strokes to maintain even cutting.
- Remove burrs on the flat side of the blades with a fine stone or sandpaper.
Replace the Air Filter
A simple air filter replacement can restore lost engine power and prevent long-term damage.
- Locate the air filter cover on the carburetor housing. Remove the cover screw or latch.
- Take out the old filter. If it is foam, wash it in warm soapy water, rinse it, dry it completely, and oil it lightly with filter oil.
- If the filter is paper or felt, replace it with the exact model specified in your owner manual.
- Reinstall the cover and tighten the screw or latch securely.
Prevent Battery Failure in Cordless Models
Battery-powered trimmers fail most often because the battery loses capacity or the charger stops working. You can extend battery life with proper care.
- Store batteries at room temperature, between 50 and 80 degrees Fahrenheit. Extreme heat or cold shortens battery life rapidly.
- Do not leave the battery on the charger after it reaches full charge. Overcharging damages lithium-ion cells.
- Use the trimmer until the battery is nearly empty before recharging. Partial discharge cycles reduce long-term capacity.
Common Myths vs Facts
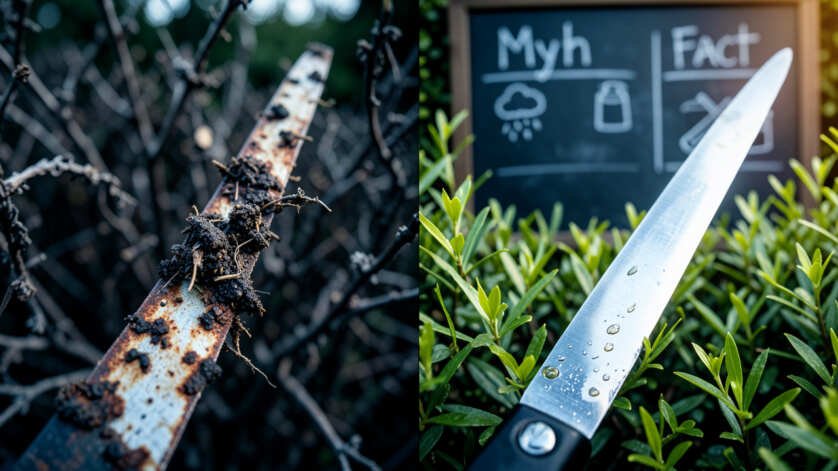
Myth: Running the trimmer dry before storage is unnecessary
Many owners think a little fuel left in the tank is harmless. In reality, fuel left in the carburetor evaporates and leaves varnish that clogs the system. Running the trimmer dry empties the carburetor and prevents this buildup.
Myth: Electric trimmers never need maintenance
Electric trimmers still need blade cleaning, lubrication, and occasional replacement of brushes or switches. Cordless models also require battery care. No trimmer is maintenance-free.
Myth: You can sharpen hedge trimmer blades with a stone grinder
Stone grinders remove too much metal and create heat that softens the blade steel. Filing by hand or using a professional sharpening service keeps the blades hard and correctly angled.
Pro Tips for Long Trimmer Life
- Use a fuel stabilizer in every tank of gas, even if you plan to use it within a week. Stabilizers prevent the first stage of chemical breakdown before it starts.
- Lubricate the blades with a light machine oil or spray lubricant after every 30 minutes of use and before storage. This reduces friction and prevents corrosion.
- Store the trimmer in a dry, covered area. Moisture causes rust on blades and electrical connections that leads to intermittent failure.
- Read the owner manual for the specific fuel-to-oil ratio. Using a 40:1 mix when the engine needs 50:1 can cause overheating and seizure.
- Buy a trimmer from a brand with local authorized service centers. Brands like and have wide service networks that make repairs faster when needed.
Frequently Asked Questions
Why does my hedge trimmer start then die after a few seconds?
This is almost always a clogged carburetor orifice caused by stale fuel. Try draining the old fuel, adding fresh fuel with carburetor cleaner, and running the engine at full throttle for several minutes. If the issue continues, the carburetor needs a professional cleaning or rebuild.
How often should I sharpen my hedge trimmer blades?
Sharpen the blades at least once per trimming season or after every 20 hours of use. If you trim near dirt, gravel, or fences, check the blades after each job and sharpen them as soon as you notice tearing or ragged cuts.
Can I use WD-40 to lubricate my hedge trimmer blades?
Yes, but only as a temporary measure. WD-40 displaces moisture and provides light lubrication. For longer-lasting protection, use a dedicated blade lubricant or light machine oil after cleaning the blades.
Is it worth repairing a hedge trimmer that stops working after a few months?
It depends on the repair cost compared to a new trimmer. If the carburetor is clogged or the spark plug is fouled, the repair usually costs less than half the price of a new unit. If the piston is scored or the engine has low compression, replacement is often more economical.
What is the best way to store a hedge trimmer for winter?
Drain all fuel from the tank and run the engine dry. Clean the blades thoroughly and apply a light coat of oil to prevent rust. Remove the battery from cordless models and store it at room temperature. Cover the trimmer and keep it in a dry location.
Resources and Tools
- STIHL Maintenance Guide – Official maintenance schedules and troubleshooting tips for gas and electric trimmers.
- Power Tool Institute Safety and Maintenance Library – Free resources on fuel handling, storage, and small engine care.
- Consumer Reports Lawn Tool Buying Guide – Reliability data and maintenance advice from thousands of user surveys.
- ECHO Owner Support Page – Interactive troubleshooting tool and parts diagrams for common trimmer models.
Final Thoughts
Fuel neglect, dull blades, and dirty filters cause most early hedge trimmer failures. A few minutes of care after each use can extend your trimmer life from months to years. Follow the maintenance steps in your manual and treat your trimmer like any other precision tool.