A tool storage shed that is about to stop working shows clear warning signs including a sagging roof, rotting wood, rusted metal panels, and doors that stick or jam, all of which indicate imminent structural failure. The most urgent sign is a sagging roof line, which requires immediate reinforcement or replacement to prevent collapse, while rust that has fully penetrated metal panels compromises the entire frame and cannot be fixed with surface treatments. Catching these warning signs early allows you to protect expensive tools and avoid costly repairs, because ignoring them typically leads to total structural failure within six to twelve months.
Your tool storage shed protects expensive equipment and valuable supplies. But when the structure fails, you can lose everything inside in a single storm or season of neglect.
This guide covers the 8 warning signs that mean your shed is about to stop working. Each sign comes with clear action steps to protect your investment.
Simply put, a failing tool storage shed shows clear warning signs like sagging roofs, rotting wood, rusted panels, and doors that stick. Catching these signs early can save your tools and prevent costly repairs. Ignoring them often leads to total structural failure within 6 to 12 months.
Key Takeaways
- A sagging roof is the most urgent structural warning sign and requires immediate reinforcement or replacement to prevent collapse.
- Rust that has penetrated through a metal shed panel compromises the entire frame and usually cannot be repaired with surface treatments alone.
- Doors that stick or jam signal foundation movement or frame warping, which often indicates deeper structural problems below the surface.
- Water stains and mold inside the shed mean the roof or wall seals have failed and moisture is actively damaging stored tools.
- Pests entering through gaps often reveal wall or floor decay that also allows moisture to accelerate structural failure.
Warning Signs at a Glance
| Warning Sign | Visibility | Severity | Action Timeline |
|---|---|---|---|
| Sagging Roof Line | Visible from outside | Critical | Immediate |
| Rotting Wood or Soft Spots | Touch and visual check | High | Within 1 month |
| Rust Penetrating Panels | Visible as holes or flaking | High | Within 1 month |
| Sticking Doors and Windows | Noticeable during use | Moderate | Within 3 months |
| Water Stains and Mold | Visible inside walls and floor | Moderate | Within 1 month |
| Leaning Walls or Uneven Floor | Level check needed | Critical | Immediate |
| Foundation Cracks or Shifting | Check around base | High | Within 1 month |
| Pest Infestations and Entry Holes | Visible droppings and holes | Moderate | Within 3 months |
1 – Sagging Roof Line
What to Look For
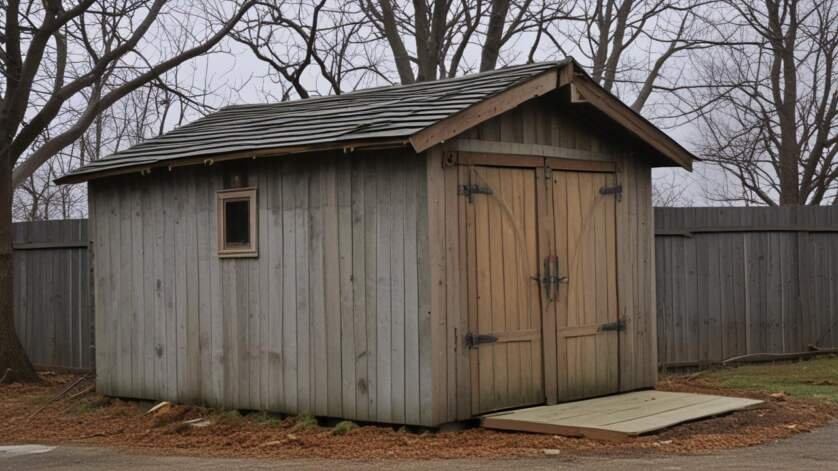
Stand back and look at the roof ridge from both ends. A straight line should run from peak to peak across the entire shed. If you see a dip or curve in the middle, the roof structure is failing.
Check the roof sheathing from inside the shed. Look for plywood panels that feel spongy or show dark water stains. According to the, roof decking failure is one of the top reasons sheds need replacement after 15 years of use.
Warning: A sagging roof can collapse under the weight of snow or heavy rain. Do not store heavy items under a sagging roof until you have reinforced it. Evacuate all tools and equipment first.
Why It Signals Trouble
A sagging roof means the rafters or trusses have lost strength. This happens when water has soaked into the wood or when the original lumber was too light for the roof load.
The roof carries snow, rain, and wind loads. When it starts to sag, it collects more water and snow in the dip, which adds more weight. This creates a cycle that accelerates collapse risk.
What to Do
Measure the sag depth with a straightedge and tape measure. If the dip exceeds 2 inches over a 10-foot span, the roof needs professional assessment.
Contact a structural engineer or a licensed contractor who specializes in outdoor buildings. They can tell you if sistering new rafters is enough or if you need a full roof replacement.
2 – Rotting Wood or Soft Spots
What to Look For
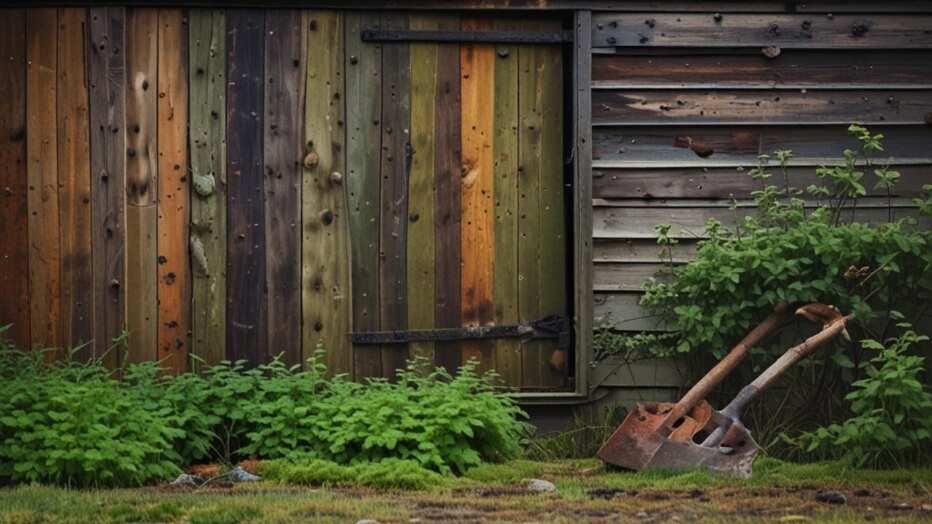
Take a screwdriver and gently probe the bottom edges of all walls, especially near the ground. Wood that has rotted will feel soft and the screwdriver will push in easily.
Look for discolored wood, peeling paint, or dark streaks running down the walls. These are signs that moisture has entered the wood grain and fungal decay has started.
Why It Signals Trouble
Rotting wood loses its structural strength quickly. A 2×4 stud that has rotted for 6 months may hold only 30 percent of its original load capacity.
Wood rot also spreads to adjacent framing members if left untreated. According to the, wood decay is a leading cause of failure in outdoor storage structures built before modern pressure-treatment standards.
Tip: Use a moisture meter on the wood near the base. Readings above 20 percent indicate active rot conditions. Keep readings below 15 percent by improving drainage around your shed.
What to Do
Cut away all rotted wood until you reach solid, dry material. Replace removed sections with pressure-treated lumber rated for ground contact.
Add a gravel bed or concrete blocks under the walls to lift the wood away from soil contact. This prevents future moisture wicking that causes rot.
3 – Rust Penetrating Metal Panels
What to Look For
Inspect all metal panels on a metal shed for rust spots, especially near the bottom edges and around screw holes. Surface rust that is orange and powdery is early stage.
Advanced rust shows as brown or black pits in the metal. If you can push a screwdriver through the panel, the rust has penetrated the full thickness and the panel has lost its strength.
Why It Signals Trouble
Metal sheds rely on each panel to transfer wind loads to the frame. A single rusted-through panel weakens the entire wall and allows the frame to twist under stress.
Rust also spreads under paint or galvanized coating. According to the, corrosion is the primary failure mode for metal sheds in coastal areas, reducing their lifespan by up to 40 percent compared to inland locations.
What to Do
For surface rust only, sand the area down to bare metal and apply a rust-inhibiting primer and paint. For penetrating rust with holes, replace the entire panel.
Check the frame underneath the panels for rust as well. If the steel frame shows rust pitting, the shed may be beyond repair and need full replacement.
4 – Doors and Windows That Stick
What to Look For
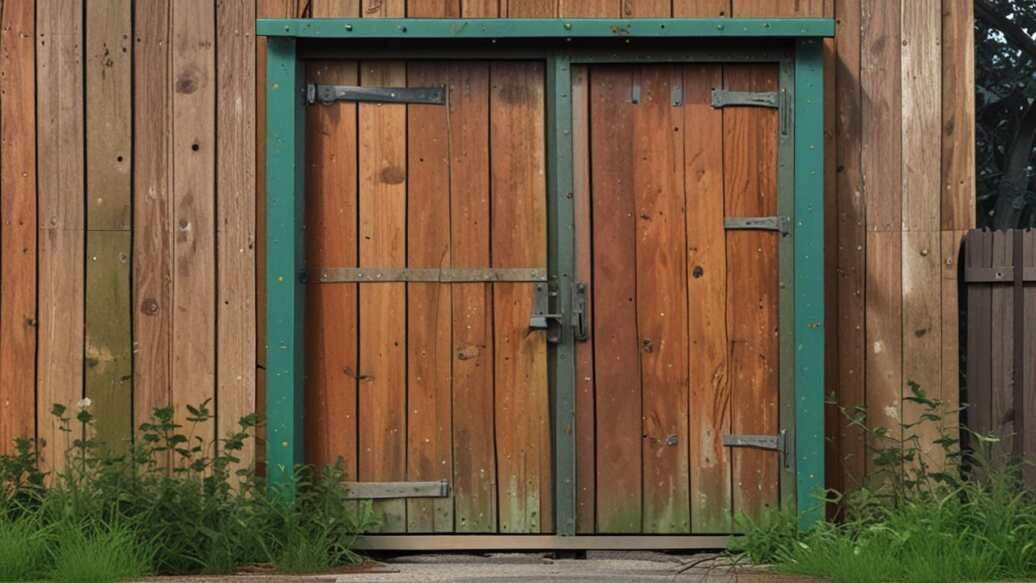
Open and close the shed door fully. It should move smoothly with no rubbing, scraping, or extra effort. A door that sticks at the top or bottom has shifted out of square.
Check window operation. If windows that once opened easily now require force, or if they leave gaps when closed, the frame has warped or shifted.
Why It Signals Trouble
Sticking doors usually mean the shed frame has twisted or the foundation has settled unevenly. This is not a simple latch issue. It signals that the building is no longer square.
A frame that is out of square distributes loads unevenly across the roof and walls. This can lead to additional warping, cracked panels, and eventual structural failure.
Important: Check the gaps around the door with a level. If the gap at the top is 1/4 inch wider than the gap at the bottom, the frame has shifted significantly. This requires foundation repair, not just door adjustment.
What to Do
First, check if the foundation is level. Use a 4-foot level on the floor in multiple directions. If the floor is not level, the foundation needs to be re-leveled before you adjust the door.
If the foundation is level but the door sticks, the shed frame may need bracing. Install diagonal metal straps or plywood gussets at the corners to square the frame before adjusting the door track or hinges.
5 – Water Stains and Mold Growth
What to Look For
Look at the ceiling, walls, and floor inside the shed. Yellow or brown water stains on the ceiling mean the roof is leaking. Dark spots on walls mean water is coming through the siding.
Check for mold. Black, green, or white fuzzy patches on wood or stored items indicate high humidity and active moisture problems. According to the, mold growth indoors can begin within 24 to 48 hours of moisture exposure.
Why It Signals Trouble
Water inside the shed does more than damage your tools. It accelerates rot in the floor and wall framing. Mold also degrades the wood fibers, making them brittle and weak over time.
Moisture that enters through the roof or walls will eventually reach the floor joists. Once the floor structure rots, the entire shed becomes unsafe to walk in with heavy equipment.
What to Do
Find the source of the leak. Check roof flashing, ridge caps, and the seal around vents or skylights. Seal any gaps with roofing cement or silicone caulk.
Improve ventilation inside the shed. Adding ridge vents, soffit vents, or a small louvered gable vent reduces humidity and prevents future mold growth.
6 – Leaning Walls or Uneven Floor
What to Look For
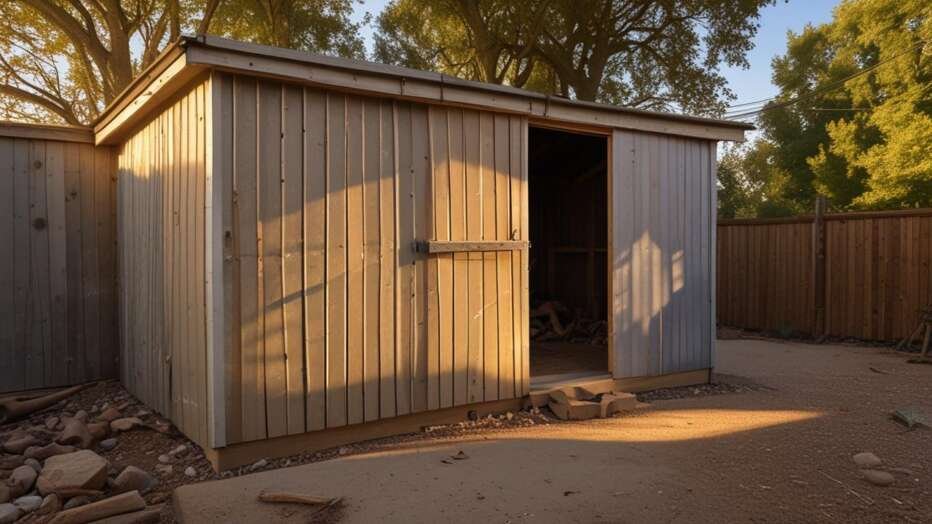
Stand at one corner of the shed and sight along the wall. It should be straight from bottom to top. A wall that bows outward or leans to one side has lost its structural integrity.
Place a marble or small ball on the floor. If it rolls to one side, the floor is no longer level. A slope of more than 1 inch over 10 feet is a serious concern.
Warning: A shed with a significant lean can collapse suddenly, especially during high winds. Do not enter a shed that visibly leans more than 3 inches from vertical. Call a contractor for a structural inspection first.
Why It Signals Trouble
Leaning walls mean the connections between walls, floor, and roof are failing. Usually this is due to missing or broken corner braces, or because the foundation has settled unevenly.
When walls lean, the load path from roof to ground is broken. The roof puts uneven pressure on the walls, which can cause sudden collapse if the wall buckles.
What to Do
Have a contractor inspect the foundation and wall connections first. If the foundation has settled, it can be lifted and re-leveled with hydraulic jacks in many cases.
If the walls are bowing but the foundation is level, install diagonal bracing from the top plate to the bottom plate using 2×4 lumber or metal tension straps.
7 – Foundation Cracks or Shifting
What to Look For
Walk around the entire shed and look at the foundation edges. Concrete slabs may show cracks that run across the floor or up the sides. Wood skids may be rotting or settled into the soil.
Check for gaps between the shed floor and the foundation. A gap of more than 1/2 inch means the shed has lifted or settled unevenly from its base.
Why It Signals Trouble
The foundation is the most important part of a tool storage shed. If it shifts or cracks, every part of the building above it will misalign. This puts stress on walls, roof, and doors.
According to, sheds that are not properly anchored to their foundation are three times more likely to sustain major damage in high winds. A shifting foundation is a sign that the shed is no longer securely attached to the ground.
What to Do
For concrete slabs with minor cracks, fill them with epoxy crack filler to prevent water intrusion. For slabs that have shifted more than 1/2 inch, the shed may need to be lifted and the slab replaced.
For wood skids that have rotted, remove the shed, replace the skids with pressure-treated lumber or concrete blocks, and re-level the structure before placing it back.
8 – Pest Infestations and Entry Holes
What to Look For
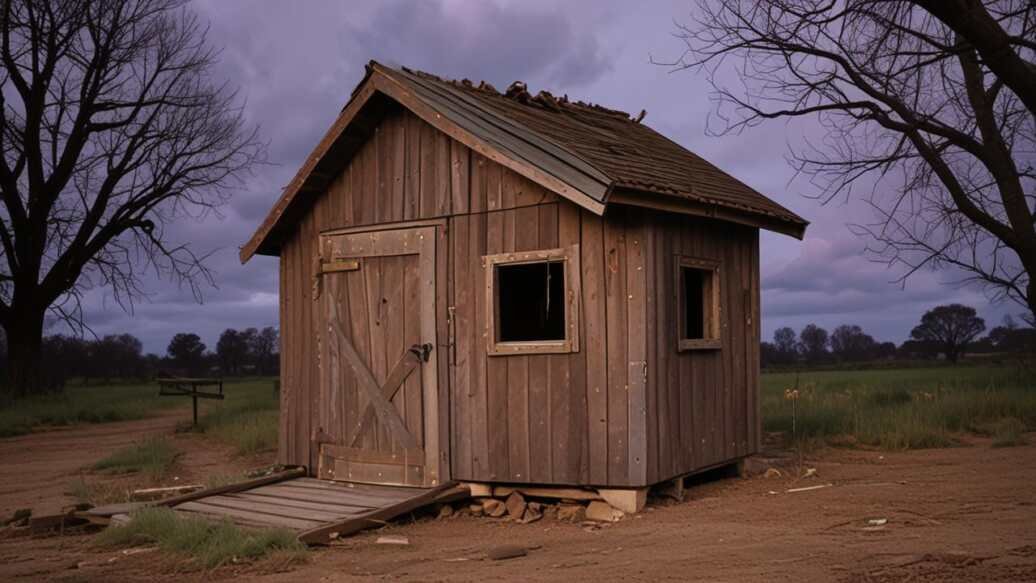
Look for droppings, nesting materials, and chewed wood inside the shed. Mice and rats can squeeze through holes as small as 1/4 inch. Squirrels and raccoons need larger gaps.
Inspect the exterior for holes at the base of walls, around pipes or vents, and under the door threshold. Each hole is a path for both pests and moisture.
Why It Signals Trouble
Pests do not just damage stored items. They chew through wood and wiring, creating structural weak points. Their nests also trap moisture against wood surfaces, accelerating rot.
Rodents can gnaw through floorboards and wall studs over time. A single mouse nest in a wall cavity can add enough moisture to cause wood decay within one season.
Tip: Seal all holes larger than 1/4 inch with copper mesh or exterior-grade expanding foam. Do not use silicone alone, because rodents can chew through it. Copper mesh is the only lasting deterrent.
What to Do
Remove all nesting material and droppings using gloves and a mask. Spray the area with a disinfectant to kill bacteria and mold spores.
Seal every entry point with metal mesh or hardware cloth. Trim vegetation back from the shed walls to reduce pest harborage areas. Set traps inside the shed until pest activity stops.
When to Repair vs Replace Your Shed
Not every warning sign means you need a new shed. Some issues are repairable if caught early. Others indicate the tool storage shed has reached the end of its useful life.
- Repair if the roof has a local leak and the rafters are still sound.
- Repair if rust is limited to 2 or 3 panels and the frame is intact.
- Replace if more than 30 percent of the wood framing has rotted.
- Replace if the foundation has shifted and cannot be re-leveled.
- Replace if multiple walls are leaning or the roof is sagging across the full span.
According to the, a well-maintained wood shed lasts 15 to 20 years. Metal sheds typically last 20 to 25 years. If your shed is past this age and shows 3 or more of the signs above, replacement is usually the better investment.
How to Prevent Future Shed Failures
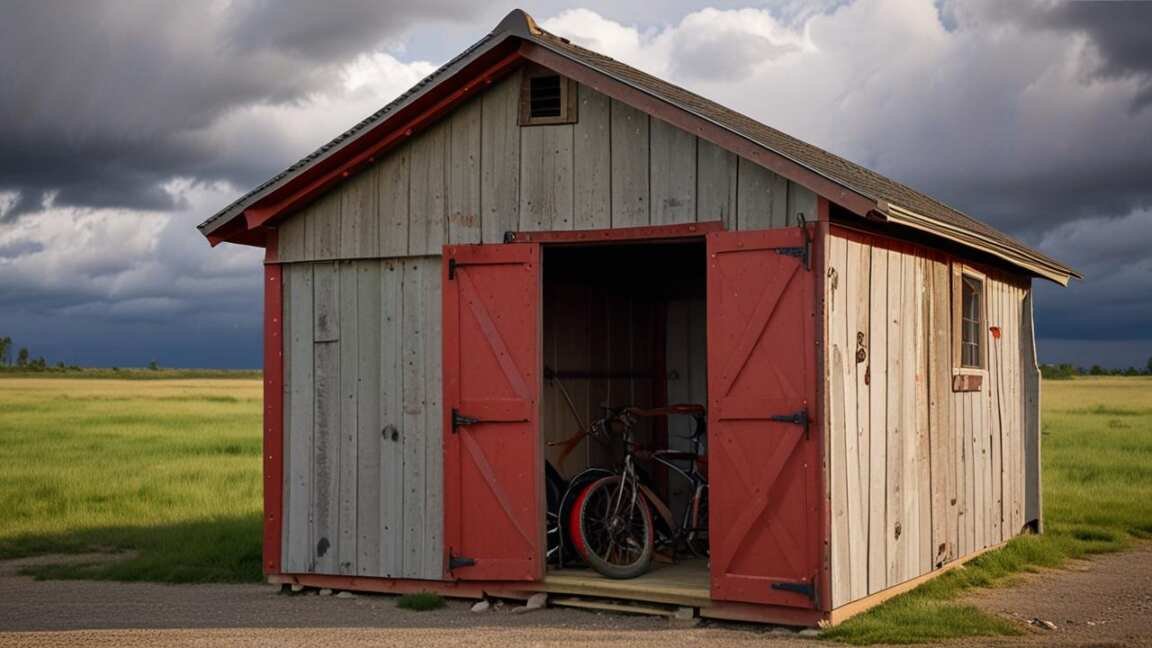
Most of the warning signs above develop slowly over years. Regular inspections can stop small problems from becoming expensive failures. Follow these steps to keep your shed working for decades.
Inspect the roof and walls twice per year, once in spring and once in fall. Look for loose shingles, rust spots, and soft wood.
Keep the area around the shed clear of debris and vegetation. Leaves and dirt hold moisture against the walls and accelerate rot and rust.
Apply a weatherproof sealant to wood sheds every 2 to 3 years. Metal sheds need a fresh coat of rust-inhibiting paint on any scratched or chipped areas.
Ensure gutters and downspouts are clear and direct water at least 4 feet away from the shed foundation. Clogged gutters cause water to pool against the base.
Check the foundation every season for cracks, settling, or movement. Early detection of foundation problems is the cheapest repair you can make.
Important: Keep a simple log of your shed inspections. Note the date, what you checked, and any issues found. This log helps you track how fast problems develop and when repairs are needed. It also helps if you file a home insurance claim for shed damage.
Common Myths vs Facts About Shed Maintenance
Myth: A little rust on a metal shed is just a cosmetic problem.
Fact: Surface rust can be sanded and painted. But rust that has created visible pits or holes has already compromised the structural strength of the panel. The affected panel must be replaced to maintain the shed’s wind resistance.
Myth: Wood sheds always last longer than metal sheds.
Fact: Both materials can last 15 to 25 years with proper maintenance. The real difference is in maintenance requirements. Wood needs staining or painting every 2 to 3 years. Metal needs only occasional rust touch-ups. In humid climates, metal often lasts longer than wood.
Myth: If the shed doors still open and close smoothly, the structure is fine.
Fact: Doors can operate normally even when hidden structural issues exist. Roof sag, rusted panels, and foundation cracks can all develop without affecting door operation. A door that moves freely is not a guarantee that the shed is sound.
Frequently Asked Questions
How do I know if my shed roof is about to collapse?
Measure the sag with a straightedge and tape measure. If the dip exceeds 2 inches over a 10-foot span, the roof is at risk. Also look for ceiling water stains, spongy roof sheathing, and cracked rafters inside the shed.
Can a rusty metal shed be saved?
Yes, if the rust is limited to surface corrosion on only 2 or 3 panels and the frame is still strong. Sand the rust down to bare metal, apply rust-inhibiting primer, and paint. If rust has created holes or if the frame has rust pitting, panel or frame replacement is needed.
How long should a tool storage shed last?
With regular maintenance, a wood shed lasts about 15 to 20 years. A metal shed lasts 20 to 25 years. Factors like local climate, foundation quality, and maintenance frequency affect actual lifespan significantly.
Should I repair or replace my damaged shed?
Repair if the damage is limited to 1 or 2 areas and the shed is less than 15 years old. Replace if more than 30 percent of the structure is compromised, if the foundation is badly shifted, or if the shed is past 20 years old and showing multiple warning signs.
Does home insurance cover shed damage?
Most standard homeowners insurance policies cover shed damage from fire, wind, hail, and vandalism. Damage from gradual rot, rust, or pest infestation is typically not covered. Check your policy or contact your insurer to confirm coverage specifics for your shed.
Final Thoughts
Your tool storage shed gives you a reliable place to keep equipment organized and protected. Catching warning signs like a sagging roof, rusted panels, or sticking doors early can save you thousands in replacement costs. Inspect your shed twice a year and repair small problems before they grow into structural failures. With regular attention, your shed can serve you well for two decades or more.