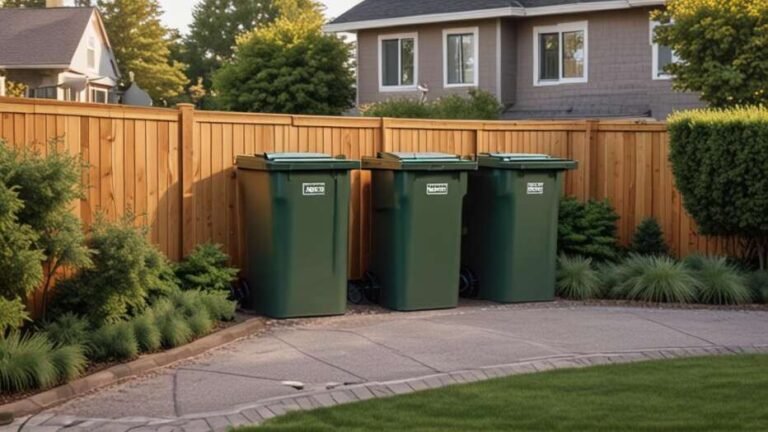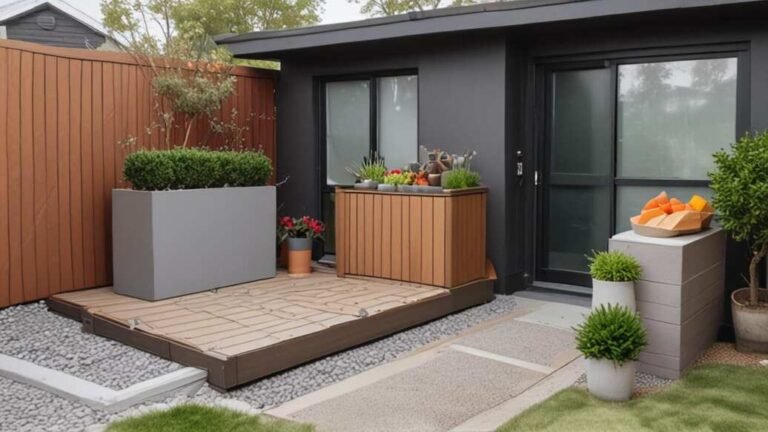
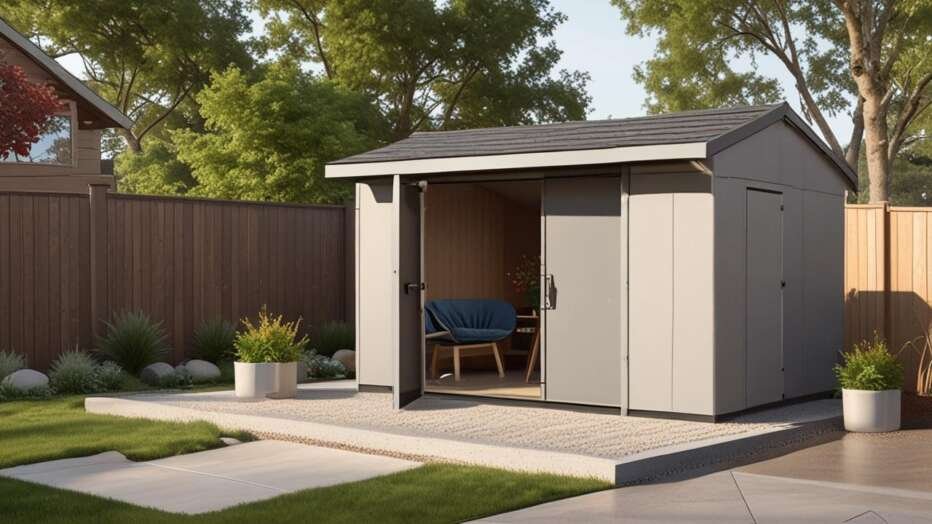
Yes, you can safely place a tool storage shed on a patio if you first install a protective base layer and ensure proper drainage to prevent moisture trapping, weight concentration, and chemical reactions that cause cracking, staining, or mold. The primary risks include trapped moisture leading to mold and discoloration, uneven weight distribution that may crack patio slabs, and chemical interactions between shed materials and the patio surface. To avoid damage, choose a lightweight shed with a ventilated floor or place a geotextile membrane and a gravel or plastic grid base underneath to distribute weight and allow airflow.
A tool storage shed is a small outdoor building designed to keep gardening equipment, lawn tools, and outdoor supplies organized and protected from the weather. These sheds come in many materials – metal, resin plastic, and wood – and range from compact 3×5 foot units to larger 10×12 foot structures. While most sheds sit on a foundation of gravel, concrete, or treated wood, many homeowners wonder if they can place one directly on an existing patio.
Quick Verdict: In short, you can use a tool storage shed on a patio without damaging it, but only if you take proper precautions. The main risks come from moisture trapped under the shed, weight concentration, and chemical reactions between the shed material and the patio surface. By using a protective base layer, ensuring proper drainage, and choosing the right shed type, you can protect both the shed and your patio.
Key Takeaways
- Placing a shed directly on a concrete or paver patio can trap moisture and lead to cracking, discoloration, or mold growth unless you install a breathable base.
- Metal tool sheds require either a protective pad or a layer of plastic sheeting to prevent rust caused by condensation on cold patio surfaces.
- Resin plastic sheds are the safest option for patio placement because they resist moisture, weigh less, and do not react with concrete or brick.
- Wooden sheds placed on patios need a pressure-treated lumber frame to lift them off the surface and allow air circulation underneath.
- Using a rubber mat, gravel board, or interlocking plastic tiles under the shed prevents scratches, stains, and moisture damage to the patio.
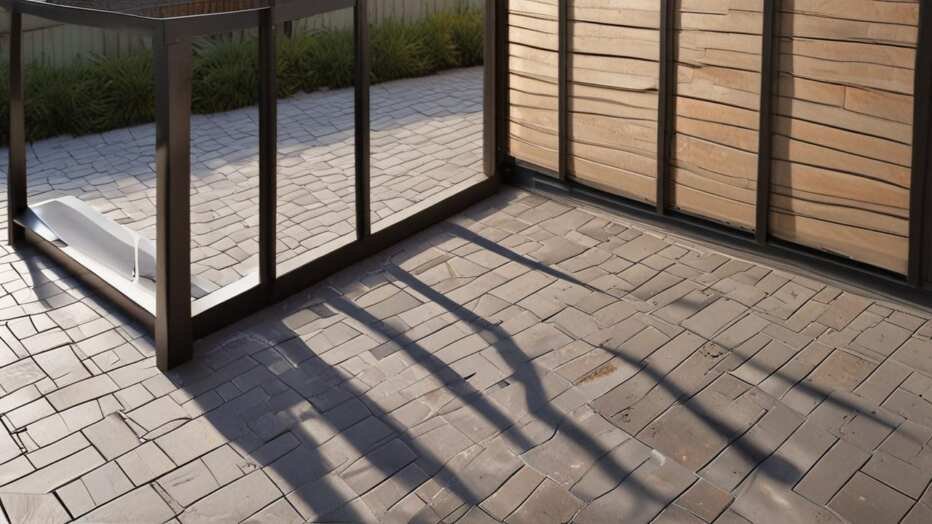
What Are the Risks of Putting a Shed on a Patio?
Many homeowners assume a patio is the perfect flat surface for a shed. In reality, placing a tool storage shed directly on a patio creates several potential problems. Understanding these risks helps you decide whether to proceed and what precautions to take.
Moisture Trapping and Mold Growth
Patio surfaces – concrete, pavers, or flagstone – are porous. When you place a shed on top, moisture that seeps up from the ground or condenses from temperature changes gets trapped underneath. According to the, concrete slabs without proper vapor barriers can experience moisture migration rates of up to 3 pounds per 1,000 square feet per hour. This trapped moisture can cause mold on the shed floor and efflorescence (white powder) on the patio surface.
Warning: If you place a metal or wooden shed directly on a patio without any gap, condensation can form underneath due to temperature differences between the ground and the air. This moisture can rust metal floors and rot wooden base plates within one or two seasons.
Weight Distribution and Cracking
Most residential patios are not designed to support the concentrated weight of a shed filled with tools. A typical concrete patio is 4 inches thick and, according to the, can handle a live load of roughly 3,000 to 4,000 pounds per square foot. However, if the shed’s base frame concentrates weight on small areas – such as a metal shed with narrow skids – it can create point loads that crack thin or aged patios.
Chemical Reactions and Staining
Certain shed materials react with patio surfaces. For example, untreated metal sheds can leave rust stains on concrete that are nearly impossible to remove. Pressure-treated lumber used in some wooden sheds contains copper compounds that can react with moisture and discolor light-colored concrete patios over time. The notes that copper azole treatments in pressure-treated wood can leach into porous surfaces when wet.
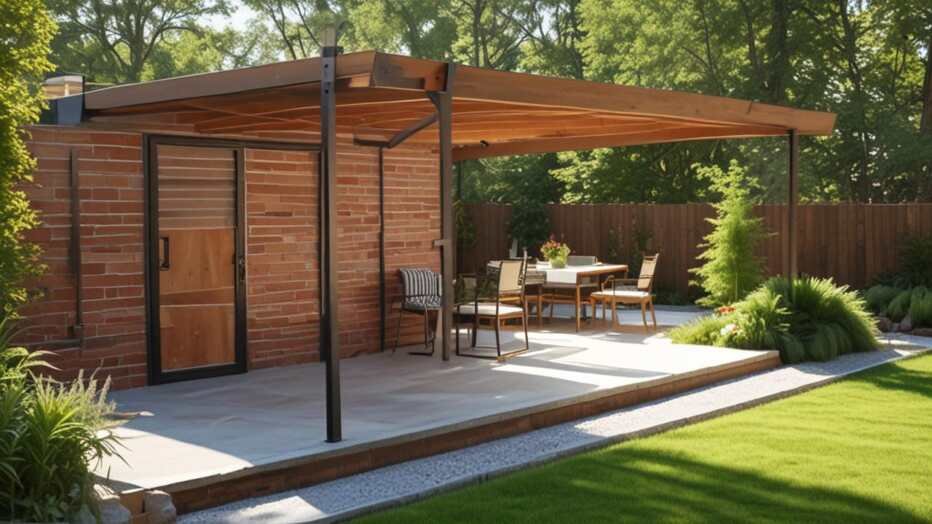
How Does a Patio Affect Shed Placement?
The type of patio you have determines what precautions you need to take. Below is a breakdown of common patio materials and how they interact with shed placement.
| Patio Material | Risk Level | Key Concerns | Recommended Shed Base |
|---|---|---|---|
| Concrete slab (poured) | Medium | Moisture migration, staining, potential cracking | Rubber mat + vapor barrier plastic |
| Concrete pavers | High | Individual pavers can shift or crack under weight | Plywood or OSB sheet to distribute weight evenly |
| Brick or stone | Medium-High | Uneven surface, possible mortar damage | Plywood base with leveling shims |
| Asphalt | Low-Medium | Can soften in heat and develop indentations | Large rubber mat or interlocking tiles |
| Flagstone (natural stone) | High | Irregular thickness, can crack under point loads | Plywood subfloor + rubber mat |
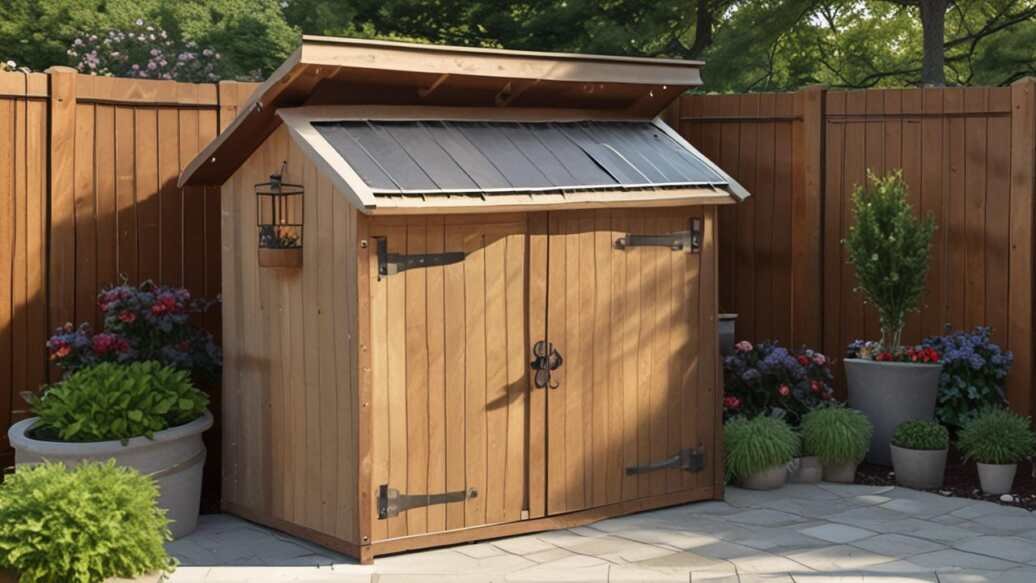
How to Use a Tool Storage Shed on a Patio Without Damaging It
The following step-by-step process helps you install a tool storage shed on an existing patio while preserving both structures. Follow each step carefully.
- Clean the patio surface thoroughly. Sweep away dirt and debris. Use a pressure washer if needed to remove algae or stains. Let the patio dry completely for at least 24 hours.
- Check for proper drainage. Ensure the patio slopes away from your house at a rate of 1/4 inch per foot. If water pools in the area where the shed will sit, you must first correct drainage or the shed floor will rust or rot.
- Select a protective base layer. Choose a material that prevents moisture contact and distributes weight evenly. The most common options are a heavy-duty rubber mat (1/4 inch or thicker), interlocking plastic deck tiles, or a sheet of 3/4-inch pressure-treated plywood wrapped in plastic sheeting.
- Place the base on the patio. Position the mat or plywood exactly where the shed will go. Ensure it extends 2 to 4 inches beyond the shed footprint on all sides.
- Assemble the shed according to manufacturer instructions. For metal or resin sheds, use the provided anchor kit to secure the shed to the base – never directly into the patio surface. Drilling into concrete or pavers can create cracks.
- Seal any gaps between the shed and the base. Use a bead of silicone caulk around the bottom edge of a metal shed to prevent water from seeping under. For wooden sheds, leave a 1-inch gap for air circulation and cover with a vented trim.
- Monitor periodically. Every three months, lift one corner of the shed slightly and check for moisture or discoloration underneath. If you see any, improve ventilation or replace the base layer.
Tip: If your patio has a decorative finish like stamped concrete or exposed aggregate, always use a rubber mat rather than plastic sheeting alone. The plastic can stick to the concrete and peel off surface sealer or color when removed.
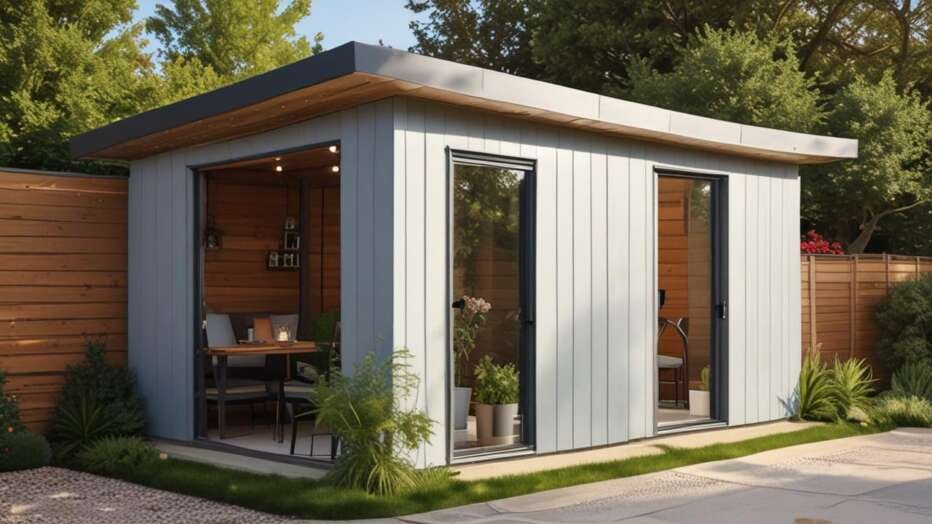
Common Myths vs Facts
Myth: Placing a shed on a patio always voids the patio warranty.
Fact: Most patio warranties cover structural defects, not damage from objects placed on top. However, if you drill anchors into the patio or cause cracking, that specific damage may not be covered. Check your patio contract or consult the installer.
Myth: A patio provides a level enough base for any shed without extra preparation.
Fact: Patios are poured level for foot traffic, not for sustained heavy loads. Even a perfectly level concrete patio can have slight undulations that cause a shed floor to warp. Using a compliant (flexible) base like rubber mats helps the shed settle evenly.
Myth: Any shed can go on any patio if you just add a layer of sand.
Fact: Sand does not protect against moisture and can actually trap water against the patio. Sand also does not distribute weight uniformly. A proper protective base requires a non-absorbent material like rubber or plastic tiles, not sand or gravel that can scratch the patio surface.
What Shed Material Is Safest for Patio Placement?
The material of your shed plays a big role in how safely it can sit on a patio. Below is a comparison of three common shed materials.
| Material | Weight (empty) | Moisture Resistance | Patio Protective Base Needed | Overall Risk to Patio |
|---|---|---|---|---|
| Resin (plastic) | 100-250 lbs | Excellent (does not rot, rust, or absorb water) | Thin rubber mat (prevents scratches) | Very Low |
| Metal (steel/aluminum) | 80-200 lbs | Good (with coating) but prone to condensation rust | Rubber mat + vapor barrier plastic | Low to Medium |
| Wood (pressure-treated) | 200-500+ lbs | Moderate (can rot if wet) – requires air gap | Plywood subfloor + rubber mat + air gap | Medium |
Based on this comparison, a resin plastic shed is the safest choice for patio placement. It is lightweight, does not react with concrete or stone, and requires only a simple rubber mat to prevent scratches. Metal and wooden sheds need more careful preparation to avoid damage.
Frequently Asked Questions
Can I anchor a shed directly into the patio concrete?
It is not recommended. Drilling into concrete creates entry points for water and can cause cracks, especially if the concrete is older or thin. Instead, use surface anchors with a heavy base or attach the shed to a separate wooden frame that sits on top of the patio. According to the, drilling anchor holes within 6 inches of the edge of a slab increases the risk of spalling.
Will a shed kill the grass underneath if placed on a lawn patio?
Yes, any solid shed placed on grass will block sunlight and kill the turf within weeks, leaving bare soil that turns into mud. If your patio is actually grass, you need to remove the sod, lay a gravel base, and then place the shed – you cannot safely use a grass surface as a base without causing damage and instability.
How often should I lift the shed to check for damage underneath?
You should inspect the patio surface under the shed at least twice a year – once in spring and once in fall. Look for mold, discoloration, cracking, or standing water. If you find any issues, remove the shed, clean the patio, and upgrade your base layer with better drainage or a thicker mat.
Can I put a shed on a patio that has a slight slope?
A small slope of up to 2 degrees (about 3/8 inch per foot) can be compensated for by using shims under the base frame. Anything steeper may cause the shed to slide or put uneven pressure on the patio. Always level the base using a carpenter’s level before assembling the shed.
What is the best base for a shed on a paver patio?
The best base for a paver patio is a sheet of 3/4-inch pressure-treated plywood cut to size, placed over a rubber mat. The plywood spreads the shed weight across multiple pavers, preventing individual pavers from settling or cracking. Do not use plastic sheeting alone because it does not distribute weight.
Final Thoughts
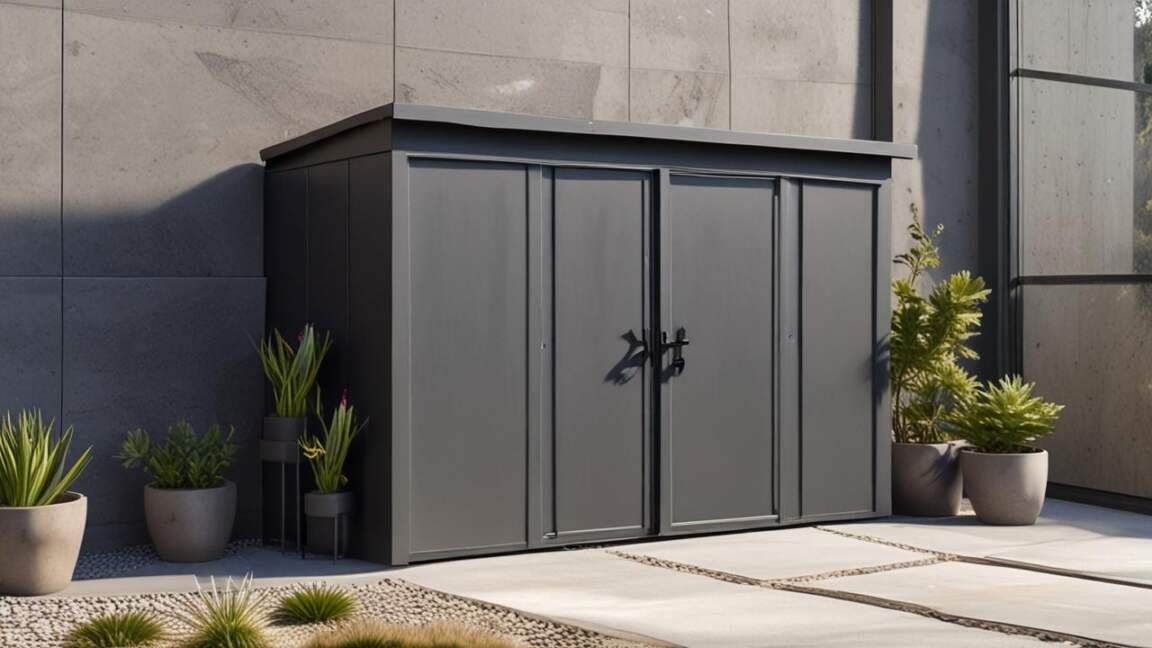
Using a tool storage shed on a patio is perfectly doable with the right preparation. The key is preventing moisture contact, distributing weight evenly, and choosing a shed material that works with your patio surface. Resin sheds offer the lowest risk, while metal and wood require more careful base setup. With a simple rubber mat or plywood base, you can enjoy extra storage without harming your outdoor living space.