General electric stove problems include faulty burners, damaged sensors, power but no heat, and throwing up error codes. It is always a good idea to know how to fix the little bugger.
An electric oven can start acting up out of nowhere like any other appliance in your home. Even with all the reliability marketing General Electric stoves often make your cooking endeavors challenging with these issues.
Key Takeaway
Common Sources of General Electric Stove Problems (Solutions Added!)
General Electric has been making home appliances for a very long time. They are a very reliable brand name when it comes to refrigerators, fridges, and AC systems.
According to Reader’s Digest, they are at 8th position in the reliability department but their wall ovens and electric ranges are rated excellent.
Here are some common reasons behind General Electric stove problems and solutions:
https://creativehouseblog.com/gas-stove-wont-light-but-smell-gas/Related Article: Why Your Gas Stove Won’t Light But Smell Gas?
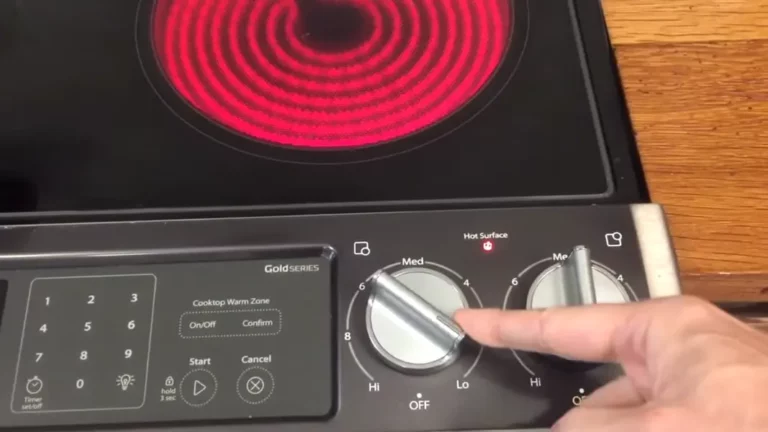
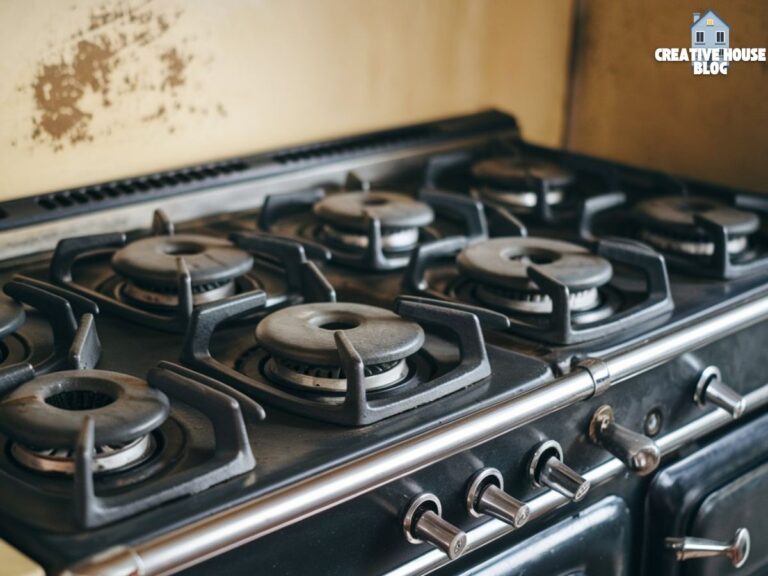
Surface Element
The most common problem source on GE cooktops is the surface element. If the surface element is not working, one of three reasons is behind it.
- The element is burnt out.
- The element receptacle is damaged.
- Connection issue on the wires from burns.
Solution:
To diagnose the problem, open up the glass top and take the element out. Look for blistering on the element. If it is burned up it will probably be broken.
If you do not see any burn spots, use a multimeter to check for continuity.
To solve surface element-related problems you will have to replace it. You can find replacement parts on Amazon.
Follow these steps to replace the elements:
- Unplug the range first for safety. Open up the oven door and take out the two connecting screws on the top.
- Unplug the wires attached to the element cover.
- Attach them to the new element and screw it into place.
- Turn on the range and it should work as normal.
Related Article: Reasons behind Your Whirlpool Electric Stove Not Working (And Fix!)
Watch this video for a step-by-step guide if you are new to this.
Faulty Burner Element Control Switch
If there is no continuity issue with the elements then the fault most likely is the element control switch.
The switch is connected to a knob that controls the power output. If your burner is stuck heating the elements then it is 100 percent a faulty switch.
Solution:
To resolve this you will have to open up the front panel and take a peek into the condition of the switch. If it does turn out to be damaged or burned, you will need to replace it as well.
Follow these steps:
- Remove the plastic knobs and mount the crystal nuts holding the front plate.
- Take off the mounting plate and unscrew the trim panel control screws. There should be around 8-10 of these screws.
- Take the control board out and you will see the switch attached right behind the knobs.
- Open up the back cover and unplug the switch wires. Take the old switch out and change it up with the new one.
- Attach the wires and screw up all the covers.
For an in-depth guide follow this video. If you feel overwhelmed, get it repaired by a professional.
Related Article: Electric Stove Sparking: Reasons and Basic Troubleshoots
Range Temperature Sensor (Codes: F143, F122)
The temperature sensor or a Thermistor is a crucial part of the whole range system. The control board sends an electric current through the thermistor to determine the temperature.
The control board cycles the heating elements on and off to maintain the cooking temperature and it relies on the thermistor to send accurate data. So, if the heat is off, then it’s likely the temperature sensor is faulty.
Solution:
Use an ohmmeter to test the resistance and verify if the thermistor has gone bad. If the values come up outside of the rated ones, the control board will misread it and cause the oven to overheat or underheat.
To fix the issue you need to get it replaced or your range will not be able to cook food effectively. You can find these sensors in your local shop or order them online.
You can find out how to change the oven temperature sensor from this video.
Self-Clean Does Not Work
The self-cleaning function is a lifesaver. But it can cause problems when it is not working. Here are the most common causes behind this feature not working:
- Faulty thermal fuse prematurely tripping.
- The defective oven door switch not sending signals that the doors are closed.
- Faulty temperature sensor.
Solution:
The quickest way to fix this issue is to replace the thermal fuse and connecting wires. This is what it looks like:
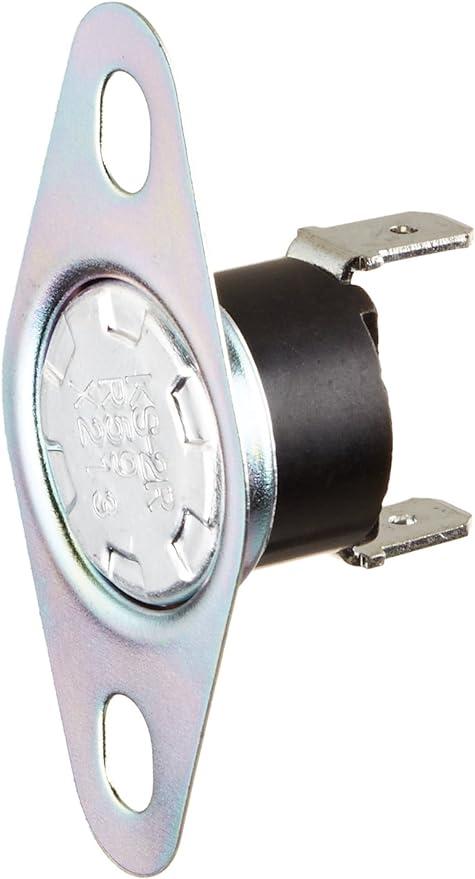
These fuses only cost around $15 at Repairclinic and changing them is relatively easy. Watch this video to learn more.
If the door lock motor on the oven is not working properly it will not receive the voltage from the control board. Hire a professional to take a look into that as well.
Related Article: Gas Stove Burner Turns Off by Itself? Here’s What to Do
Code “SEt”
If you have replaced the glass top recently you may come across the “Set” code showing on the display.
This is a pretty rare case but it may happen to your stove.
Solution:
Technically it is not a fault of the stove. You just need to set the UI on your cooktop to the right model.
Use the timer up and down keys to select the proper code for your model. Hold the timer start button for at least 7 seconds to store it and your burners should all function correctly.
You can find the correct codes for your stove here.
Related Post: How to Fix a Malfunctioning of GE Electric Stove Burner Not Working?
Tips for Good Electric Stove Maintenance
No matter how reliable an appliance or brand is, you will inevitably come across some problems. Whether it be the control board or the stove frequently tripping circuits.
A lot of the time you can save yourself from the hassle of going through repairs or service calls just by taking care of your stove.
Explore Also:
Dietsheriff
Gigasecurehome
Mycleanseplan
Here are some tips to properly maintain your electric stove:
- Keep your stove clean. Wipe down the surface after you are done using it. The less gunk that builds up, the better it holds up in the long run.
- Do not use anything that may damage the glass tops like abrasive or harsh cleaners.
- Use circuit breakers that are above your stove’s normal rating.
- Regularly check the surface elements. Look for burns or corroded spots. Use all the burners. You should not overuse just one or two.
- Use the right cookware. For example, only use magnetic cookware for induction stoves. Match its size with the surface element.
- If you do however run into any issues, get it repaired immediately. The sooner the better.
- Be mindful not to place heavy objects on top of it. The surface glass is sturdy but you never know when something breaks it.
Related Post: Samsung Electric Stove Burner Stays on High: How to Fix It?
Frequently Asked Questions (FAQs)
Why are my stove’s controls not working?
Either the surface element switch is damaged or the control board is. Open it up and check with a multimeter to see if it is passing current.
Why is there smoke coming out of my stove?
You probably have food spills on the heating elements being burned on which are causing the smoke.
How do I reset my stove/oven range?
Turn it off by powering down the circuit breakers for over a minute. Power it on and start a bake cycle to reset your electric range. Wait another minute and see if any error codes pop up.
Related Post: Electric Stove one Burner Not Working: Reasons and Fixes Explained