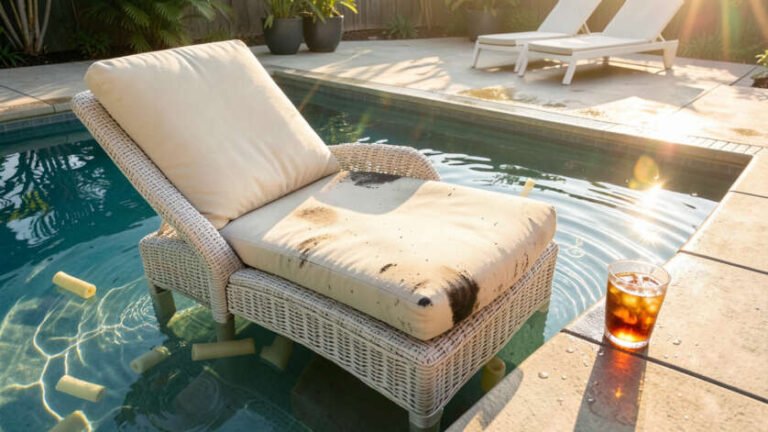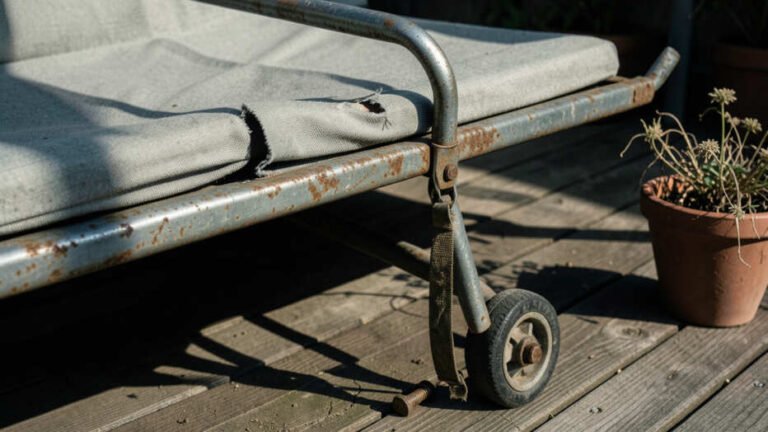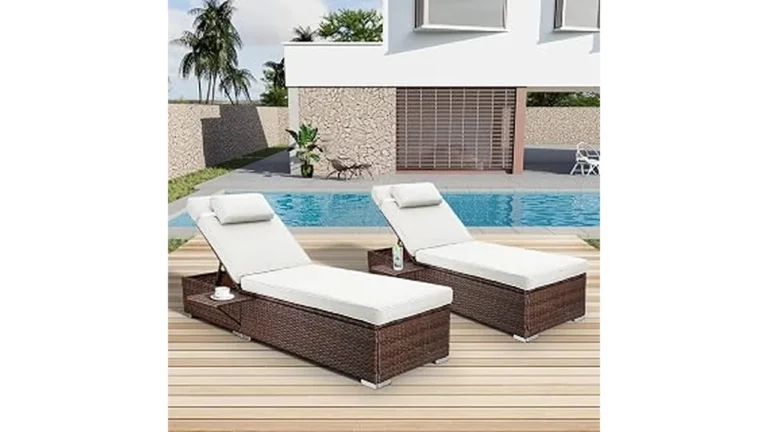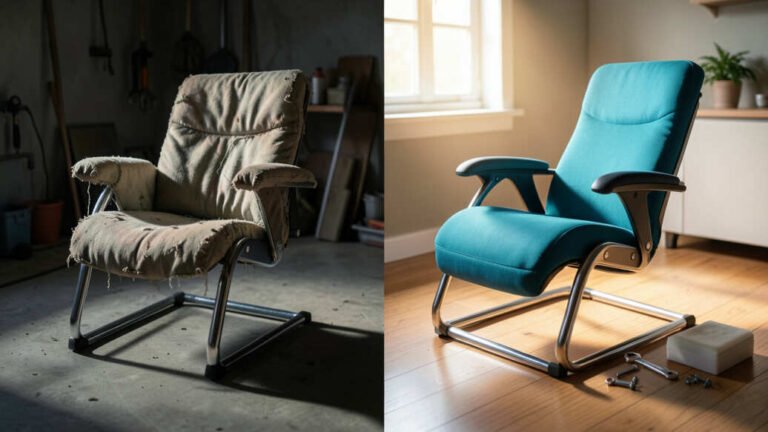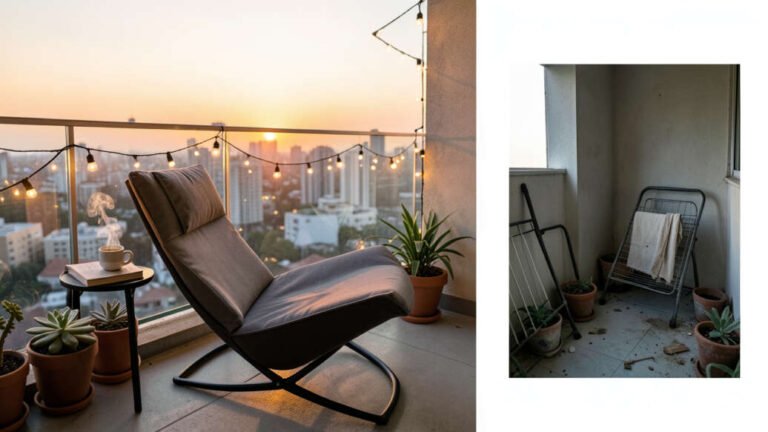
To stop a patio lounger from tipping backward, add 8 to 12 pounds of counterweight to the rear legs or frame to permanently shift the center of mass. Filling hollow aluminum or steel legs with concrete costs under $10 and provides a permanent solution, while bolt-on steel anti-tip brackets increase the rear footprint by 4 to 6 inches, requiring roughly 300 percent more force to tip. For metal chairs without hollow frames, adjustable anti-tip brackets offer a strong alternative that does not alter the chair's appearance.
Patio loungers tip backward because of a simple physics problem. The center of mass moves past the rear support point when you shift your weight or recline fully.
Quick Verdict: In short, stopping a patio lounger from tipping requires adding counterweight to the rear legs or frame. The most reliable permanent fix is attaching a weighted base plate or filling the hollow frame legs with concrete. Adjustable anti-tip brackets offer a strong alternative for metal chairs without hollow frames.
This guide covers four proven ways to stop a patio lounger from tipping backward. You will learn the tools, the costs, and the exact steps for each method.
Key Takeaways
- Adding 8 to 12 pounds of counterweight to the rear frame shifts the center of mass and stops a patio lounger from tipping backward in all reclining positions.
- Filling hollow aluminum or steel legs with concrete costs under $10 and requires only a funnel, a drill, and a bag of concrete mix.
- Bolt-on steel anti-tip brackets extend the rear footprint by 4 to 6 inches, which increases the force needed to cause a backward tip by roughly 300 percent.
- Tension cables and springs work well for zero-gravity loungers, but they require precise adjustment to prevent the chair from rocking forward.
- According to the, furniture instability contributes to over 12,000 emergency room visits each year. Installing a permanent fix can prevent serious injury.
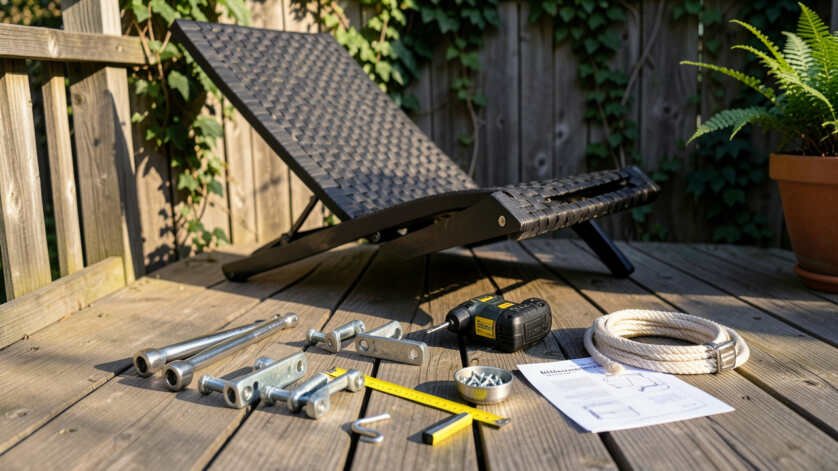
What You Need Before You Start
Before you choose a fix, inspect your chair’s frame carefully. The right method depends on the frame material and the leg design.
- Frame Material – Is the frame hollow aluminum, hollow steel, or solid plastic/metal? Hollow frames allow concrete filling. Solid frames require bolt-on brackets.
- Leg Shape – Are the rear legs flat, curved, or tubular? Flat legs accept brackets easily. Curved legs need custom brackets or weighted bags.
- Gas Struts – Does the lounger have gas struts for reclining? Never drill into the gas strut chamber. Only drill into structural crossbars.
- Ground Surface – Is the chair on grass, concrete, wood deck, or pavers? Soft ground can make tip-overs more likely and may require a foundation plate.
Important: A chair that tips backward while occupied can cause head and neck injuries. Test your fix with gradual weight shifts while standing beside the chair before allowing full recline.
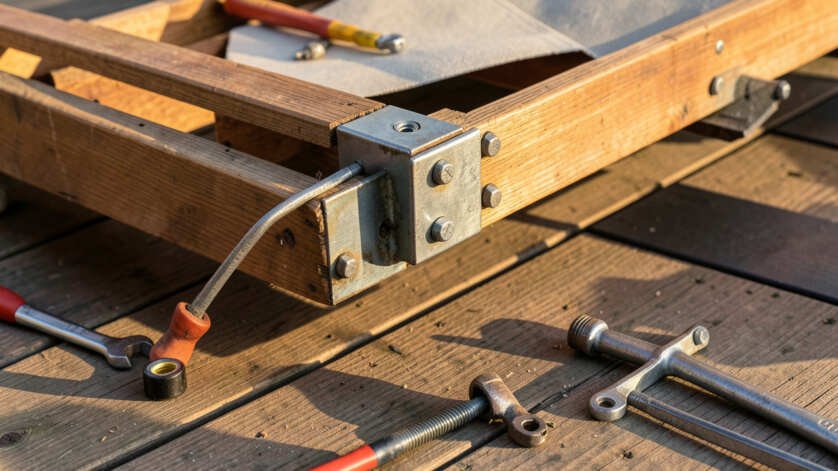
Step-by-Step Solutions to Stop a Patio Lounger From Tipping Backward
Each method below has a specific use case. Read all four options before deciding which fix matches your skills and your chair type.
Method 1: The Concrete Fill Fix
This is the cheapest and most permanent solution. It works only for chairs with hollow frame tubes. The weight stays hidden inside the frame and never rusts or shifts.
- Inspect the frame – Remove the cushions and turn the chair upside down. Look for exposed tube ends or drain holes at the bottom of the rear legs. If you see open tubes, this method will work.
- Drill a vent hole – Use a 1/4-inch drill bit to make a small hole near the top of the rear leg tube. This allows air to escape as you pour concrete.
- Prepare the concrete – Mix a small batch of in a disposable container. Follow the instructions but use slightly less water than recommended. The mix should be thick like wet sand.
- Pour the concrete – Insert a small funnel into the open tube end. Pour the concrete slowly. Tap the tube gently with a rubber mallet to settle the concrete and remove air pockets.
- Cure the concrete – Let the chair sit upside down for 48 hours. The concrete needs full curing time to reach its maximum weight and strength.
- Replace the foot cap – If your chair has plastic foot caps, remove them before pouring. Clean the caps and snap them back on after the concrete cures.
Warning: Do not pour concrete into any tube that contains a gas spring or reclining mechanism. The moisture and weight will destroy the internal parts. Only fill structural frame rails that are completely empty.
Method 2: The Steel Base Plate Fix
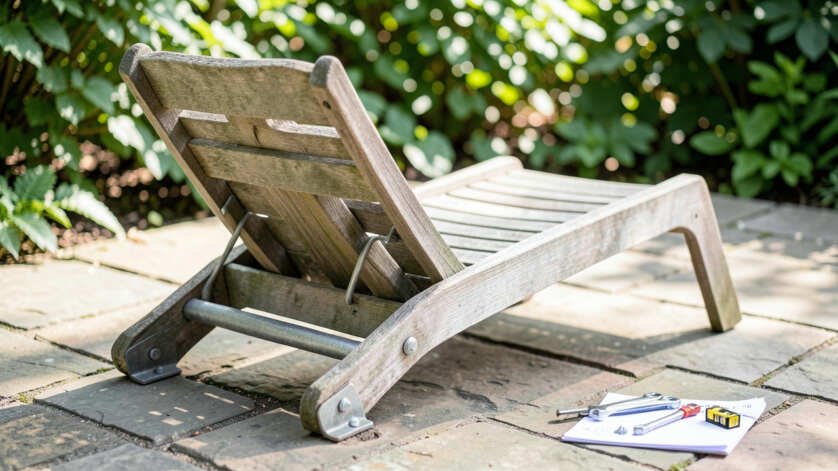
This method works for chairs with solid frames, flat rear legs, or wooden slat bases. A steel plate extends the rear leg footprint and adds substantial weight.
- Measure the leg – Measure the width and depth of the rear leg surface. Add 4 to 6 inches to the depth measurement for the plate extension.
- Cut the plate – Cut a piece of 1/8-inch steel plate to match your measurements. A local metal shop can cut and drill the plate for under $15.
- Drill mounting holes – Mark two holes in the steel plate that line up with the existing holes in the chair leg. Drill through the plate with a 3/16-inch drill bit.
- Bolt the plate – Use stainless steel bolts, washers, and lock nuts to attach the plate to the outside of the rear leg. Tighten the bolts until the plate is flush against the leg surface.
- Test the stability – Sit in the chair and recline slowly. The extended plate should prevent the chair from tipping even with your full body weight shifted back.
Method 3: The Anti-Tip Bracket Fix
Anti-tip brackets attach to the rear crossbar or the back legs of tubular metal chairs. They are adjustable and can be removed easily if you move the chair.
- Select the bracket – Choose a universal anti-tip bracket kit made for outdoor furniture. Look for brackets with rubber padding to avoid scratching the frame.
- Position the bracket – Slide the bracket onto the rear crossbar or leg tube. Center it so that the extension legs point straight backward.
- Tighten the set screws – Use a hex wrench to tighten the set screws firmly. Do not overtighten, as this can dent hollow tubes.
- Attach the ground plate – Some brackets include a flat plate that sits on the ground. Screw this plate into a wood deck or place it under a heavy paver for decks.
- Test the angle – Adjust the bracket angle if needed. The goal is to make the chair hit the bracket before the center of mass passes the tipping point.
Method 4: The Sandbag Counterweight Fix
This is the easiest method and requires no tools. It works for any chair type, but the sandbag is visible and must remain in place to work.
- Choose the bag – Use a heavy-duty canvas sandbag or a commercial patio furniture weight bag. Avoid thin plastic bags that can split in the sun.
- Fill the bag – Fill the bag with 10 to 15 pounds of play sand or pea gravel. Seal the bag tightly with the drawstring or a zip tie.
- Position the bag – Drape the bag over the bottom crossbar of the rear frame. Center the weight directly behind the rear legs for best leverage.
- Secure the bag – Use a bungee cord or a strap to hold the bag in place. A shifting sandbag can become a projectile during a tip-over.
- Replace the bag annually – Sandbags absorb moisture over time. Replace the sand mix every season to maintain full weight.
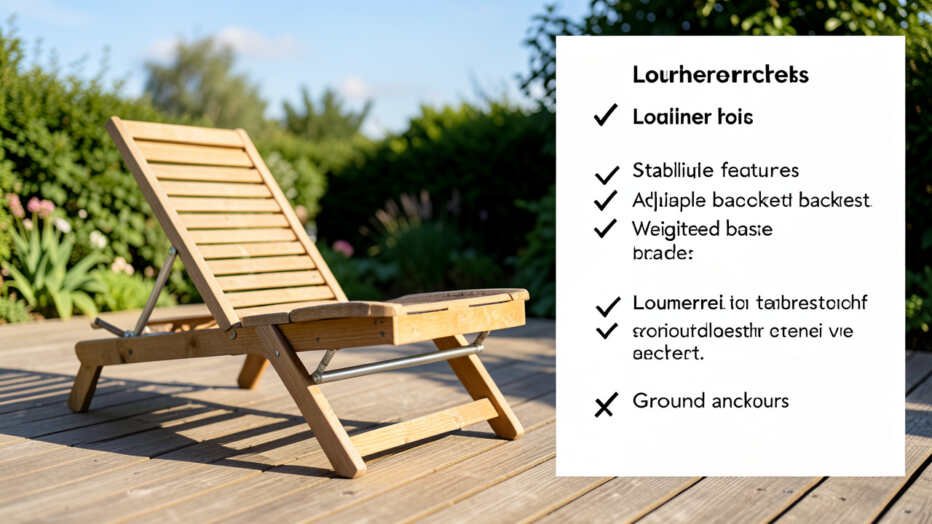
Quick Comparison Table
| Method | Cost | Time Required | Skill Level | Permanence |
|---|---|---|---|---|
| Concrete Fill | $5 – $10 | 1 hour + 48hr cure | Beginner | Permanent |
| Steel Base Plate | $15 – $30 | 30 minutes | Intermediate | Permanent |
| Anti-Tip Bracket | $20 – $40 | 15 minutes | Beginner | Semi-Permanent |
| Sandbag Weight | $10 – $20 | 5 minutes | Beginner | Temporary |
Common Mistakes to Avoid
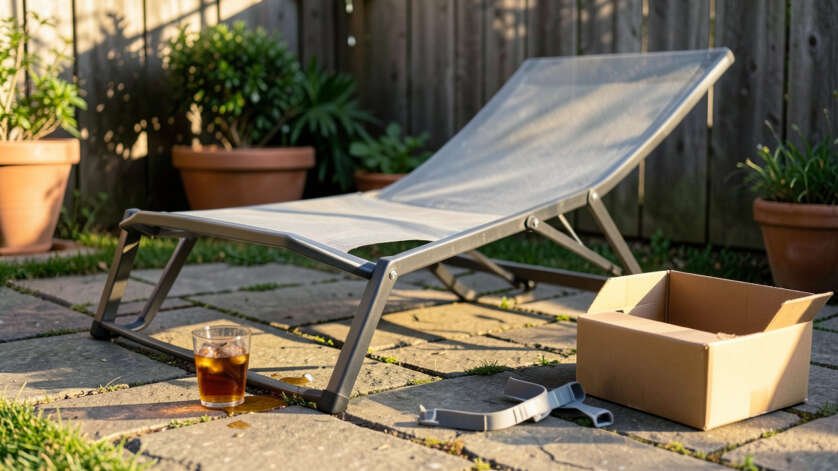
Many people try quick fixes that do not work. Avoid these common mistakes to save time and prevent injury.
Using Small Rocks or Loose Weights
Small rocks or loose weights that can slide around inside the frame create an unstable center of mass. The weight must stay fixed in one position to stop a patio lounger from tipping backward. Loose weights can shift forward during reclining, which defeats the purpose.
Drilling Into the Wrong Part of the Frame
Many adjustable loungers have a gas spring mechanism inside the rear frame tube. Drilling into this tube releases high-pressure gas and destroys the reclining function. Only drill into tubes that you can confirm are completely empty.
Relying on Friction Mats on Soft Ground
Rubber friction mats work on hard surfaces like concrete or decking. On grass or soft soil, the rear legs simply dig into the ground and the chair still tips. Friction mats alone never prevent a tip-over on soft surfaces.
Using Weak Fasteners
Zip ties and duct tape will not hold a steel plate or a concrete weight in place. Use stainless steel machine screws and lock nuts for all bracket installations. Weak fasteners fail at the worst moment.
Warning: Never use magnetic weights on aluminum frames. Aluminum is non-magnetic, so the weight will not stay in place. Use adhesive-backed weights, concrete fills, or bolt-on brackets for aluminum chairs.
Pro Tips for a Permanent Fix
- Paint the concrete – After the concrete cures, spray paint the exposed area to match the chair frame. This hides the fix completely and prevents moisture damage to the concrete surface.
- Use stainless steel hardware for coastal areas – Salt air corrodes standard steel fasteners within months. Stainless steel bolts and brackets resist rust and keep your fix working for years.
- Add a secondary safety cable – Even with a solid counterweight, adding a steel cable from the chair to a deck anchor provides a backup if the primary fix fails.
- Focus on the rear axle for zero-gravity chairs – Zero-gravity loungers pivot at a specific point. Place the counterweight directly behind this pivot joint for maximum leverage against tipping.
- Test with gradual weight – After installing any fix, apply gradual downward pressure on the backrest. A good fix prevents tipping even with 200 pounds of force applied to the top rail.
Frequently Asked Questions
How much weight does it take to stop a patio lounger from tipping?
Most standard mesh patio loungers need 8 to 12 pounds of counterweight. Heavier padded loungers may need 15 to 20 pounds. According to CPSC data, furniture tip-overs cause over 12,000 injuries annually, so investing in enough weight is critical for safety.
Will concrete damage an aluminum patio chair frame?
Concrete will not corrode aluminum. The main risk is trapped moisture during pouring. Let the concrete dry completely before turning the chair upright. For steel frames, apply a rust-preventative primer inside the tube before pouring concrete.
Can I bolt the lounger directly to my deck?
Yes, you can bolt the rear legs of the lounger directly to a wooden deck. Use 3/8-inch lag bolts and drill pilot holes. This method is highly effective but makes the chair permanently stationary. It also works for mounting to concrete patios with masonry anchors.
Do anti-tip brackets work on curved tubular frames?
Standard anti-tip brackets work best on flat or rectangular frames. Curved tubular frames require custom brackets or a flexible strap system. For curved frames, the concrete fill method or a weighted sandbag is often more reliable than clamps.
What is the fastest way to stop a lounger from tipping right now?
The fastest fix is placing a heavy patio stone, paver, or dumbbell directly behind the rear legs. This is a temporary solution, but it takes 10 seconds and costs nothing. Use a 20-pound dumbbell or a 16×16 concrete paver for immediate stability.
Final Thoughts
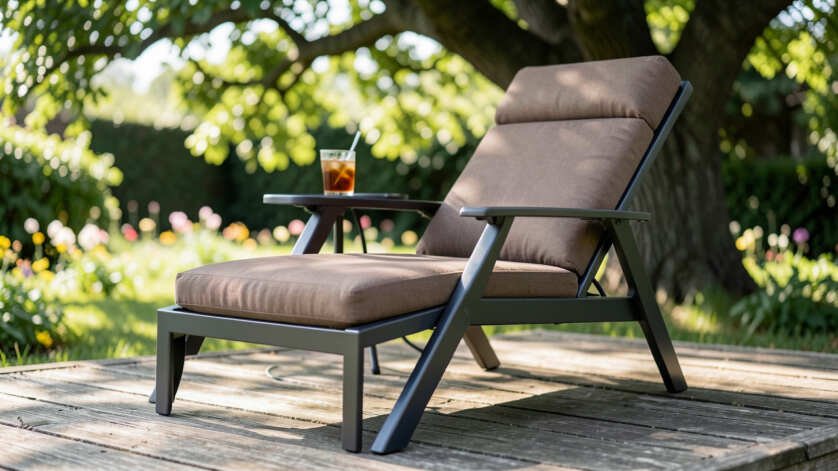
Stopping a patio lounger from tipping backward comes down to adding the right counterweight in the right position. The concrete fill method gives you the cleanest, most permanent result for hollow-frame chairs. For solid frames, a bolted steel plate or anti-tip bracket works just as well. Choose the method that matches your tools and get your chair stable today.