Making perfect milk foam for your coffee can be tricky. Many folks run into the same problems when they start. Don’t worry, we’ll fix that!
This guide shows you the 8 Mistakes That Ruin Milk Frothing. We’ll go through it step-by-step so you can get creamy, smooth foam every time. Let’s find out what goes wrong and how to make it right.
Key Takeaways
- You’ll learn common mistakes beginners make when frothing milk.
- Discover how to choose the right milk for the best results.
- Understand the correct milk temperature for perfect foam.
- Learn the importance of pitcher placement and steam wand angle.
- See how to aerate and texture milk correctly.
- Find out how to clean your equipment for future use.
Getting Started with Milk Frothing
Why Milk Frothing Can Be Tricky
Frothing milk seems simple, but it has a few steps that can easily go wrong. It’s like baking a cake; if you miss one ingredient or one step, it won’t turn out right. People often get frustrated because they don’t know the small details that make a big difference.
These little things can lead to bubbly, thin foam, or even just hot milk.
The goal is to create tiny air bubbles that are evenly spread throughout the milk. This makes it smooth and creamy, perfect for latte art or just a richer coffee drink. When this doesn’t happen, it’s usually because of one of the common errors we’ll talk about.
We’ll cover the most common issues so you can avoid them. By knowing what to watch out for, you can start making great foam right away. Let’s look at the first big mistake.

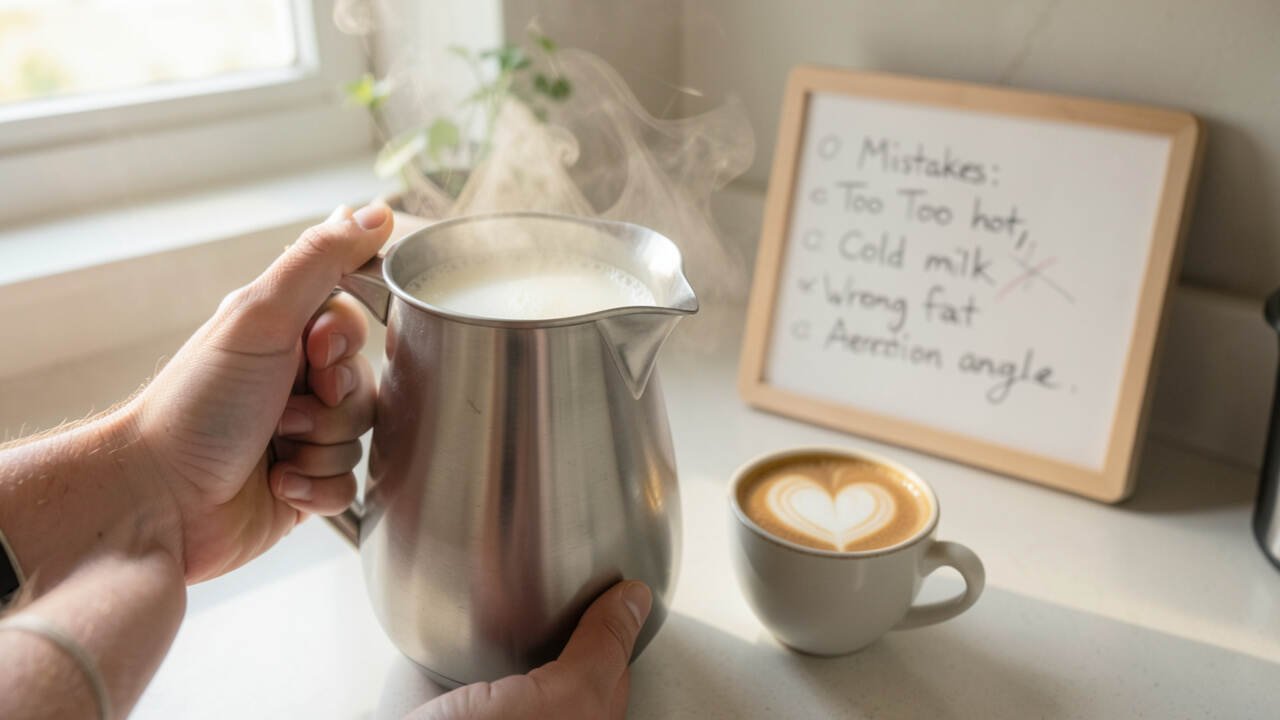
The 8 Mistakes That Ruin Milk Frothing
Mistake 1: Using the Wrong Milk
Not all milk is created equal when it comes to frothing. The fat and protein content matters a lot. Whole milk is usually the easiest for beginners because it has enough fat to make the foam rich and stable.
Skim milk can froth, but the foam might be airy and disappear quickly.
Low-fat milk can be okay, but sometimes it’s harder to get that silky texture. If you’re trying non-dairy milk, some work better than others. Oat milk and soy milk often froth well.
Almond milk can be trickier and might not give you the best foam.
For the best results, especially when you’re learning, stick with whole milk or a good quality oat milk. This will give you the best chance of success without too much struggle.
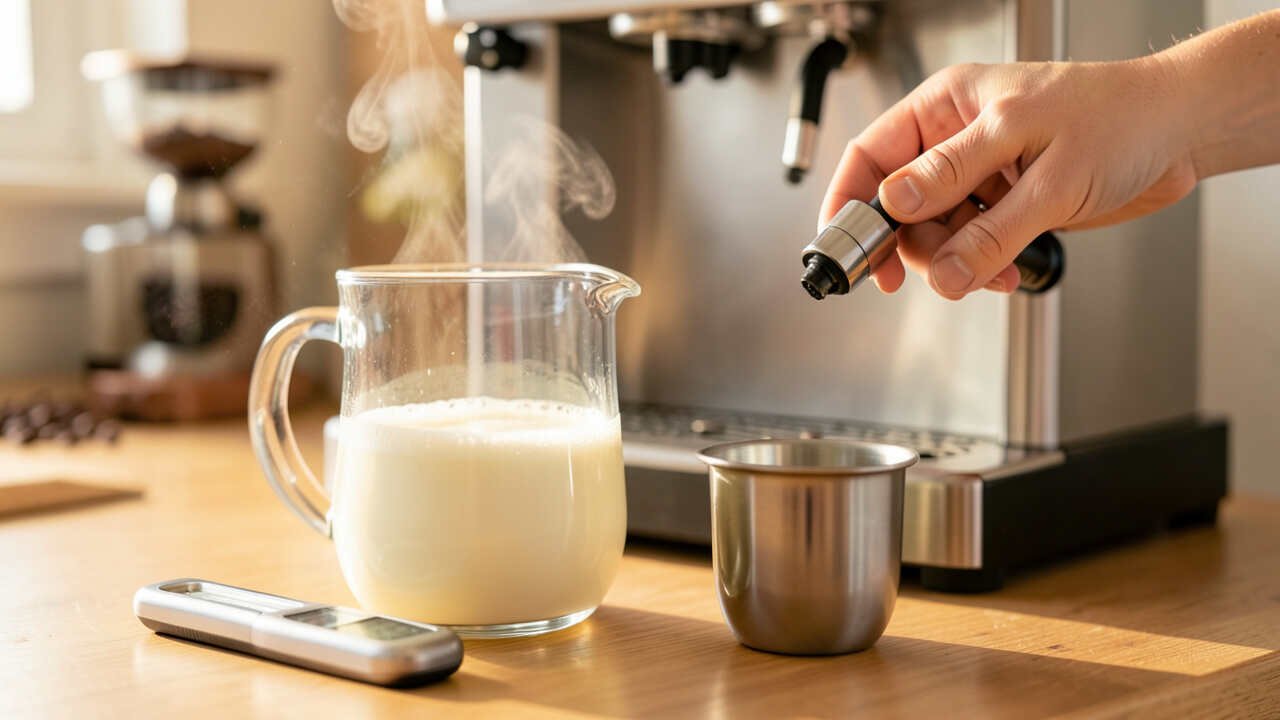
Mistake 2: Milk is Too Hot or Too Cold
The temperature of your milk is super important. If your milk is too cold, it’s hard to introduce air into it. You want it to be cold to start, but not ice cold.
If it’s too warm, you can’t froth it properly, and it can even scald, which tastes bad.
The ideal temperature for frothing milk is between 35°F and 40°F (1°C and 4°C). This means taking it straight from the fridge. Once you start steaming, you want to stop when the pitcher feels too hot to hold comfortably for more than a second or two.
This is usually around 140°F to 150°F (60°C to 65°C).
If you overheat the milk, you’ll end up with a flat, sad foam. Keep a thermometer handy if you’re unsure. It’s a simple tool that can save your drink.
Mistake 3: Not Enough or Too Much Air Introduced
This is a big one! You need to get the right amount of air into the milk to create foam. Too little air, and you get warm milk with no foam.
Too much air, and you get big, dry bubbles that pop fast, like soap suds.
When you start steaming, you want to place the steam wand tip just at the surface of the milk. You should hear a gentle “kissing” or “ripping paper” sound. This is where the air is being incorporated.
Do this for only a few seconds.
Once you’ve added enough air, you push the steam wand a little deeper into the milk. This is for heating and swirling the milk to create that smooth, velvety texture. Getting this balance right takes practice, but it’s key to good foam.
Mistake 4: Poor Steaming Wand Technique
The way you hold and position the steam wand makes a difference. It’s not just about putting it in the milk. You need to learn how to control the steam.
First, always purge the steam wand before you start. Turn on the steam for a second to clear out any water. Then, put the wand into the milk.
As mentioned, the tip should be just at the surface for aeration. You should see a gentle vortex forming.
When you switch to heating and texturing, the wand should be angled slightly to create a whirlpool. This helps break down larger bubbles and evenly heat the milk. If the wand is too deep, you won’t get any air.
If it’s too high, you’ll get too many big bubbles. Finding that sweet spot is important.
Mistake 5: Over-Steaming or Under-Steaming
This is related to temperature, but it’s also about how long you steam. Over-steaming the milk can make it too hot. This breaks down the proteins that create foam, leading to a thin, bubbly result.
It can also give the milk a cooked or burnt taste.
On the other hand, under-steaming means the milk isn’t hot enough and hasn’t been properly textured. You might have some foam, but it won’t be silky or integrated well with the liquid milk. The foam can be stiff and separate quickly.
Aim for that perfect temperature range. When you can’t hold the pitcher for more than a second or two, it’s usually ready. Listen to the sounds of the steam; it changes as the milk heats up and texturizes.
Mistake 6: Not Swirling or Tapping the Pitcher
After you finish steaming, there are two important finishing steps: swirling and tapping. Many people skip these, and it affects the final foam quality.
Once you’ve steamed the milk, immediately pull the wand out and clean it. Then, give the pitcher a good swirl. This helps to integrate the air bubbles you created with the liquid milk, making it smooth and glossy.
It breaks up any larger bubbles that might have formed.
After swirling, gently tap the bottom of the pitcher on a flat surface. This helps to pop any remaining large bubbles on the surface. If you see a few big ones, you can even swirl it a bit more and tap again.
These steps turn bumpy foam into that beautiful, creamy texture.
Mistake 7: Using Old or Dirty Equipment
Your tools play a big role. If your steam wand is dirty, it won’t steam properly. Old milk residue can block the holes and affect the steam pressure.
This can lead to poor frothing and an unpleasant taste.
Your milk pitcher should also be clean. Any leftover coffee oils or milk residue can impact the flavor and texture. Always clean your steam wand immediately after each use.
Wipe it with a damp cloth and then purge it again. Rinse out your milk pitcher thoroughly after each use.
A clean setup ensures that steam can flow freely and that you’re working with fresh, clean milk. This is a simple but vital part of consistent results.
Mistake 8: Rushing the Process
Frothing milk is a skill that takes a little practice. Trying to do it too fast or without paying attention can lead to mistakes. It’s easy to get discouraged if your first few attempts aren’t perfect.
Take your time. Pay attention to the sounds you hear, the feel of the pitcher, and the look of the milk. Each time you froth, you’re learning something new.
Don’t compare your first attempts to those of experienced baristas. Focus on improving your own technique.
Be patient with yourself. With a little practice and by avoiding these common errors, you’ll be making great foam for your coffee in no time.
Frequently Asked Questions
Question: What is the best type of milk for frothing?
Answer: Whole milk is generally the best for beginners because its fat content helps create rich, stable foam. Oat milk is also a great option, especially for those avoiding dairy.
Question: How do I know when the milk is hot enough?
Answer: The milk is usually ready when the pitcher feels too hot to hold comfortably for more than a second or two. For exact temperatures, aim for 140°F to 150°F (60°C to 65°C).
Question: What does it sound like when I’m adding air to the milk?
Answer: You should hear a gentle “kissing” or “ripping paper” sound. This indicates you’re drawing air into the milk to create foam.
Question: How do I clean the steam wand?
Answer: Immediately after steaming, wipe the wand with a damp cloth and then turn on the steam for a few seconds to purge any milk inside.
Question: My foam is too bubbly. What did I do wrong?
Answer: You likely introduced too much air for too long. Try to aerate for a shorter time, just until you hear the gentle sound, then submerge the wand to heat and texturize.
Final Thoughts
Making great milk foam is totally achievable. You’ve learned about the 8 Mistakes That Ruin Milk Frothing. We covered everything from picking the right milk and hitting the perfect temperature to using the steam wand correctly and finishing your foam with swirls and taps.
Don’t forget to keep your equipment clean! Each step helps build creamy, delicious foam for your coffee. Keep practicing, and you’ll get that silky texture you’re looking for.
You’ve got this!
![What to Do If a Pipe Bursts Before Plumber Arrives[1]](https://creativehouseblog.com/wp-content/uploads/2026/05/What_to_Do_If_a_Pipe_Bursts_Before_Plumber_Arrives1-768x403.jpg)
![How to Prevent Ice Dams on Your Roof in Winter[1]](https://creativehouseblog.com/wp-content/uploads/2026/05/How_to_Prevent_Ice_Dams_on_Your_Roof_in_Winter1-768x403.jpg)
![Can Air Fryers Truly Replace Ovens[1]](https://creativehouseblog.com/wp-content/uploads/2026/03/Can_Air_Fryers_Truly_Replace_Ovens1-768x448.jpg)
![Rice Cooker Versus Instant Pot[1]](https://creativehouseblog.com/wp-content/uploads/2026/03/Rice_Cooker_Versus_Instant_Pot1-768x448.jpg)
![Troubleshooting Common Espresso Machine Issues[1]](https://creativehouseblog.com/wp-content/uploads/2026/03/Troubleshooting_Common_Espresso_Machine_Issues1-768x448.jpg)
![How to Fix a Leaking Gutter Joint Without Replacing It[1]](https://creativehouseblog.com/wp-content/uploads/2026/05/How_to_Fix_a_Leaking_Gutter_Joint_Without_Replacing_It1-768x403.jpg)