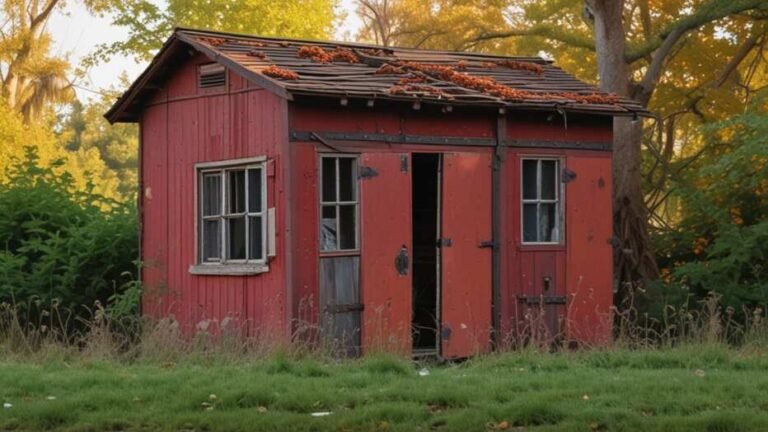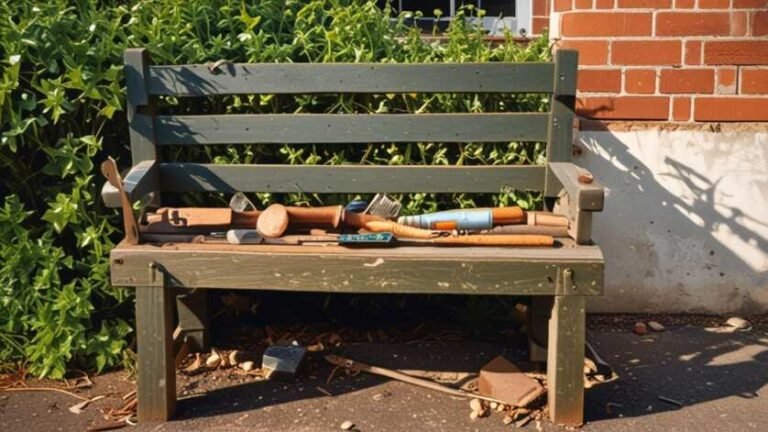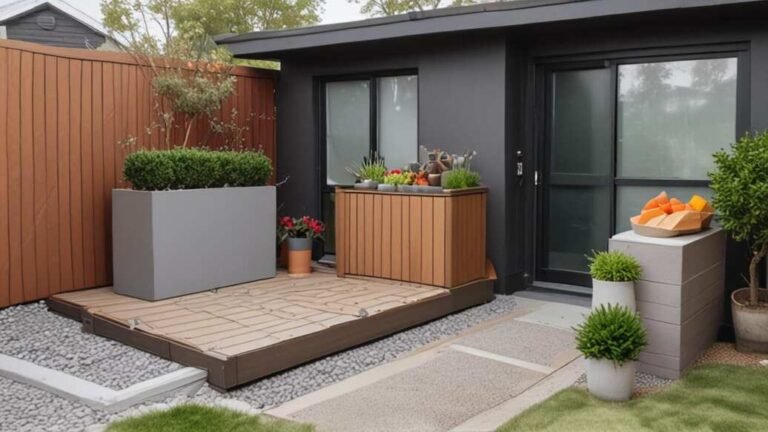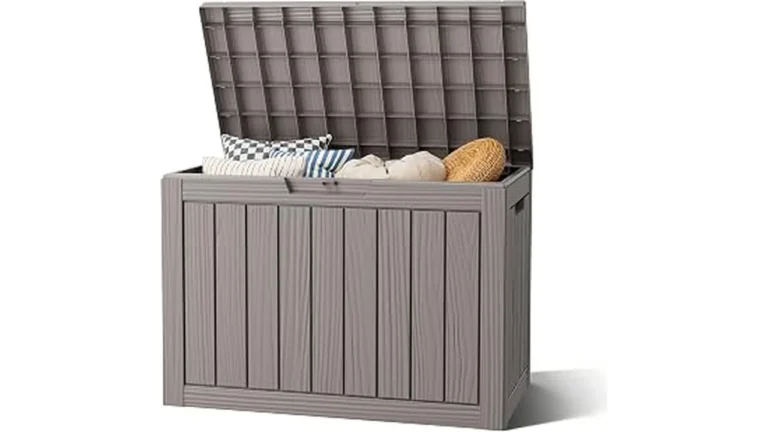
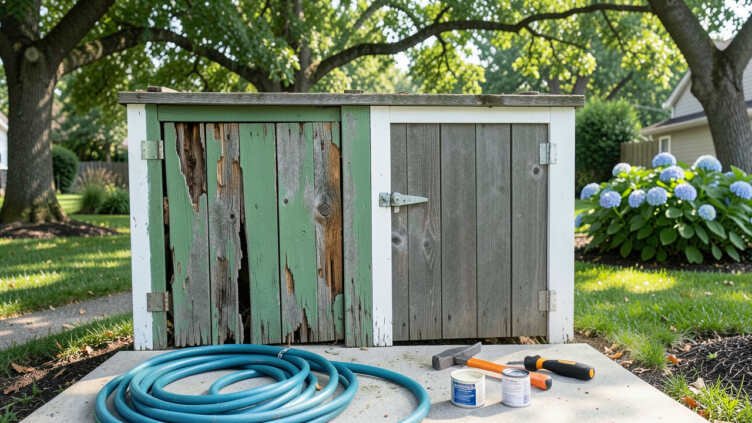
The decision to repair or replace your garbage can storage depends on whether the damage is structural or cosmetic. If the frame, floor, and roof remain solid, minor repairs such as new hinges, latches, or weatherstripping typically cost under $50 and can extend the unit's life for years. A full replacement is necessary when the base is rotting, the frame is twisting, or the roof is sagging, as these issues invite pests and waste your money if repaired improperly.
A broken door, a rusty hinge, or a cracked lid on your garbage can storage is a real annoyance. This guide helps you diagnose the damage so you can decide fast whether to fix it or buy a new unit.
Quick Verdict: Simply put, if the frame and floor of your enclosure are solid, you almost always save money with a quick repair. You should replace the entire unit if the base is rotting, the frame is twisting, or the roof is sagging. Broken hinges, cracked panels, and worn weatherstripping are easy fixes that cost under $50 and take less than an hour.
Making the wrong choice wastes your hard-earned cash and precious time. Use this guide to assess the damage, compare costs, and decide on the best path forward for your garbage can storage replacement or repair.
Key Takeaways
- Minor repairs like replacing hinges, latches, or weatherstripping cost under $50 and add years to the life of your storage unit.
- Major structural damage to the frame, roof, or floor requires a full replacement to prevent pest infestations and further yard clutter.
- A new garbage can storage unit ranges from $150 to over $800 depending on the material, size, and brand you choose.
- Using galvanized screws and pressure-treated materials for any DIY repair adds significant durability compared to standard hardware.
What Are the Most Common Causes of Damage to Garbage Can Storage?
Knowing what caused the damage helps you decide if it will happen again. Most issues come from weather exposure or simple wear and tear over time.
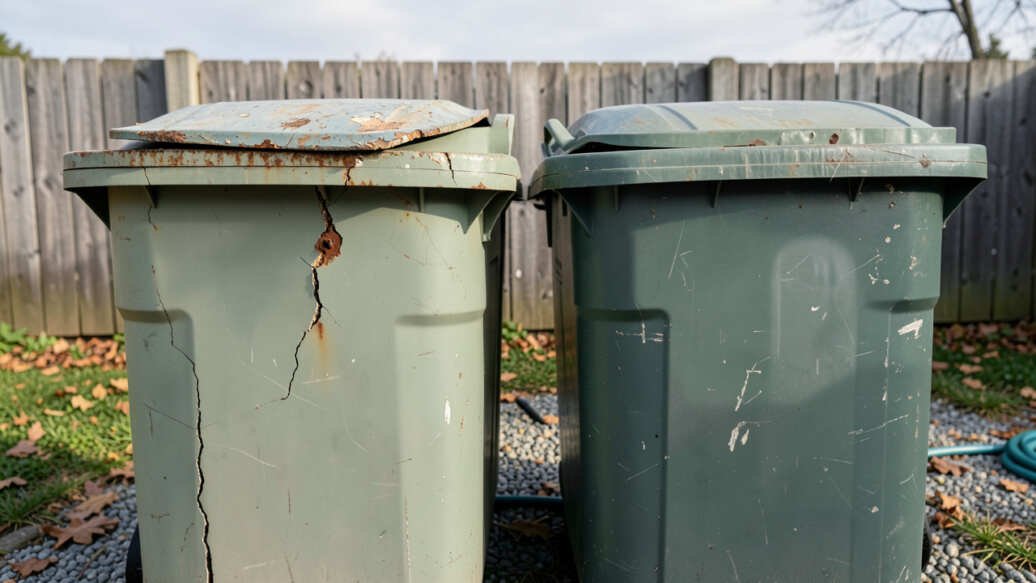
- UV Radiation: Sunlight breaks down plastic and resin polymers. This makes the material brittle and prone to cracking. A unit facing direct afternoon sun will degrade faster.
- Moisture and Rot: Wooden enclosures rot from the bottom up. This happens when the base sits directly on damp soil without a gravel or concrete foundation.
- Rust and Corrosion: Steel and metal enclosures rust at screw holes, hinges, and the bottom edge. Salt from road spray or coastal air speeds up this process.
- Physical Impact: Trash cans get slammed into doors. Lawnmowers hit the sides. Kids climb on the roof. These repeated impacts cause cracks, dents, and frame separation.
- Poor Assembly: Units that were not put together on a level base will twist and bind. This causes doors to stick and panels to pop out of alignment.
How to Assess the Structural Integrity of Your Storage Unit
You need to check the bones of the unit before you spend any money on parts. A solid frame means a repair is a good bet. A weak frame means you are throwing money away.
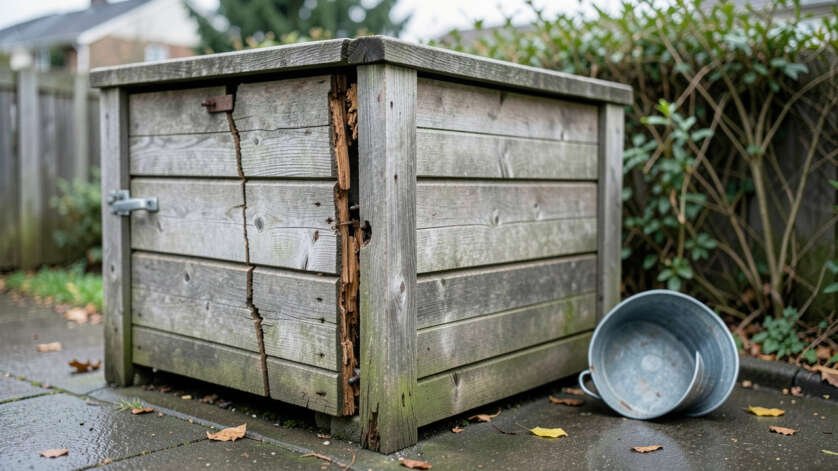
- Inspect the Floor: This is the most common failure point. Press down on the floor inside the unit. If it feels soft, spongy, or crumbles under pressure, the structure is compromised.
- Check the Frame: Look at all four corners from the inside. Are they square? Are the vertical supports separating from the base? Push gently on the walls to see if they flex more than usual.
- Examine the Roof: Look for standing water after a rain. Sagging panels mean the roof frame is failing. Check for soft spots or cracks where water could leak inside.
- Test the Door: Open and close the door fully. Does it bind or scrape? Is it sagging on the hinges? A sagging door usually means the frame is twisting, which is a sign of a bigger problem.
Important: If you can see daylight coming through the frame or walls, you have a structural gap. This is an open invitation for rats, mice, and insects to get into your trash. A full replacement is often the best solution in this case.
Quick Cost Comparison Table
| Factor | Simple Repair | Full Replacement |
|---|---|---|
| Average Cost | $10 – $75 | $150 – $800 |
| Time Required | 30 minutes – 2 hours | 2 – 6 hours (assembly and prep) |
| Skill Level Required | Beginner | Intermediate |
| Tools Needed | Screwdriver, drill, measuring tape | Drill, level, rubber mallet, ladder |
| Lifespan Added | 1 – 3 years | 10 – 15 years (new unit) |
What Does a Repair Typically Cost?
Most garbage can storage replacement or repair decisions come down to money. A repair is almost always the cheaper route if the damage is cosmetic or hardware related.
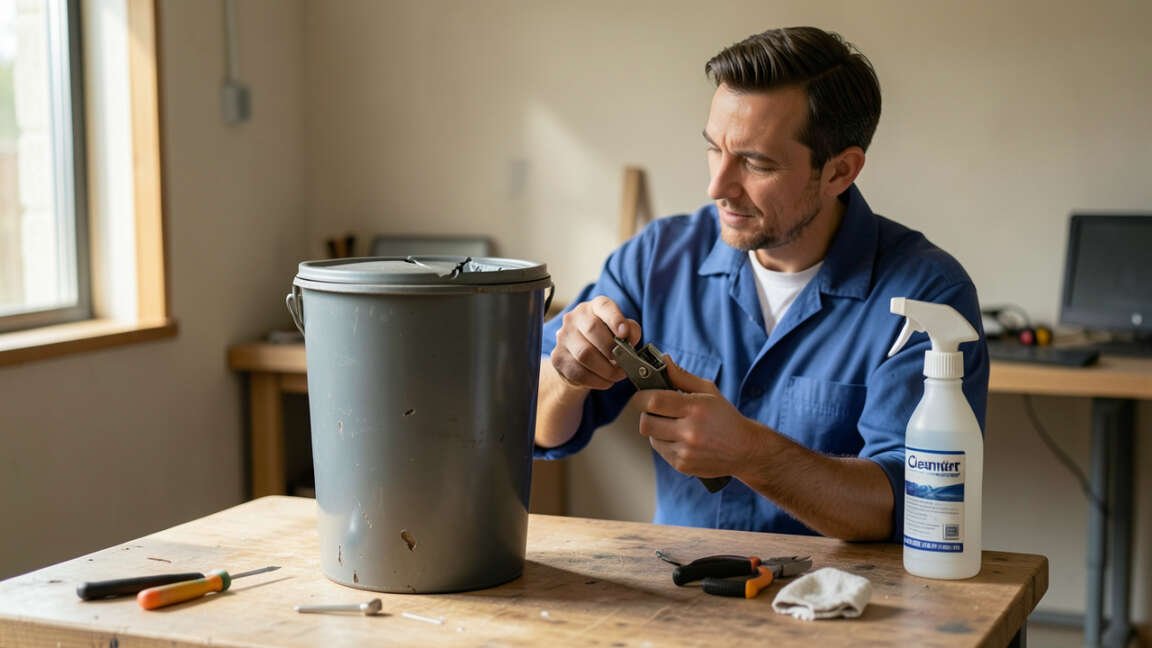
- Replacing Hinges: A set of heavy-duty galvanized hinges costs $8 to $15. This fixes sagging doors and prevents further frame damage.
- Fixing a Broken Latch: A new magnetic latch or hook-and-eye latch costs $5 to $20. This is the most common fix for doors that will not stay closed.
- Replacing Weatherstripping: Adhesive foam tape costs $10 to $25. It seals gaps to keep out rain, bugs, and odors.
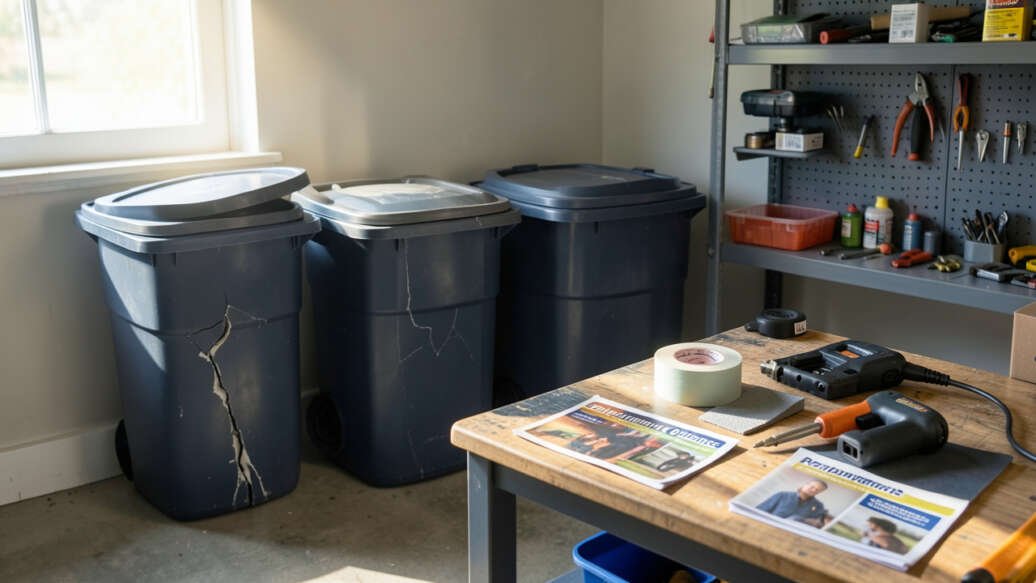
- Patching a Crack: Epoxy or plastic patching compound costs $10 to $30. This works well for hairline cracks in resin or plastic units.
- Replacing a Single Panel: Some manufacturers sell individual wall and door panels. A replacement panel costs $40 to $80.
Tip: Stick to the 50% rule. If your repair estimate is more than half the cost of a brand new, comparable unit, just buy the new unit. You get a fresh warranty and a longer lifespan.
What Does a Replacement Typically Cost?
A new garbage can enclosure is a bigger investment upfront. The material you choose is the main factor in the final price.
- Resin and Plastic Units: Brands like Keter and Suncast dominate this category. Prices range from $150 for a basic two-can unit to $450 for a large three-can model with a locking lid. They are UV-resistant and require no painting.
- Wooden Enclosures: Cedar and pressure-treated pine units range from $300 to $800. They offer a classic look but require annual staining or painting to prevent rot and warping.
- Metal and Steel Units: Galvanized steel enclosures range from $200 to $600. They are strong and fire-resistant but are prone to rust, especially near the base and on the screws.
According to a report from the, replacing a worn-out storage structure with a durable, new model recoups about 67% of its cost in added home value. This makes a well-chosen replacement a smart investment for your property.
Materials Comparison: Wood, Resin, or Metal?
If you have decided to replace your unit, your next big choice is the material. Each option has clear trade-offs in terms of cost, maintenance, and lifespan.
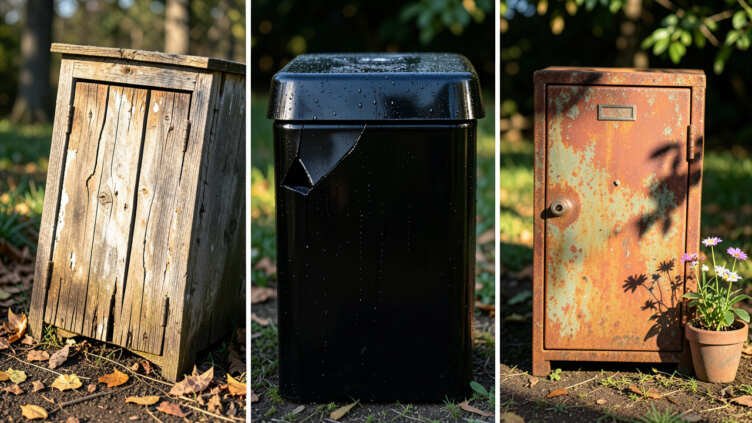
- Resin: Low maintenance and lightweight. It resists rot and rust very well. The main downside is that it can become brittle after 10 to 12 years of intense UV exposure.
- Wood: Strong, heavy, and repairable. You can sand and stain wood to look new again. The main downside is that it requires yearly maintenance to prevent rot, splitting, and insect damage.
- Metal: Very rigid and secure. It is the best option if you are worried about pests chewing through your enclosure. The main downside is that it dents easily and will rust if the paint chips off.
Common Myths vs Facts
There are a few common misconceptions that lead homeowners to make the wrong choice on their garbage can storage replacement or repair. Here are the facts.
Myth 1: Repairing is always cheaper in the long run.
Fact: Constantly patching a rotting wood frame or a cracked plastic base is expensive. You end up spending $100 to $200 on temporary fixes over two years. A new $300 unit saves you that future labor and stress while giving you a solid product.
Myth 2: Plastic garbage can enclosures cannot be repaired at all.
Fact: Resin and plastic enclosures are highly repairable. You can fill cracks with specialized epoxy. Many popular brands like Suncast and Keter sell individual replacement panels and doors directly to homeowners.
Myth 3: You need a professional contractor to install a new replacement unit.
Fact: Most modern resin sheds are designed for simple DIY assembly. One person with basic tools can usually complete the project in under four hours. The most important part is preparing a flat, level foundation before you start.
How to Prevent Future Damage to Your Enclosure
Once you repair or replace your unit, a little upkeep goes a long way. These steps help you avoid the same problems in the future.
- Apply a UV Protectant: Treat plastic and resin enclosures once a year with a UV protectant spray. This slows down the degradation caused by the sun.
- Elevate the Base: Make sure your enclosure sits on a gravel pad or concrete blocks. This prevents moisture from wicking up into the wood or metal frame and causing rot or rust.
- Lubricate Moving Parts: Spray hinges and latches with a silicone lubricant or WD-40 every six months. This prevents them from seizing up and breaking.
- Trim Nearby Foliage: Keep bushes and vines away from the enclosure. Leaves and moisture trapped against the walls will accelerate rot and attract pests.
- Check the Roof Annually: Inspect the roof for standing water or debris buildup after each season. A clean roof lasts much longer than one covered in wet leaves.
Step-by-Step Repair Guide for a Broken Hinge
This is the single most common repair homeowners face. Follow these steps to fix a sagging or broken door hinge on your enclosure.
- Remove the Old Hinge: Use a drill or screwdriver to remove the old hinge. If the screws are stripped or rusted, back them out slowly to avoid damaging the frame.
- Fill the Old Screw Holes: If the old holes are stripped out, fill them with wood glue and a wooden golf tee, or push in a plastic wall anchor. Cut the excess flush with the frame.
- Pre-Drill New Pilot Holes: Hold the new heavy-duty hinge in position. Use a pencil to mark the screw holes. Pre-drill pilot holes that are slightly smaller than your new screws to prevent the plastic or wood from splitting.
- Install the New Hinge: Secure the hinge with galvanized or stainless steel screws. Tighten them until snug, but do not overtighten. Overtightening can crack a plastic or resin frame.
- Adjust the Latch: Close the door and check the alignment. Adjust the latch plate up or down so the door closes tightly and seals against the weatherstripping.
Warning: Do not use regular steel screws for outdoor repairs. They will rust within six months and stain your enclosure. Always use galvanized or stainless steel hardware for any outdoor storage project.
Resources and Tools
Use these resources to buy parts, get cost estimates, or plan a full replacement project.
- Angi (HomeAdvisor) – Get local cost estimates for repair labor and compare prices for new storage units in your area.
- Keter Support – Order official replacement parts, panels, and hinges for Keter plastic resin sheds.
- Suncast Customer Service – Find replacement doors, shelves, and hardware for Suncast garbage can enclosures.
- The Home Depot – Buy hinges, latches, weatherstripping, and complete shed kits for DIY installation.
- EPA Recycling Guide – Learn how to properly recycle old plastic, metal, or wood enclosures in your local area.
Frequently Asked Questions
Can I replace just the roof of my garbage can storage shed?
Yes, you can replace the roof on most wooden and metal sheds. For resin sheds, you usually need to buy a whole new roof section from the manufacturer. Replacing the roof costs between $50 and $200 for materials.
How long does a plastic garbage can enclosure last?
A high-quality resin enclosure from a brand like Suncast or Keter lasts 10 to 15 years with basic maintenance. The main cause of failure is UV damage, which makes the plastic brittle over time.
Is it cheaper to build my own garbage can storage from wood?
Not necessarily. A DIY wooden enclosure costs around $150 to $400 in lumber and hardware. A pre-made resin unit costs about the same and requires much less maintenance over its life.
What weight can a standard garbage can storage door support?
Standard drop-down doors on enclosures can hold 50 to 75 pounds. Always check the manufacturer’s limit. Exceeding this weight will bend the hinges and cause the door to sag.
Should I replace my garbage can storage if it has a pest infestation?
Yes, you should replace it. Pests like rats and termites indicate hidden structural damage. A new, sealed unit with a solid floor and tight doors is the best solution to prevent future infestations.
Final Thoughts
Making the right call on whether to repair or replace your garbage can storage saves you both time and money. Focus your inspection on the frame and floor – if those are solid, a quick hardware repair is all you need. If the main structure is compromised, do not hesitate to invest in a new durable unit that will serve you for the next decade.