It can be super annoying when your toilet cistern keeps running, and figuring out why can seem tricky at first.
Many folks find this a common household puzzle. Water might be trickling into the bowl non-stop, making a constant flushing sound or just wasting water.
But don’t worry, you can fix this! This guide will walk you through how to stop a toilet cistern from running all the time with simple steps that anyone can follow.
Key Takeaways
- You will learn the common reasons why a toilet cistern runs continuously.
- You will discover how to identify the specific part causing the issue.
- Step-by-step instructions will guide you through fixing a leaky flapper valve.
- You will learn how to adjust or replace a faulty fill valve.
- Tips for maintaining your toilet to prevent future running issues will be shared.
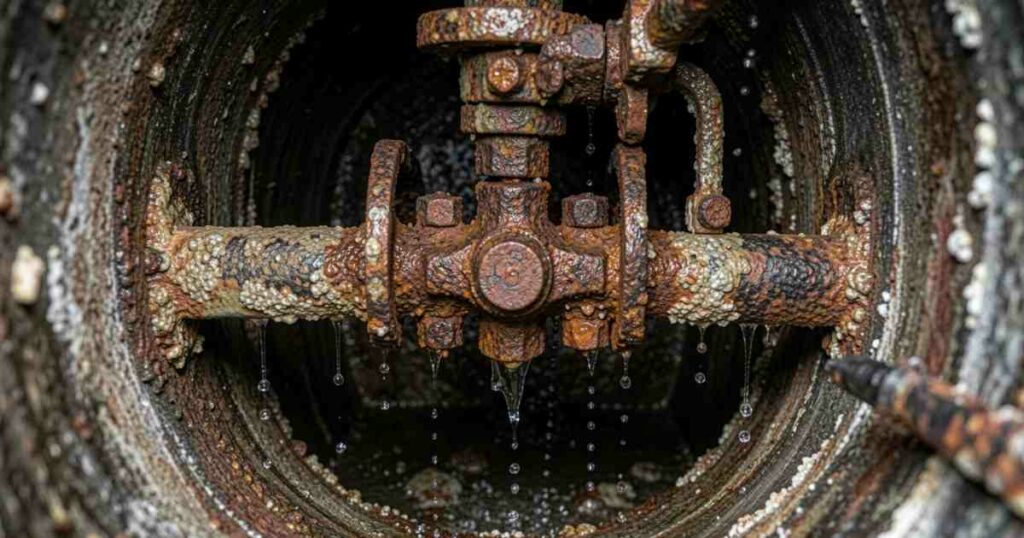
![How to Stop a Toilet Cistern Running[1]](https://creativehouseblog.com/wp-content/uploads/2026/05/How_to_Stop_a_Toilet_Cistern_Running1.jpg)
Why Your Toilet Cistern Keeps Running
A toilet that won’t stop running is usually a sign that something inside the cistern isn’t sealing properly.
This means water is constantly flowing from the tank into the toilet bowl, even when you haven’t flushed. It’s like a leaky faucet, but inside your toilet!
This can be caused by a few different things, and figuring out which one is the culprit is the first step to solving the problem. It’s a very common issue that many homeowners face at some point.
The Flapper Valve Problem
The flapper is a rubber or plastic piece at the bottom of the cistern. Its main job is to seal the tank and stop water from entering the bowl. When you flush, the flapper lifts up, letting water rush into the bowl.
After flushing, it’s supposed to seal the opening again.
If the flapper is worn out, warped, or not sitting correctly, it won’t create a tight seal. This allows water to slowly leak from the tank into the bowl. You might hear a faint hissing sound or see water trickling down the sides of the bowl.
This is one of the most frequent reasons for a running toilet. Over time, the rubber can become stiff or brittle, losing its flexibility. Even a small gap can cause a continuous flow of water.
- Cause of Running: A worn or damaged flapper doesn’t seal the tank outlet properly.
- What to Look For: You might see water trickling into the bowl or hear a faint hissing noise.
- Flapper Material: Most flappers are made of rubber, which can degrade over time due to chemicals in the water or toilet bowl cleaners.
- Age: A flapper that is more than a few years old is a prime suspect for this issue.
Issues with the Fill Valve
The fill valve, also called the ballcock, is the part that refills the cistern with water after each flush.
It also controls the water level inside the tank. If this valve is faulty, it can cause water to continuously flow into the cistern, even when it’s already full.
When the cistern is full, the fill valve should shut off the water supply. If it doesn’t shut off completely, or if it’s set too high, water will keep entering the tank. This excess water then spills over the overflow tube and drains into the toilet bowl.
Fixing a fill valve often involves adjusting its height or replacing the entire unit. Newer fill valves are often easier to adjust and replace than older, more traditional ballcock mechanisms.
- Function: The fill valve refills the tank and stops water flow when the tank is full.
- Malfunction: It can fail to shut off the water completely, leading to overflow.
- Overflow Tube: Excess water flows down the overflow tube into the bowl, creating the running sound.
- Types: Different types of fill valves exist, including ballcock and modern fluidmaster-style valves.
The Overflow Tube Role
The overflow tube is a vertical pipe inside the cistern. Its purpose is to prevent the cistern from flooding.
If the water level rises too high due to a faulty fill valve, the excess water goes down the overflow tube and into the toilet bowl.
So, while the overflow tube itself isn’t usually the cause of the running, it’s a crucial part of how the problem manifests.
If you see water going down the overflow tube, it's a clear sign that the fill valve or float mechanism isn't working correctly.
- Purpose: Acts as a safety feature to prevent tank overflow.
- Indicator: Water flowing down the overflow tube signals a problem with the fill valve or float.
- Height: The top of the overflow tube determines the maximum water level in the cistern.
How to Stop a Toilet Cistern from Running All the Time: A Step-by-Step Guide
Now that you know the common culprits, let’s get to fixing it. The process is quite straightforward and doesn’t require special tools.
Most of the time, you can sort out a running toilet with just a few basic adjustments or by replacing a single part.
Step 1 Turning Off the Water Supply
Before you do anything, it’s essential to turn off the water supply to the toilet. This is usually a small valve located on the wall behind or beside the toilet.
Look for a knob or handle. Turn it clockwise until it stops. This will prevent more water from entering the cistern while you work.
After turning off the water, flush the toilet to empty the cistern. Hold down the flush lever until as much water as possible drains out. This gives you a clear view and makes it easier to work on the internal parts.
- Locate Valve: Find the water shut-off valve behind or near the toilet.
- Turn Off: Rotate the valve handle clockwise until it is fully closed.
- Flush: Flush the toilet to drain most of the water from the tank.
Step 2 Inspecting the Flapper Valve
With the water off and the cistern empty, you can now examine the flapper. This is typically a rubber or plastic disc attached to a chain or lever at the bottom of the tank.
Lift the flapper. Does it look damaged, cracked, or warped? Is the chain too tight, preventing it from seating properly?
Sometimes, a simple adjustment to the chain length is all that’s needed.
If the flapper looks okay, try cleaning its seating area. Mineral deposits or debris can prevent it from making a good seal. Gently wipe the rim where the flapper sits.
Example Scenario: Sarah noticed her toilet running constantly. She turned off the water and inspected the flapper. She saw that the rubber edge of the flapper was stiff and slightly cracked.
This was clearly preventing a good seal. She decided to replace it.
- Visual Check: Look for any cracks, tears, or signs of wear on the flapper.
- Chain Adjustment: Ensure the chain is not too taut, which keeps the flapper slightly open. Allow about half an inch of slack.
- Cleaning the Seat: Gently clean the area where the flapper seals against the flush valve opening to remove debris or mineral buildup.
Step 3 Replacing the Flapper Valve
If the flapper is damaged or old, it’s best to replace it. This is a very inexpensive repair. You can buy a universal flapper at most hardware stores.
To remove the old flapper, unhook it from the flush valve arm and detach it from the chain. Then, attach the new flapper to the flush valve arm. Connect the chain to the flush lever, making sure there’s enough slack.
Once installed, turn the water supply back on slowly. Flush the toilet and watch to see if the running has stopped.
Case Study: John’s toilet had been running for weeks. He replaced the flapper, and the running stopped immediately. The whole process took less than 15 minutes and cost him a few dollars for the new flapper.
- Purchase: Buy a universal toilet flapper.
- Removal: Detach the old flapper from the chain and the flush valve.
- Installation: Attach the new flapper to the flush valve and connect the chain to the lever. Adjust chain length.
- Testing: Turn the water back on, flush, and check for leaks.
Step 4 Adjusting or Replacing the Fill Valve
If a new flapper doesn’t solve the problem, the fill valve might be the issue. The fill valve is usually located on the side of the cistern.
Some fill valves have an adjustment screw to change the water level. If the water level is too high, it will spill over the overflow tube. Try lowering the float or adjusting the screw to set a lower water level.
If adjusting doesn’t work, or if the valve looks old and corroded, it’s time to replace it. This is a slightly more involved repair but still manageable for a DIYer.
Real-World Example: Maria’s toilet kept running. She replaced the flapper, but the issue persisted. She then examined the fill valve.
She noticed the water level was very high, almost reaching the top of the overflow tube. She adjusted the float down, and the running stopped.
Replacement usually involves disconnecting the water supply line, removing the old valve, and installing the new one. Follow the manufacturer’s instructions carefully.
- Water Level Check: Ensure the water level is about an inch below the top of the overflow tube.
- Float Adjustment: Most fill valves have a float that can be raised or lowered to set the water level.
- Replacement Part: If the valve is old or damaged, a new fill valve will be needed.
Step 5 Replacing the Fill Valve (Detailed)
To replace a fill valve, first ensure the water is off and the tank is empty. You’ll need to disconnect the water supply line from the bottom of the fill valve. This usually requires a wrench.
Then, loosen any nut or clip holding the fill valve in place from inside the tank. Lift out the old fill valve.
Install the new fill valve according to the instructions that come with it. This typically involves placing it in the cistern, securing it from the outside, and reconnecting the water supply line.
Once everything is connected, turn the water supply back on slowly and check for leaks around the connections. Then, flush the toilet and check if it stops running.
Statistic: According to the EPA, a leaky toilet can waste 200 gallons of water per day. Fixing a running toilet is one of the easiest ways to save water at home.
| Problem Area | Likely Cause | Solution |
|---|---|---|
| Toilet runs continuously | Faulty flapper valve | Inspect, clean, or replace flapper. |
| Toilet runs continuously | Faulty fill valve | Adjust float or replace fill valve. |
| Toilet runs continuously | Loose chain or lever | Adjust chain length or ensure lever is free. |
- Disconnect Water Line: Use a wrench to detach the water supply hose from the bottom of the fill valve.
- Remove Old Valve: Loosen the locking nut or clip under the tank and lift out the old fill valve.
- Install New Valve: Follow the instructions for your new fill valve, ensuring it’s properly seated and secured.
- Reconnect Water Line: Reattach the water supply hose and tighten securely.
- Test: Turn on water, flush, and check for leaks and continuous running.
Step 6 Checking Other Components
Sometimes, less common issues can cause a running toilet. The flush lever itself might be sticking, or the chain might be catching on something.
Ensure the flush lever moves freely and isn’t binding against the side of the cistern. Also, check the flush valve seal, where the flapper sits. If it’s damaged or old, it might need
A running toilet can also be caused by a worn-out flush valve seal. This seal is the rubber gasket that the flapper presses against to stop water from flowing into the bowl. If this seal is cracked, deformed, or covered in mineral deposits, it won’t create a watertight connection.
Replacing the entire flush valve assembly, which includes this seal, is sometimes necessary.
- Flush Lever: Make sure it moves smoothly and doesn’t get stuck.
- Flush Valve Seal: Inspect the rubber seal at the bottom of the cistern where the flapper sits.
- Replacement of Flush Valve Assembly: If the seal is damaged, consider replacing the entire flush valve assembly.
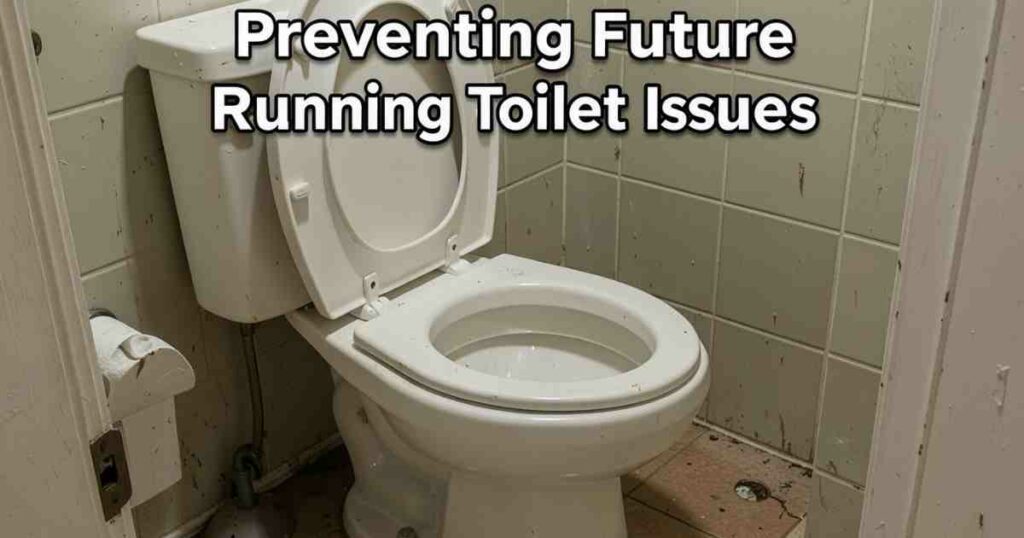
Preventing Future Running Toilet Issues
Once you’ve fixed your running toilet, you’ll want to keep it that way. Regular maintenance is key to preventing future problems.
Avoid using harsh chemical toilet bowl cleaners, as they can damage the rubber parts inside the cistern, like the flapper and seals, over time. Opt for gentler cleaning methods.
Periodically check the water level and listen for any faint running sounds. A quick visual inspection every few months can catch small issues before they become big problems.
Statistic: According to the U.S. Geological Survey (USGS), one in ten homes has a leaky toilet that wastes more than 200 gallons of water every day. Early detection and repair are vital for water conservation.
- Gentle Cleaning: Use mild cleaners and avoid harsh chemicals that can degrade rubber components.
- Regular Checks: Periodically inspect for leaks and listen for running sounds.
- Water Level: Ensure the water level in the cistern is set correctly.
- Part Replacement: Replace worn-out parts like flappers and fill valves promptly.
Frequently Asked Questions Of How to Stop a Toilet Cistern Running
Question: How do I know which part is causing my toilet to run?
Answer: Listen for where the sound is coming from. If you hear water constantly trickling into the bowl even when not flushed, it’s likely the flapper or flush valve. If the tank keeps filling and overflowing, it’s usually the fill valve.
Question: Can I fix a running toilet without turning off the water?
Answer: It’s strongly recommended to turn off the water supply first to avoid a continuous flow while you work. You can then drain the tank by flushing.
Question: How often should I replace my toilet flapper?
Answer: Toilet flappers typically last 5 to 10 years, but this can vary depending on water quality and the type of cleaners used. If you notice it’s stiff, cracked, or not sealing well, it’s time for a replacement.
Question: What is the overflow tube and why is water going down it?
Answer: The overflow tube is a safety feature. Water goes down it when the fill valve is letting in too much water, preventing the tank from flooding. It indicates a problem with the fill valve or its float.
Question: Do I need to be a plumber to fix a running toilet?
Answer: No, most running toilet issues can be fixed with basic tools and a little patience. Replacing a flapper or adjusting a fill valve are common DIY tasks.
Summary
You’ve learned how to stop a toilet cistern from running all the time by identifying common issues with the flapper and fill valve.
By following simple steps to turn off water, inspect parts, and make replacements, you can fix this common problem yourself. This saves water and stops that annoying sound.
![Air Fryer Cooking Times Guide Explained Simply[1]](https://creativehouseblog.com/wp-content/uploads/2026/03/Air_Fryer_Cooking_Times_Guide_Explained_Simply1-768x448.jpg)
![Fixing Common Coffee Maker Problems[1]](https://creativehouseblog.com/wp-content/uploads/2026/03/Fixing_Common_Coffee_Maker_Problems1-768x448.jpg)
![Outdoor Maintenance Jobs To Complete Before Summer Ends[1]](https://creativehouseblog.com/wp-content/uploads/2026/05/Outdoor_Maintenance_Jobs_To_Complete_Before_Summer_Ends1-768x403.jpg)
![How to Use a Pressure Cooker Safely[1]](https://creativehouseblog.com/wp-content/uploads/2026/03/How_to_Use_a_Pressure_Cooker_Safely1-768x448.jpg)
![How to Service Your HVAC System Before Each Season[1]](https://creativehouseblog.com/wp-content/uploads/2026/05/How_to_Service_Your_HVAC_System_Before_Each_Season1-768x403.jpg)
![7 Sous Vide Mistakes Beginners Should Avoid[1]](https://creativehouseblog.com/wp-content/uploads/2026/04/7_Sous_Vide_Mistakes_Beginners_Should_Avoid1-768x448.jpg)