Imagine walking into your kitchen, greeted by cupboards that perfectly match your style and needs. No more searching through catalogs or settling for designs that almost fit.
With a DIY approach, you have the power to create kitchen cupboards that are uniquely yours. But, where do you start?
Building and installing your own cupboards might sound daunting, but it can be incredibly rewarding. You don’t need to be a professional carpenter to achieve stunning results.
You’ll discover a step-by-step guide that simplifies the process, empowering you to transform your kitchen into a space that truly feels like home.
From selecting materials to adding those final touches, each phase is broken down into easy-to-follow steps.
Ready to roll up your sleeves and dive in? Let’s unlock the secrets to crafting your dream kitchen cupboards.
Key Takeways

Planning Your Kitchen Cupboards
Planning your kitchen cupboards is a crucial first step in your DIY project. It ensures that your kitchen space is both functional and stylish.
Thoughtful planning saves time and prevents costly mistakes. With the right approach, your kitchen will look amazing and meet all your needs.
Determine Your Needs
Start by identifying what you store in your cupboards. Think about pots, pans, dishes, and food items. Make a list of everything you need space for. This helps create a clear vision of your storage needs.
Measure Your Space
Accurate measurements are vital for a perfect fit. Use a tape measure to record the height, width, and depth of your kitchen space.
Double-check your measurements to avoid errors. Precise dimensions guide you in building and installing your cupboards.
Choose Your Cupboard Style
Decide on a style that matches your kitchen’s design. Modern, rustic, or traditional styles offer various options. Consider the color and material of the cupboards. Ensure the style complements your kitchen’s theme.
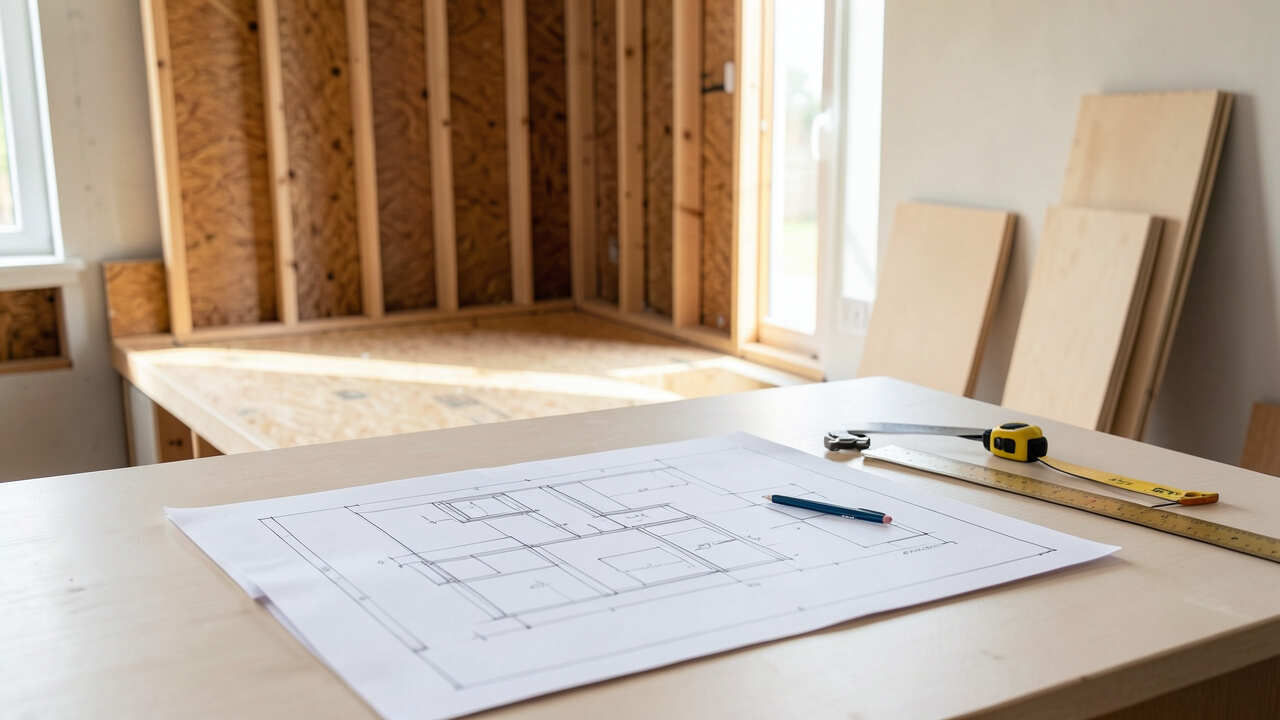
Create A Detailed Plan
Sketch a layout of your kitchen cupboards. Include the location of each cupboard and its size. Consider accessibility and convenience in your design. A detailed plan acts as a blueprint for your DIY project.
Set A Budget
Determine how much you’re willing to spend. Include costs for materials, tools, and additional items. Setting a budget helps you manage expenses effectively. Stick to your budget to avoid overspending.

Gathering Materials And Tools
Gather materials and tools for building kitchen cupboards. Gather wood, screws, a drill, and a saw. Measure carefully to ensure a perfect fit. Organize everything before starting to avoid delays.
Gathering the right materials and tools is crucial for a successful DIY kitchen cupboard project. A well-prepared start ensures smooth progress.
This step sets the foundation for building and installing sturdy cupboards. Let’s dive into the essentials you’ll need.
Materials You Will Need
Start with quality wood, such as plywood or MDF. Choose wood that fits your budget and style. You’ll need wood glue for strong bonds between pieces.
Don’t forget screws and nails for extra security. Hinges and handles are essential for functionality.
Also, have sandpaper on hand for a smooth finish. Paint or stain adds the final touch. Decide based on your desired look.
Essential Tools To Gather
A power drill is a must for precision. Have a screwdriver set for tightening hinges and handles. A saw is essential for cutting wood to size.
Consider a circular saw or jigsaw. Use a tape measure for accurate dimensions. A level ensures your cupboards are straight.
Clamps hold pieces steady as you work. Safety glasses and gloves protect you while working. Ensure your workspace is well-lit for visibility.
Organizing Your Workspace
Clear your workspace before starting. Arrange tools and materials for easy access. Keep similar items together. Use containers for small items like screws. A tidy space boosts efficiency. It also reduces frustration.
Understanding The Importance Of Quality
Quality materials and tools lead to durable results. They reduce the need for repairs. Investing in quality saves time and money. It enhances the overall look of your kitchen. Choose wisely for lasting satisfaction.

Building The Cupboard Frames
Building the cupboard frames is the foundation of your DIY kitchen project. This step defines the structure and shape of your cabinets.
Precision and patience are key. With the right tools, anyone can create sturdy frames. Let’s delve into the step-by-step process.
Choosing The Right Materials
Select quality plywood or MDF for durability. These materials provide a strong base. Ensure the wood is smooth and free from defects.
This will make your cupboards last longer. Consider the thickness for added strength. Thicker materials often provide better support.
Measuring And Cutting The Pieces
Accurate measurements are crucial. Use a tape measure for exact dimensions. Mark your measurements with a pencil for clarity.
Use a saw to cut the pieces precisely. Double-check each piece to ensure accuracy. Mistakes at this stage can lead to problems later.
Assembling The Frame
Lay out all your cut pieces. Start with the base and sides. Use wood glue to secure the joints.
Follow with screws for extra strength. Ensure everything lines up perfectly. Use a square to check the angles. This ensures a straight and balanced frame.
Reinforcing The Structure
Add support pieces inside the frame. This increases stability and durability. Use brackets for additional support.
Secure them with screws at key points. This helps prevent warping over time. Strong frames support heavy countertops and dishes.
Sanding And Finishing
Once assembled, sand the frame. Focus on edges and corners. This removes rough spots and splinters.
A smooth surface is easier to paint or stain. Finish with a protective sealant. This adds longevity and a polished look.
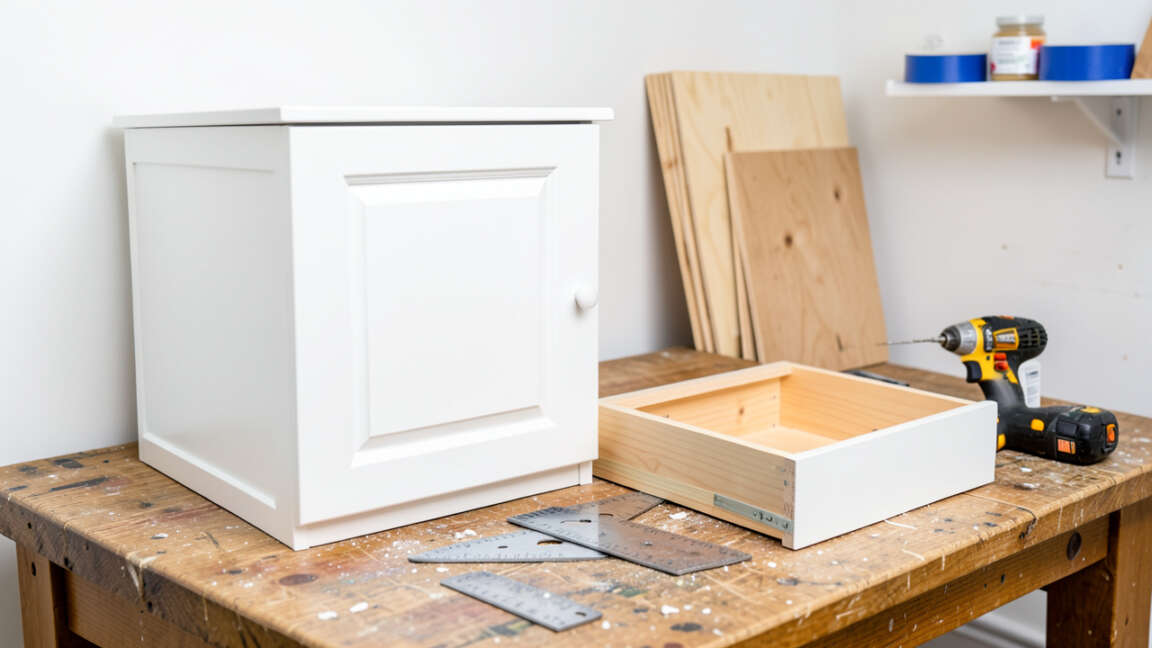
Assembling Cupboard Doors And Drawers
Building and installing kitchen cupboard doors and drawers can transform your space. Follow a clear, step-by-step guide to ensure a perfect fit. Enjoy the satisfaction of a DIY project completed successfully.
Assembling cupboard doors and drawers can transform your kitchen into a functional and stylish space.
This DIY project offers a rewarding experience, as you witness each piece come together to form your dream kitchen.
Whether you’re a seasoned DIY enthusiast or a beginner looking to tackle a new challenge, assembling these essential components is both manageable and exciting.
Understanding Materials And Tools Needed
Before you dive in, gather the necessary materials and tools. You’ll need hinges, screws, handles, and drawer slides.
A drill, screwdriver, and measuring tape are essential tools. Having these ready saves you time and helps you avoid interruptions. Consider the type of wood or material that suits your kitchen’s aesthetic.
Quality materials ensure durability and longevity. Opt for pre-cut door and drawer panels if you’re aiming for ease and precision.
Step-by-step Assembly Process
Start by measuring the space where your cupboard doors will fit. Accurate measurements are crucial for a seamless fit.
Use a measuring tape and mark the points where hinges will be placed. Attach the hinges to the doors using screws. Ensure they are aligned properly to allow smooth opening and closing.
Next, install handles at a comfortable height for easy access. For drawers, assemble the sides, back, and bottom panels.
Secure them with screws, creating a sturdy structure. Attach drawer slides to the sides, ensuring they glide smoothly when opened.
Tips For Smooth Installation
Check alignment frequently during assembly. Misaligned doors can cause functional issues.
Use a level to ensure everything is straight and balanced. Test the movement of doors and drawers before fully tightening screws.
Adjust as needed to avoid any sticking or uneven gaps. This step saves you from future frustrations.
Consider adding soft-close mechanisms for a touch of luxury. They prevent slamming and prolong the life of your cupboards.
Personal Story: A Lesson Learned
While assembling my kitchen drawers, I overlooked the importance of alignment. The result? A drawer that wouldn’t close properly.
After recalibrating, I realized how crucial patience and attention to detail are in DIY projects.
It taught me to embrace mistakes as learning opportunities. What have your DIY projects taught you?
Final Touches And Adjustments
Once assembled, give your cupboards a final inspection. Check that all screws are tightened and doors open smoothly.
Make any necessary adjustments for perfect alignment. Consider adding a coat of paint or varnish for a finished look. It enhances durability and adds a personal touch to your kitchen.
Remember, assembling cupboard doors and drawers is not just about following instructions; it’s about creating a space that reflects your style and functionality needs. Dive in, enjoy the process, and relish the transformation of your kitchen.
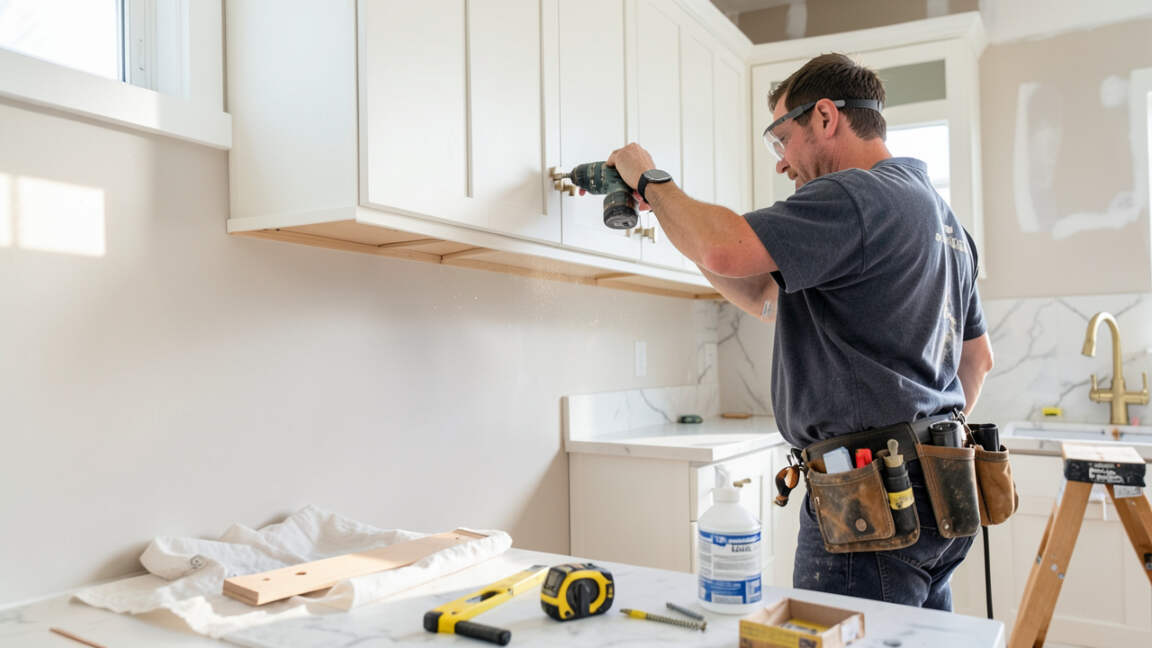
Installing The Cupboards
Embarking on a DIY kitchen cupboard project involves creating and installing cupboards efficiently.
Follow step-by-step instructions to ensure precise measurements and secure fitting. Transform your kitchen space by choosing the right materials and tools for a seamless build and installation process.
Installing your own kitchen cupboards can be a rewarding project that not only saves you money but also gives your kitchen a personalized touch. Once you have built your cupboards, the next step is to install them.
This stage requires precision and patience to ensure everything fits perfectly. As you go through the process, you’ll notice the transformative effect it has on your kitchen space. Let’s dive into the steps to install your kitchen cupboards.
Marking The Wall For Cabinet Placement
Begin by identifying the wall where you’ll install the cupboards. Use a pencil and measuring tape to mark the exact spots on the wall.
It’s crucial that these marks are level to prevent crooked cupboards. You might wonder, will they align with your kitchen’s layout? Double-check measurements to confirm.
Securing The Upper Cabinets
Start with the upper cabinets to avoid working above the lower ones. Use a stud finder to locate wall studs and attach a ledger board to support the cabinets. Screw the cabinets into the wall studs for a sturdy hold.
Ever felt the thrill of seeing your hard work take shape? That’s what you’ll feel as your upper cabinets snugly fit in.
Installing The Lower Cabinets
Position the lower cabinets where marked, ensuring they are level with shims if necessary. Secure them to the wall using the same stud-finding method.
Connect each cabinet side by side, using clamps to hold them tight while you screw them together. Imagine the satisfaction as your kitchen begins to look like a professional setup.
Aligning And Adjusting Doors And Drawers
Once the cabinets are in place, attach the doors and drawers. Adjust them to ensure they open and close smoothly.
Misaligned doors can be frustrating, so take your time here. You’ll be amazed at how these final touches bring everything together.
Adding The Finishing Touches
Install handles, knobs, and any additional features like soft-close hinges. These small details make a big difference in both functionality and aesthetics.
Think about how these additions will enhance your daily cooking experience. Are they just right for your needs?
By following these steps carefully, you’ll enjoy the satisfaction of a job well done, and every time you step into your kitchen, you’ll know it was crafted by your own hands. What part of this process excites you the most?
Finishing Touches And Maintenance
After spending time building and installing your DIY kitchen cupboards, the final step is all about the finishing touches and maintenance.
This stage is where your creativity shines, transforming functional pieces into stunning parts of your kitchen. Let’s dive into how you can achieve a polished look that lasts.
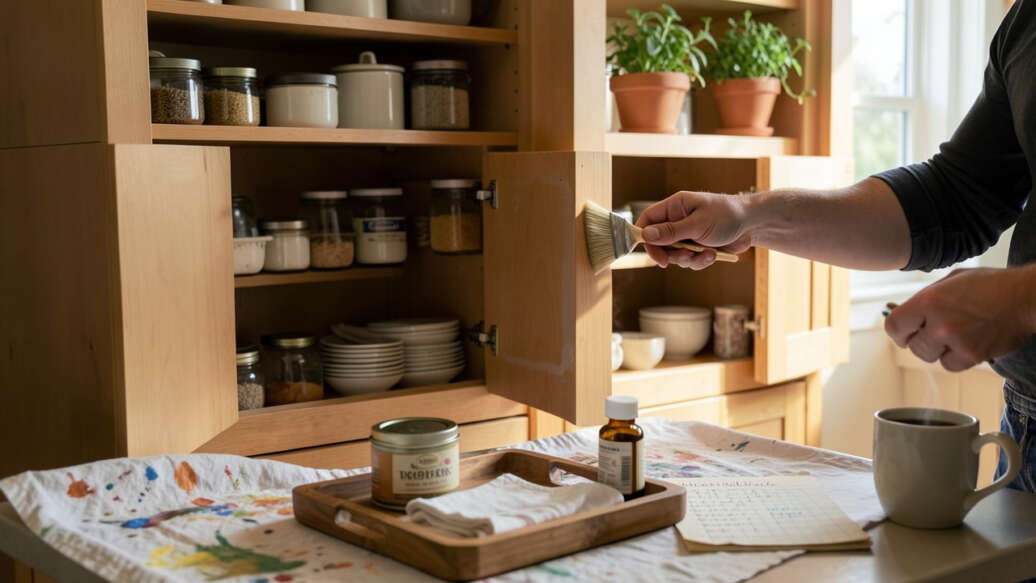
Choosing The Right Finish
The finish you choose sets the tone for your kitchen. Paint is versatile, offering endless color options to match your style. Consider using a semi-gloss or gloss paint for durability and ease of cleaning.
If you prefer a natural look, opt for wood stain, which enhances the grain and provides a warm, rustic feel.
Adding Hardware
Hardware is like jewelry for your cupboards. Choose knobs and pulls that complement your kitchen’s theme. Are you leaning toward a modern vibe? Stainless steel or matte black finishes work beautifully. For a vintage touch, antique brass or ceramic knobs can add charm.
Sealing For Longevity
Sealing your cupboards is crucial for protection against moisture and wear. Apply a clear sealant to painted surfaces to prevent chipping and peeling.
For stained wood, a polyurethane coat provides a durable barrier. Investing in quality sealants ensures your cupboards look fresh for years.
Regular Cleaning
Maintenance is key to preserving the beauty of your cupboards. Use a soft cloth and mild detergent for regular cleaning.
Avoid harsh chemicals that can damage finishes. Consistent care keeps them in pristine condition and extends their lifespan.
Inspecting For Wear And Tear
Periodically check for signs of wear. Are there any loose hinges or knobs? Tightening screws and replacing damaged hardware maintains functionality. Spotting issues early prevents bigger problems down the road.
Refreshing The Look
Sometimes, a simple refresh can bring new life to your cupboards. Repainting or restaining, changing hardware, or adding decorative elements can revitalize your kitchen space.
Have you considered removable wallpaper or decals? They add a fun and temporary splash of personality.
Finishing touches not only enhance the aesthetics but also contribute to the longevity of your kitchen cupboards. What unique touches will you add to make your kitchen truly yours?
FAQ Of Diy Kitchen Cupboards
Is It Cheaper To Build Your Own Kitchen Cabinets Or Buy Them?
Building your own u003ca href=u0022https://creativehouseblog.com/color-should-i-paint-my-kitchen-cabinets/u0022 data-type=u0022linku0022 data-id=u0022https://creativehouseblog.com/color-should-i-paint-my-kitchen-cabinets/u0022u003ekitchen cabinetsu003c/au003e is usually cheaper than buying pre-made ones. You save on labor costs and can choose budget-friendly materials. DIY allows customization and flexibility, potentially lowering expenses. However, factor in tools, time, and skill level before deciding.
How To Build A Cupboard Step By Step?
Start by measuring the space for the cupboard. Gather materials like wood, screws, and hinges. Cut and assemble pieces using a drill. Attach doors with hinges. Finish by painting or staining. Ensure everything is level and secure before use.
How To Install Kitchen Cabinets Step By Step?
Begin by measuring and marking cabinet positions. Secure wall cabinets first, using screws into studs. Hang base cabinets next, ensuring level alignment. Attach doors and hardware, adjusting for smooth operation. Finish with countertops and trim, checking for gaps.
Can A Beginner Build Kitchen Cabinets?
Yes, a beginner can u003ca href=u0022https://creativehouseblog.com/free-kitchen-cabinet-plans-build-your-dream/u0022 data-type=u0022linku0022 data-id=u0022https://creativehouseblog.com/free-kitchen-cabinet-plans-build-your-dream/u0022u003ebuild kitchen cabinetsu003c/au003e. Start with a simple design and gather necessary tools and materials. Follow step-by-step instructions and be patient. Consider watching tutorials or seeking advice from experienced woodworkers. Practice improves skills and confidence.

Conclusion
Creating your own kitchen cupboards can be a rewarding project. You save money and customize your space.
Follow the steps carefully for best results. Measure, cut, and assemble with precision. Enjoy the process and the satisfaction it brings. You’ll feel proud each time you enter your kitchen.
Remember, patience and attention to detail are key. Share your success with family and friends. Inspire others to try their hand at DIY projects.
Your kitchen will look great and reflect your personal style. Happy building and enjoy your new cupboards!