Many homeowners feel a little lost when it comes to checking their home’s plumbing. It can seem like a mystery, something best left to the pros.
But keeping an eye on your pipes and fixtures is actually simpler than you think and can save you big headaches and money down the road.
This guide will walk you through easy Plumbing Checks Every Homeowner Should Do Regularly.
We’ll break it down step-by-step so you can feel confident. Get ready to learn how to spot small issues before they become big problems.
Key Takeaways
- You can easily check for common plumbing issues yourself.
- Regular checks prevent costly water damage and leaks.
- Knowing your shut-off valve is vital for emergencies.
- Simple tasks like checking for drips save water and money.
- Understanding your water pressure helps maintain your system.
- Homeowners can spot early signs of pipe problems.
![lumbing Checks Every Homeowner Should Do Regularly[1]](https://creativehouseblog.com/wp-content/uploads/2026/05/lumbing_Checks_Every_Homeowner_Should_Do_Regularly1.jpg)
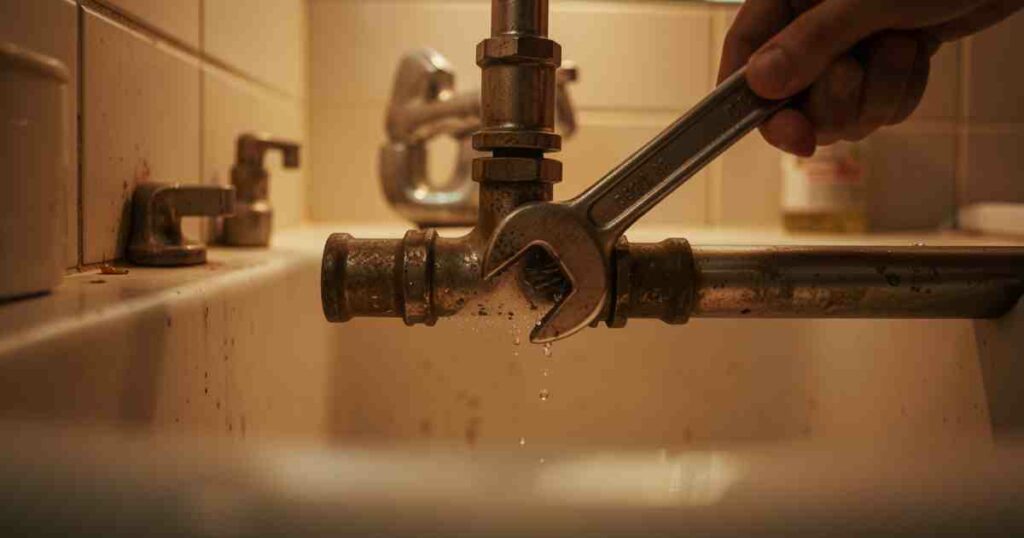
Essential Plumbing Checks Every Homeowner Should Do Regularly
Taking care of your home’s plumbing is super important. Ignoring small issues can lead to big, expensive repairs. Think of these checks like giving your car an oil change.
They keep things running smoothly. Doing these Plumbing Checks Every Homeowner Should Do Regularly helps you find problems early. This means less stress and less money spent fixing major leaks or bursts.
Let’s explore the simple things you can do to keep your pipes happy and your home dry.
Checking For Leaks Under Sinks and Toilets
One of the easiest things to check is for leaks under your sinks and around your toilets. These are common spots where water likes to hide. You don’t need fancy tools for this.
Just get down low and look. You’re looking for any signs of moisture, damp spots, or dripping water. Also, sniff around; a musty smell can mean a hidden leak.
- Under the Sink: Look at the pipes that connect to the faucet and the drainpipe. Check the connections where pipes join together. Feel around the base of the cabinet for any wetness or water stains. If you see a drip, even a small one, it’s time to figure out why.
- Around the Toilet: Inspect the base of the toilet where it meets the floor. Look for any signs of water seeping out. Also, check the water supply line that connects to the toilet tank. Make sure the connection is dry and there are no drips. The tank itself should not have water pooling on the outside.
A small leak can waste a lot of water over time. For example, a slow drip from a faucet can waste gallons of water each day. Over a year, this adds up.
According to the Environmental Protection Agency (EPA), household leaks can account for nearly 90 billion gallons of water wasted annually in the United States alone.
Catching these early, especially those hidden under sinks, is key to preventing higher water bills and potential water damage to your cabinets and floors.
Inspecting Faucets and Showerheads
Your faucets and showerheads are used every day. They are also prime spots for wear and tear. Checking them regularly can catch issues before they get worse.
This part is pretty straightforward and can be done during your normal use of these fixtures.
- Dripping Faucets: Make sure your faucets turn off completely. If you notice any drips after turning them off, this wastes water and can damage the faucet over time. A steady drip can mean a worn-out washer or cartridge inside the faucet.
- Showerhead Performance: Check your showerhead for consistent water flow. If the spray is weak or uneven, the small holes might be clogged with mineral deposits. This can be fixed by cleaning the showerhead.
- Loose Handles: Wiggle the handles on your faucets and showerheads. If they feel loose, they might need tightening. Loose handles can cause internal parts to wear out faster.
A dripping faucet might seem minor, but it’s a constant source of water waste. A faucet that drips once per second can waste over 3,000 gallons of water per year. This is enough water for over 180 showers!
Cleaning clogged showerheads is also important. Mineral buildup can reduce water pressure and make your shower less enjoyable. You can often clean them by soaking them in vinegar.
This simple act of maintenance keeps them working efficiently and prevents them from needing early replacement.
Testing Your Water Pressure
The water pressure in your home is important for how well your appliances work. If the pressure is too high, it can damage your pipes and fixtures. If it’s too low, your shower might not be very strong, and your washing machine might not fill properly.
- What is Normal Water Pressure? The ideal water pressure for most homes is between 40 and 60 pounds per square inch (PSI). You can buy a simple water pressure gauge that screws onto an outdoor hose spigot.
- How to Test: Attach the gauge to a spigot. Turn on the faucet all the way. Read the pressure on the gauge. If it’s above 80 PSI, it’s too high. If it’s below 40 PSI, it’s too low.
- Addressing Issues: If your pressure is too high, you might need a pressure reducing valve (PRV) installed. If it’s too low, there might be a blockage in your main water line or an issue with the city’s supply.
High water pressure is a silent killer of plumbing systems. It puts constant stress on pipes, seals, and appliance connections.
This can lead to leaks and premature failure of water heaters, dishwashers, and washing machines.
A study by the Plumbing Manufacturers International found that water pressure above 80 PSI can reduce the lifespan of plumbing fixtures by up to 50%.
Testing your pressure is a quick way to ensure your system is protected and operating efficiently.
A consistent and appropriate pressure level also makes daily tasks like washing dishes or taking a shower more effective.
Checking Your Water Heater
Your water heater is a major part of your home’s plumbing. It provides hot water for showers, laundry, and dishes. Regular checks can help prevent breakdowns and ensure it’s working safely and efficiently.
- Look for Leaks: Inspect the base of the water heater for any signs of water or rust. Check all the connections, including the pipes that bring water in and out, and the pressure relief valve.
- Temperature Setting: Ensure the thermostat is set to a safe and efficient temperature, typically around 120 degrees Fahrenheit (49 degrees Celsius). Higher temperatures can increase the risk of scalding and waste energy.
- Drain Valve: Locate the drain valve at the bottom of the tank. Periodically draining a small amount of water can help remove sediment that builds up over time. This sediment can reduce efficiency and damage the tank.
Sediment buildup in a water heater is a common problem that can significantly shorten its lifespan.
When sediment settles at the bottom, it can overheat the tank and cause it to corrode faster. Draining a bit of water every few months can remove this sediment.
This simple maintenance task can make your water heater last much longer. According to the Department of Energy, flushing your water heater annually can improve its efficiency by 10-20%. This means lower energy bills and more hot water for your household needs.
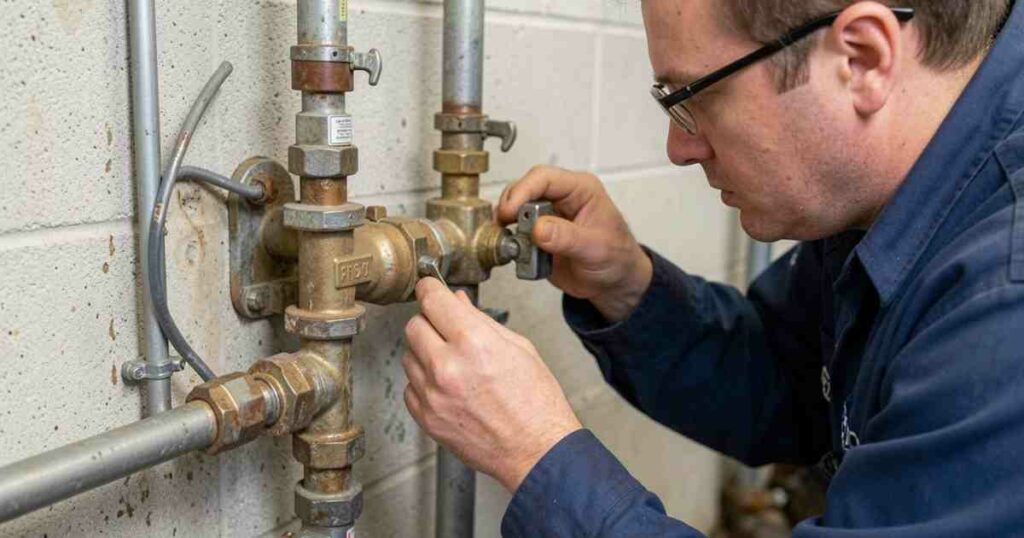
Locating and Testing Your Main Water Shut-Off Valve
This is one of the most critical Plumbing Checks Every Homeowner Should Do Regularly. Knowing where your main water shut-off valve is located can save your home from severe water damage in an emergency. Imagine a pipe bursting – you need to turn off the water fast.
- Where to Find It: The main shut-off valve is usually located where the water pipe enters your home. This is often in the basement, crawl space, utility closet, or even outside near your water meter. It will have a handle or a lever that can be turned to stop the water flow.
- Testing the Valve: Once a year, test your shut-off valve. Turn it completely off. Then, go to a faucet inside your house and turn it on to make sure no water is flowing. This confirms the valve works.
- Turning it Back On: Slowly turn the valve back on. Listen for any unusual noises and check for leaks around the valve itself. If the valve is stiff or doesn’t turn easily, it may need to be lubricated or replaced by a plumber.
A fully functional main water shut-off valve is your first line of defense against major water damage.
In the event of a burst pipe or a serious leak, being able to quickly shut off the water supply can prevent thousands of dollars in repair costs. Consider a scenario where a pipe freezes and bursts in your absence.
Without knowing how to shut off the main supply, your home could be flooded for days. A quick test ensures that when you desperately need it, the valve will actually work.
This single step can be the difference between a minor inconvenience and a catastrophic home disaster.
Checking For Toilet Flapper Issues
A running toilet is more than just annoying; it wastes a significant amount of water. The most common cause is a faulty flapper inside the toilet tank. This is an easy fix that most people can do themselves.
- The Silent Leak: Sometimes, the flapper doesn’t seal properly even when the toilet isn’t actively flushing. This causes water to slowly leak from the tank into the bowl, making the toilet run intermittently.
- How to Test: You can test for a silent leak by adding a few drops of food coloring to the toilet tank. Wait for about 15-20 minutes without flushing. If you see color appear in the toilet bowl, your flapper is leaking.
- Replacing the Flapper: Flappers are inexpensive and easy to replace. You simply unhook the old one from the chain connected to the flush lever and attach the new one.
A toilet that runs constantly or even intermittently can waste hundreds of gallons of water every day.
If you have a slow leak, you might not even notice it, but your water bill certainly will. The EPA estimates that a leaky toilet can waste 200 gallons of water per day.
Over a month, that’s 6,000 gallons! Replacing a worn-out flapper is a simple DIY task that can save you a lot of money on your water bills and conserve a precious resource. It’s a small effort for a significant saving.
Inspecting Exposed Pipes for Damage or Corrosion
Take a look at any pipes you can easily see, especially in areas like basements, crawl spaces, or utility rooms.
These are often the parts of your plumbing system most vulnerable to damage or corrosion.
- Look for Signs of Rust or Corrosion: On metal pipes, check for reddish-brown spots (rust) or greenish-blue discoloration (corrosion). These are signs that the pipes are degrading.
- Check for Drips or Puddles: Even small, slow drips can go unnoticed for a long time. Always look for any damp spots or puddles around exposed pipes, especially at joints and connections.
- Insulate Pipes in Cold Areas: In colder climates, make sure any exposed pipes in unheated areas like basements or garages are properly insulated. This prevents them from freezing and bursting in winter.
Corrosion is a natural process that can weaken metal pipes over time. If left unchecked, corroded pipes can eventually leak or even burst. This can lead to significant water damage, mold growth, and costly repairs.
For example, old galvanized steel pipes are notorious for corroding from the inside out, making them hard to spot until a serious problem occurs.
Insulation for pipes in cold areas is also critical. Frozen pipes can expand, break, and cause massive water damage when they thaw.
A burst pipe can release hundreds of gallons of water in a short amount of time, potentially ruining walls, floors, and belongings.
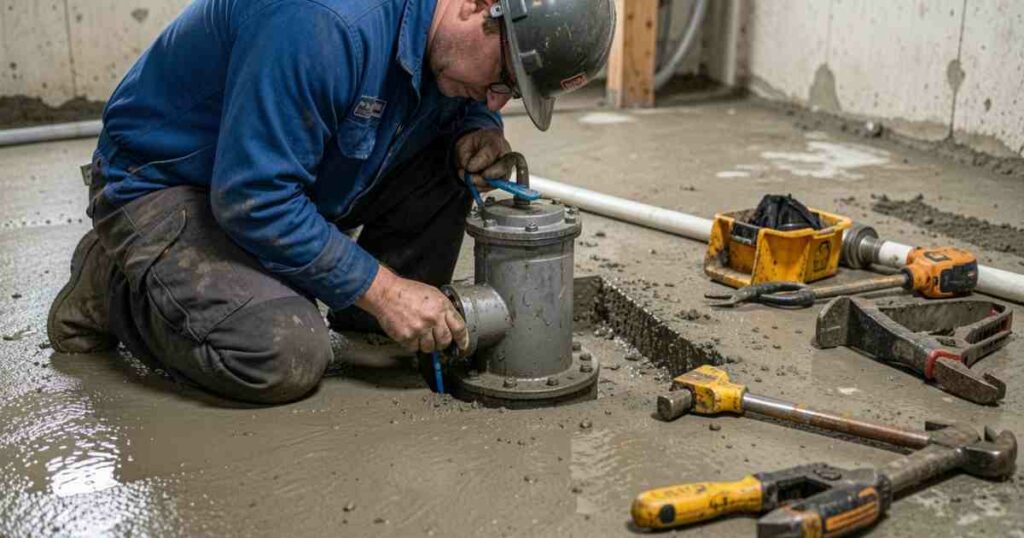
Checking Your Sump Pump (If Applicable)
If your home has a basement or crawl space that is prone to flooding, you likely have a sump pump.
This is a vital piece of equipment that can save your home from water damage. Testing it is crucial.
- What it Does: A sump pump is designed to collect water that seeps into your basement and pump it away from your home’s foundation. It usually sits in a pit (the sump pit) at the lowest point of your basement.
- How to Test: The easiest way to test it is to pour a bucket of water directly into the sump pit. The water level should rise, and the pump should activate, removing the water.
- Check for Obstructions: Make sure the pit is clear of debris that could clog the pump. Also, ensure the discharge pipe is free of blockages and that water is being pumped away from your house.
A functioning sump pump is a lifesaver for homes in flood-prone areas. Imagine a heavy rainstorm.
Without a working sump pump, your basement could quickly fill with water, leading to structural damage, mold growth, and ruined possessions.
Pouring a bucket of water into the pit is a simple simulation of its intended function. If the pump doesn’t turn on, or if it struggles to remove the water, it needs immediate attention from a professional.
Many sump pump failures occur during storms when they are needed the most, making regular testing essential for preparedness.
Cleaning Drain Strainers and Aerators
The little strainers in your sink drains and the aerators on your faucet spouts are easily overlooked. However, they play a big role in keeping your water flowing smoothly.
- What They Do: Drain strainers catch food particles and other debris, preventing clogs. Aerators mix air with water to create a smoother stream and reduce splashing.
- How to Clean: For drain strainers, simply remove them and clean off any collected gunk. For faucet aerators, you can usually unscrew them by hand. Rinse them out, and if they are clogged with mineral buildup, you can soak them in vinegar.
- Signs of Clogging: If your sink drains slowly or your faucet stream is weak and sputtering, clogged strainers or aerators might be the culprit.
Clogged drain strainers are a common cause of slow-draining sinks and potential plumbing clogs.
When food particles, hair, or soap scum build up, they create blockages that can back up water into your sink. Regularly clearing these out is a simple preventative measure.
Similarly, mineral buildup on faucet aerators can reduce water flow and make your faucet less efficient.
Cleaning them is a quick fix that restores a strong, steady stream. These small parts help maintain the performance of your fixtures and prevent minor annoyances from turning into bigger plumbing problems.
Frequently Asked Questions Of Plumbing Checks Every Homeowner Should Do Regularly
Question: How often should I check my plumbing?
Answer: It’s good to do a quick visual check of your plumbing every month. More thorough checks, like testing your main shut-off valve or flushing your water heater, can be done every six months to once a year.
Question: What should I do if I find a leak?
Answer: If you find a small leak, try to tighten the connection if possible. For anything significant, or if you’re unsure, turn off the main water supply and call a plumber immediately to prevent further damage.
Question: Are professional plumbing inspections necessary?
Answer: Yes, while these regular checks are helpful, a professional plumber can identify issues you might miss and perform deeper inspections to ensure your entire system is in good working order.
Question: What are the signs of a major plumbing problem?
Answer: Signs include sudden drops in water pressure, strange noises from pipes, foul odors, sewage backups, visible water damage, or a consistently high water bill without explanation.
Question: Can I fix plumbing issues myself?
Answer: Some minor issues, like leaky faucet washers, clogged drains, or replacing toilet flappers, can be DIY projects. For complex leaks, burst pipes, or sewer line issues, it’s always best to call a professional plumber.
Summary
Regularly checking your home’s plumbing is simple and effective. By looking for leaks, testing water pressure, and inspecting key components like your water heater and shut-off valve, you can catch problems early. These steps help prevent costly damage and ensure your plumbing works well.
Make these checks a habit to keep your home safe and dry.
![Simple Ways to Boost Heating Efficiency Now[1]](https://creativehouseblog.com/wp-content/uploads/2026/05/Simple_Ways_to_Boost_Heating_Efficiency_Now1-768x403.jpg)
![How to Prevent Ice Dams on Your Roof in Winter[1]](https://creativehouseblog.com/wp-content/uploads/2026/05/How_to_Prevent_Ice_Dams_on_Your_Roof_in_Winter1-768x403.jpg)
![Food Processor Versus Blender A Simple Guide[1]](https://creativehouseblog.com/wp-content/uploads/2026/03/Food_Processor_Versus_Blender_A_Simple_Guide1-768x448.jpg)
![Why Some Air Fryers Smoke Explained[1]](https://creativehouseblog.com/wp-content/uploads/2026/03/Why_Some_Air_Fryers_Smoke_Explained1-768x448.jpg)
![8 Tips For Perfect Thin Crepes Every Time[1]](https://creativehouseblog.com/wp-content/uploads/2026/04/8_Tips_For_Perfect_Thin_Crepes_Every_Time1-768x448.jpg)
![How Long Coffee Makers Last A Simple Guide[1]](https://creativehouseblog.com/wp-content/uploads/2026/03/How_Long_Coffee_Makers_Last_A_Simple_Guide1-768x448.jpg)