Cleaning your panini press after making a delicious sandwich can sometimes feel tricky. You want it sparkling clean, but you also don’t want to scratch it up or ruin its non-stick coating. That’s why knowing 8 Ways to Clean a Panini Press Without Damaging It is super helpful, especially when you’re new to using one.
Don’t worry, it’s simpler than it sounds! We’ll walk you through easy steps to get your press looking great. Let’s find out how to keep your panini press in top shape for many more tasty meals.
Key Takeaways
- You will learn simple and safe ways to clean your panini press.
- Discover how to remove stubborn cheese and food bits without scratching.
- Understand the best times to clean your panini press for easier results.
- Find out what tools and cleaning agents work best and which to avoid.
- Get tips to maintain your panini press’s non-stick surface.
- Learn how to give your panini press a deeper clean when needed.
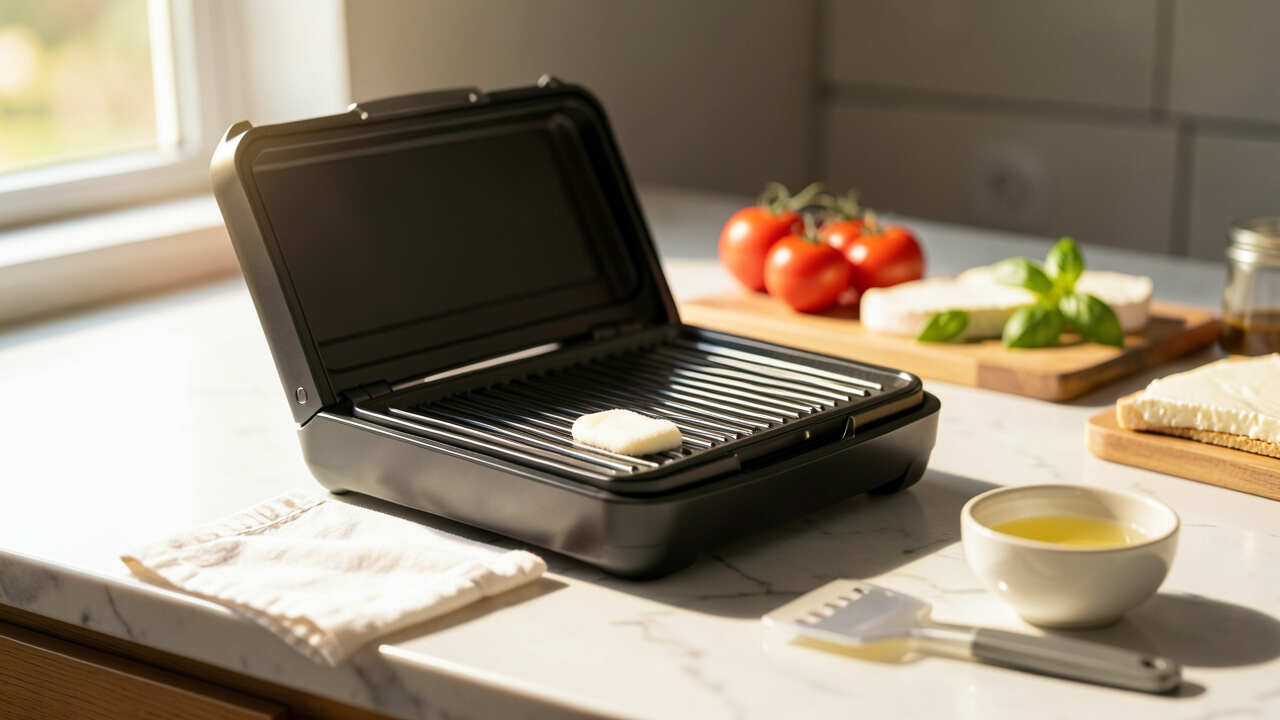
Keeping Your Panini Press Spotless and Safe
Using a panini press makes amazing grilled sandwiches, but the cleanup afterward can leave you wondering. Bits of cheese can melt into the plates, and crumbs can get stuck in the corners. It’s easy to think you need harsh scrubbing, but that can damage the surface.
This guide covers 8 Ways to Clean a Panini Press Without Damaging It, so you can enjoy perfect paninis without worry.
Why Cleaning Your Panini Press Matters
A clean panini press not only looks better but also works better. Food bits left behind can burn the next time you use it, affecting the taste of your food. They can also create uneven heating, leading to inconsistently grilled sandwiches.
Over time, this buildup can damage the non-stick coating, making it harder to cook and clean in the future. Regular and correct cleaning keeps your press working well and your food tasting great.
When to Clean Your Panini Press
The best time to clean your panini press is right after you’ve finished using it, but only after it has cooled down enough to handle safely. Waiting too long can make food bits harden and become much harder to remove. Cleaning while the press is still slightly warm (but not hot!) can help loosen up grease and stuck-on food.
Always make sure the press is unplugged before you start any cleaning.

Essential Cleaning Supplies You’ll Need
You don’t need fancy cleaners. Most of the time, simple household items work best and are safest for your panini press. Here’s what you should have on hand:
- Soft cloths or paper towels
- A soft-bristled brush (like a pastry brush or old toothbrush)
- Mild dish soap
- Water
- A non-abrasive sponge
- Cooking spray (for certain cleaning methods)
Avoid using metal utensils, steel wool, or abrasive cleaning pads. These can easily scratch and ruin the non-stick coating of your panini press.

8 Ways to Clean a Panini Press Without Damaging It
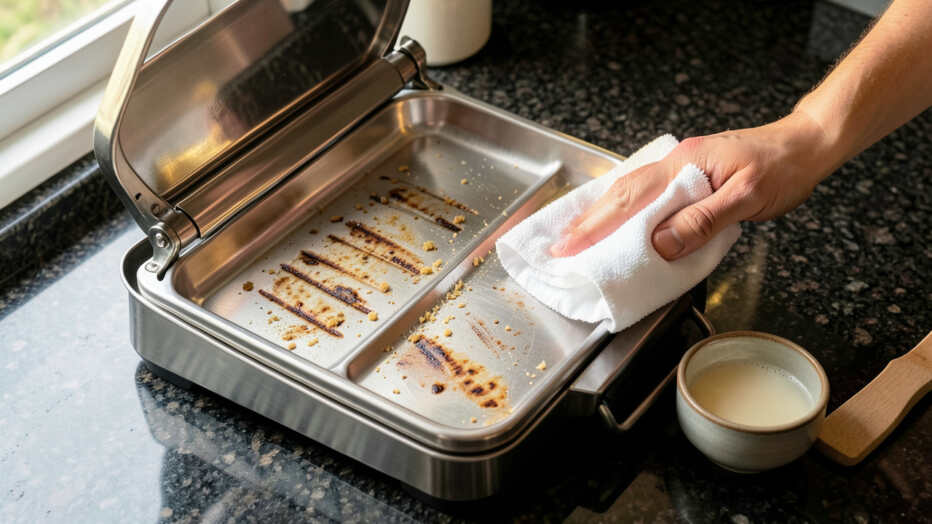
Method 1: The Basic Wipe-Down
This is your go-to method for daily cleaning. Once the press has cooled, unplug it. Take a damp, soft cloth or paper towel and wipe down the plates.
For minor messes, this is usually enough. If you have a bit of grease, you can add a tiny drop of mild dish soap to the damp cloth.
Method 2: Using a Damp Cloth and Mild Soap
For slightly more stubborn bits, dampen a soft cloth with warm water and a small amount of mild dish soap. Gently wipe the cooking plates. Follow up with a clean, damp cloth to rinse away any soap residue.
Make sure to dry the plates thoroughly afterward with a dry cloth to prevent water spots.
Method 3: The Power of a Soft Brush
When crumbs or small food particles get stuck in the grooves or corners, a soft-bristled brush is your best friend. An old, clean toothbrush or a pastry brush works perfectly. Gently brush away any loose debris.
You can do this before or after wiping with a cloth. This is especially useful for getting into tight spots that cloths can’t reach.
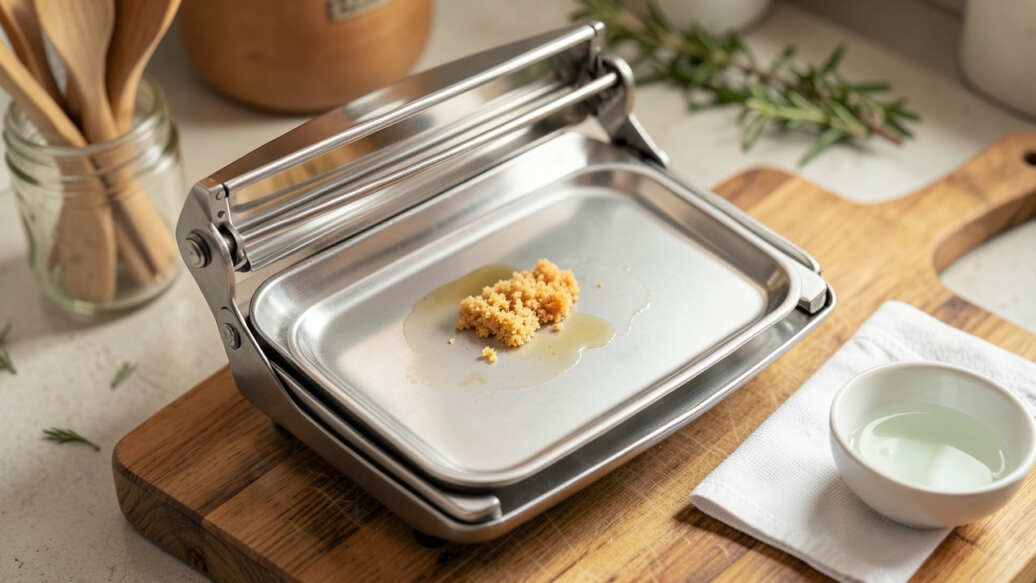
Method 4: Tackling Stuck-On Cheese with Warm Water
Melted cheese can be tough. If you have cheese stuck to the plates, try this: unplug the press and let it cool completely. Then, place a damp, warm (not hot) kitchen towel over the cooled plates.
Let it sit for about 10-15 minutes. The moisture and warmth will help soften the cheese, making it easier to wipe away with a soft cloth or sponge.
Method 5: The Gentle Scrape with a Plastic Spatula
For really stubborn, caked-on bits that the damp cloth and brush didn’t get, a plastic spatula can be useful. Make sure the press is completely cool. Gently use the edge of the plastic spatula to carefully scrape away the stuck-on food.
Always use a plastic or silicone spatula, never metal, to avoid scratching.
Method 6: Using Cooking Spray for Sticky Residue
Sometimes, sticky residue can be hard to lift. For this, you can lightly spray a bit of cooking oil onto a paper towel (don’t spray directly onto the press). Then, use this oiled paper towel to wipe down the plates.
The oil can help lift and loosen sticky residues. Afterward, clean the plates as usual with a damp cloth and mild soap to remove the oil and any remaining residue.
Method 7: A Deeper Clean with Baking Soda Paste
If your panini press needs a more thorough cleaning, a gentle baking soda paste can be effective. Mix baking soda with a little water to create a paste. Apply the paste to the cooled cooking plates.
Let it sit for a few minutes. Then, gently scrub with a soft cloth or non-abrasive sponge. Wipe clean with a damp cloth and dry thoroughly.
Be sure to rinse all baking soda off.
Method 8: Dealing with Greasy Buildup
For persistent grease, a solution of equal parts water and white vinegar can work wonders. Dampen a soft cloth with this solution and wipe down the cooled plates. Vinegar is a natural degreaser.
Follow up with a clean, damp cloth to remove the vinegar smell and residue, then dry the plates well.
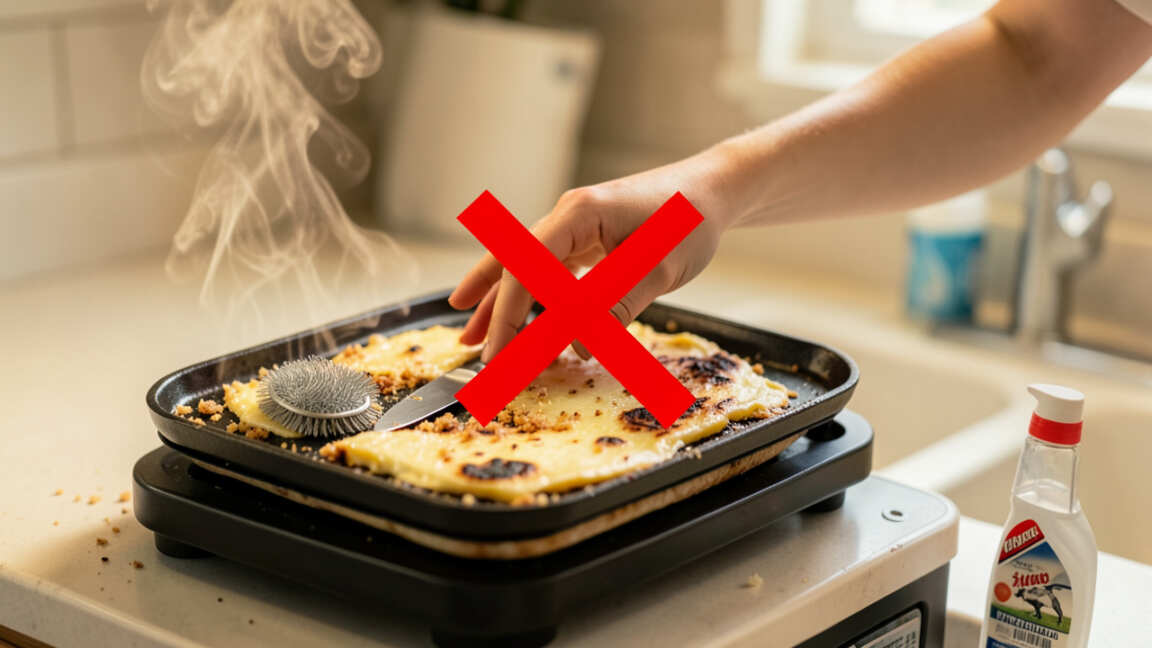
What to AVOID When Cleaning
It’s just as important to know what not to do. Avoiding these things will save your panini press:
- Never use abrasive cleaners like scouring powders or steel wool.
- Do not immerse the panini press in water. Electrical components can be damaged.
- Avoid sharp metal utensils like knives or forks for scraping.
- Don’t use harsh chemicals like bleach or oven cleaner.
- Be careful not to get water into the electrical parts or vents.
- Don’t put removable plates in the dishwasher unless the manual specifically says they are dishwasher safe. Most are not.
Frequently Asked Questions
Question: Can I clean my panini press while it’s still warm?
Answer: It’s best to let your panini press cool down completely before cleaning to avoid burns and damage to the non-stick coating. Some minor warm-up cleaning is okay for grease, but generally, cool is safest.
Question: What if I don’t have a soft brush?
Answer: You can use a folded paper towel to get into small crevices, or even a clean cotton swab for very tight spots. Just be gentle.
Question: My panini press has burnt-on food that won’t come off. What should I do?
Answer: Try the baking soda paste method (Method 7) or the warm, damp towel trick (Method 4). For very tough spots, repeat the process or let the paste sit a little longer.
Question: Is it okay to spray cleaner directly onto the panini press plates?
Answer: It’s generally better to spray cleaner onto your cloth or sponge, not directly onto the press, especially if it’s an electrical appliance. This prevents excess liquid from getting into sensitive parts.
Question: How often should I deep clean my panini press?
Answer: A quick wipe-down after each use is ideal. A deeper clean, like using baking soda or vinegar, can be done monthly or whenever you notice heavier buildup.
Final Thoughts
Keeping your panini press clean doesn’t have to be hard. By following these simple steps, you can easily maintain its performance and appearance. Remember to always unplug it and let it cool before you start.
Gentle wiping, soft brushes, and occasional mild soap are your best tools. Avoid harsh scrubbers and soaking to protect its non-stick surface. With a little care, your panini press will be ready for your next delicious sandwich!
![Are Electric Kettles Energy Efficient[1]](https://creativehouseblog.com/wp-content/uploads/2026/03/Are_Electric_Kettles_Energy_Efficient1-768x448.jpg)
![6 Reasons Your Juice Tastes Bad[1]](https://creativehouseblog.com/wp-content/uploads/2026/04/6_Reasons_Your_Juice_Tastes_Bad1-768x448.jpg)
![10 Foods You Should Never Store In A Freezer[1]](https://creativehouseblog.com/wp-content/uploads/2026/04/10_Foods_You_Should_Never_Store_In_A_Freezer1-768x448.jpg)
![Can You Cook Other Foods in a Rice Cooker[1]](https://creativehouseblog.com/wp-content/uploads/2026/03/Can_You_Cook_Other_Foods_in_a_Rice_Cooker1-768x448.jpg)
![Extension Lead Safety Mistakes People Make at Home[1]](https://creativehouseblog.com/wp-content/uploads/2026/05/Extension_Lead_Safety_Mistakes_People_Make_at_Home1-768x403.jpg)
![8 Fruits & Vegetables That Work Best For Juicing[1]](https://creativehouseblog.com/wp-content/uploads/2026/04/8_Fruits__Vegetables_That_Work_Best_For_Juicing1-768x448.jpg)